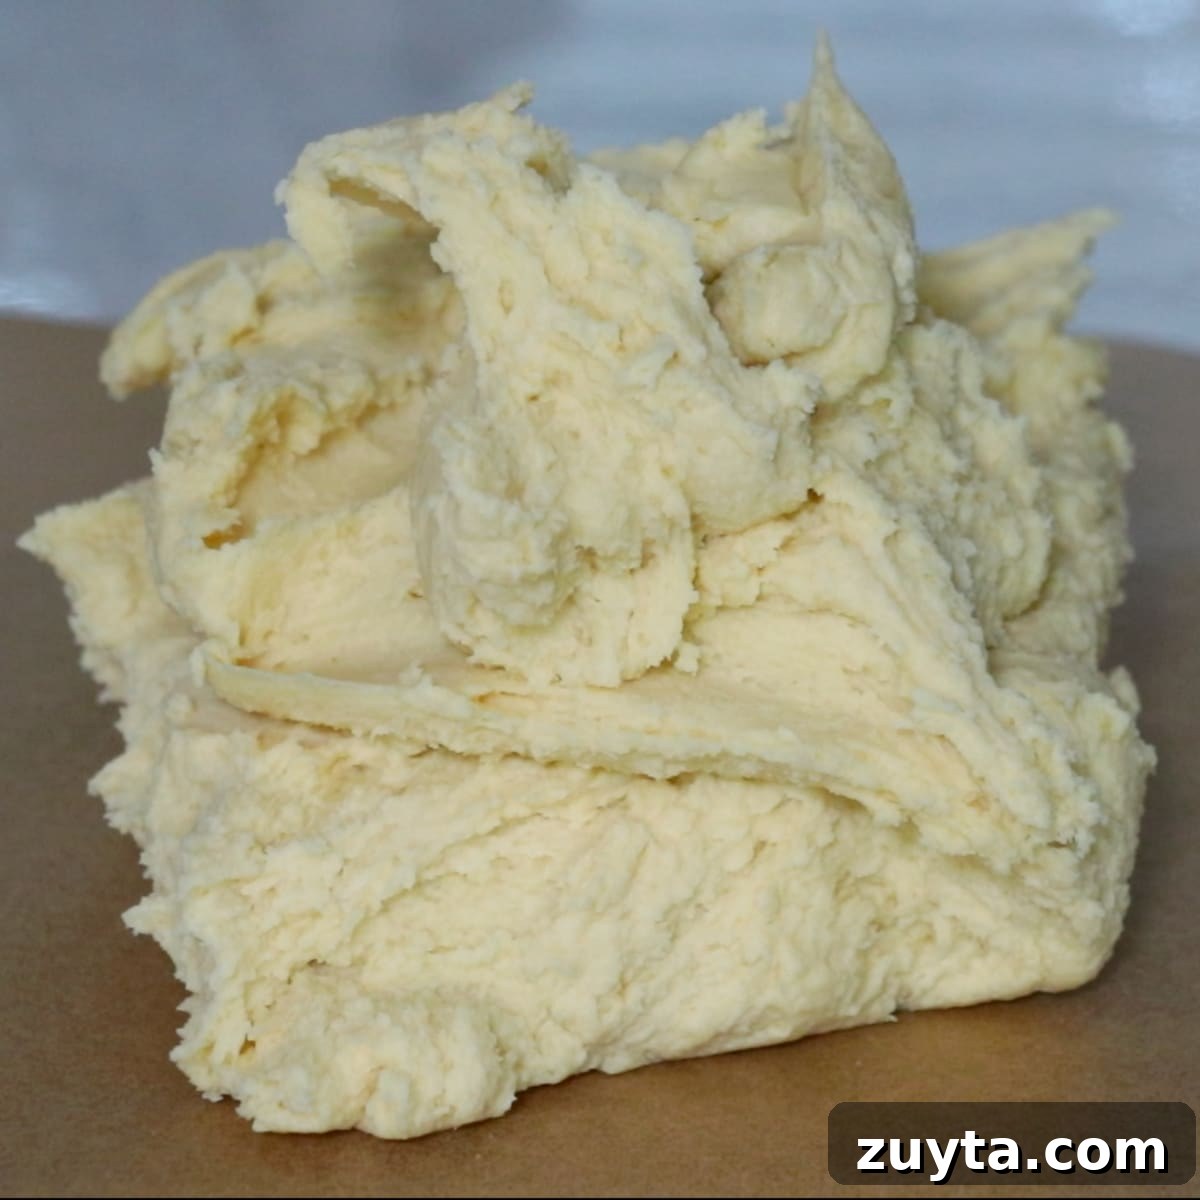
Looking for an easy, delicious icebox cookie dough you can use for many designs? This versatile slice-and-bake dough is perfect for classic checkerboard cookies, Christmas shapes, and more — all from one batch.
I rely on this dough when I make a variety of slice-and-bake cookies — from Santa, boots, and wreath shapes to reindeer, gift boxes, and Christmas trees. You can create multiple designs and colors from a single batch, making it ideal for holidays and special occasions.

Why We Love This Icebox Cookie
- This dough holds detailed designs well, so your slice-and-bake shapes stay sharp during baking.
- The finished cookies are buttery with a light, crisp texture.
- The dough is quick and straightforward to prepare — you can mix it in around 15 minutes.
Video: Watch How to Make the Icebox Cookies
A step-by-step video demonstrates how to assemble and slice the dough, plus tips for shaping, coloring, and baking. Watching the technique helps you reproduce detailed designs with consistent results.
Tip: there is a video available on the Pastry Living channel showing the full slice-and-bake process.
What’s in Icebox Cookie Dough?
- Unsalted butter — use soft butter so ingredients blend smoothly.
- Powdered sugar — powdered sugar gives a more tender, slightly crumbly texture than granulated sugar.
- Salt — balances sweetness and enhances flavor.
- Whole egg — adds structure and moisture.
- Egg yolk — enriches the dough. Save the white for egg wash if needed.
- Cake flour — yields a tender, delicate crumb.
- Almond flour — increases tenderness and a slightly crumbly texture.
6 Steps to Make Icebox Cookies
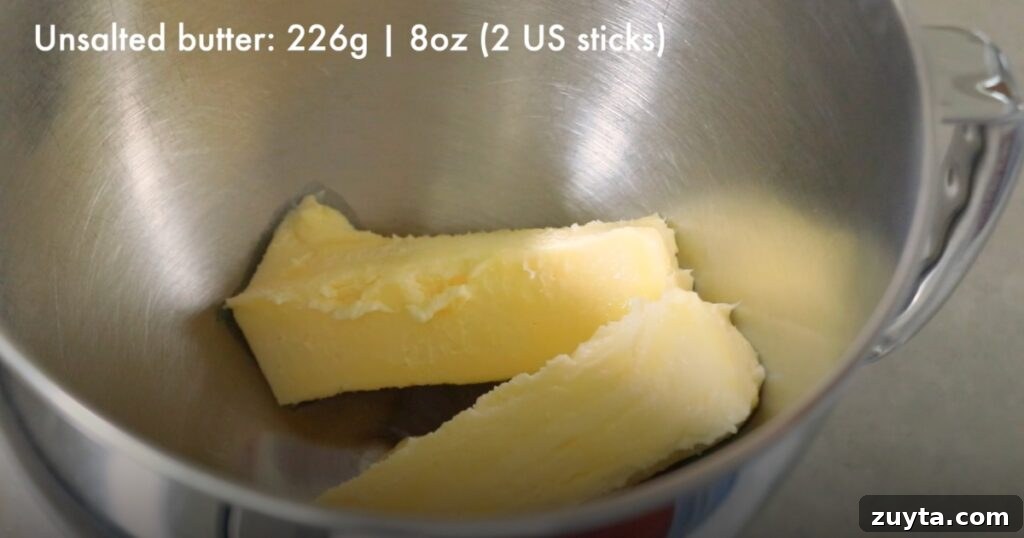
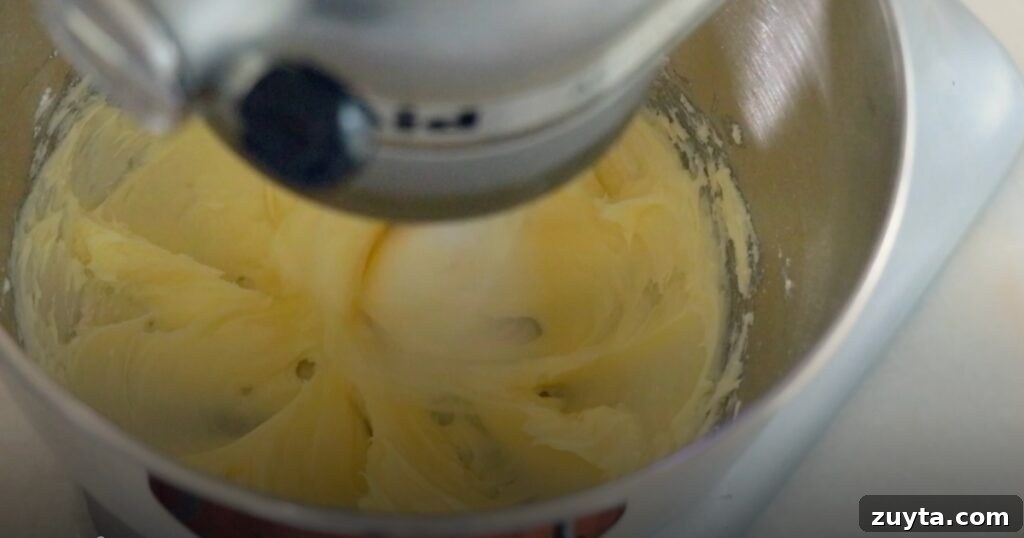
Step 1: Mix soft butter, powdered sugar, and salt
Aya’s tips 💡
- Start with truly soft butter so the mixture comes together easily.
- Begin mixing at low speed so the powdered sugar doesn’t fly out, then increase speed until smooth.
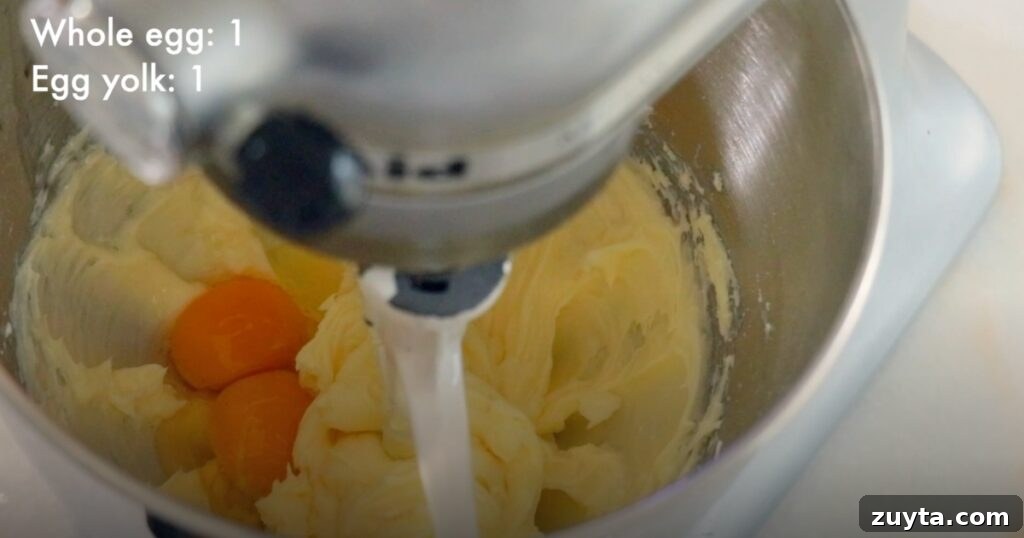
Step 2: Add the whole egg and extra yolk; mix until smooth
Aya’s tip 💡
When you first add the eggs, the mixture may look separated — that’s normal. Scrape down the sides and bottom of the bowl while mixing; the dough will come together quickly.
How long should you whip the butter?
Whipping more incorporates more air, which creates lighter, slightly more expanded cookies. Stop when the mixture looks smooth, or whip longer if you prefer a lighter texture.
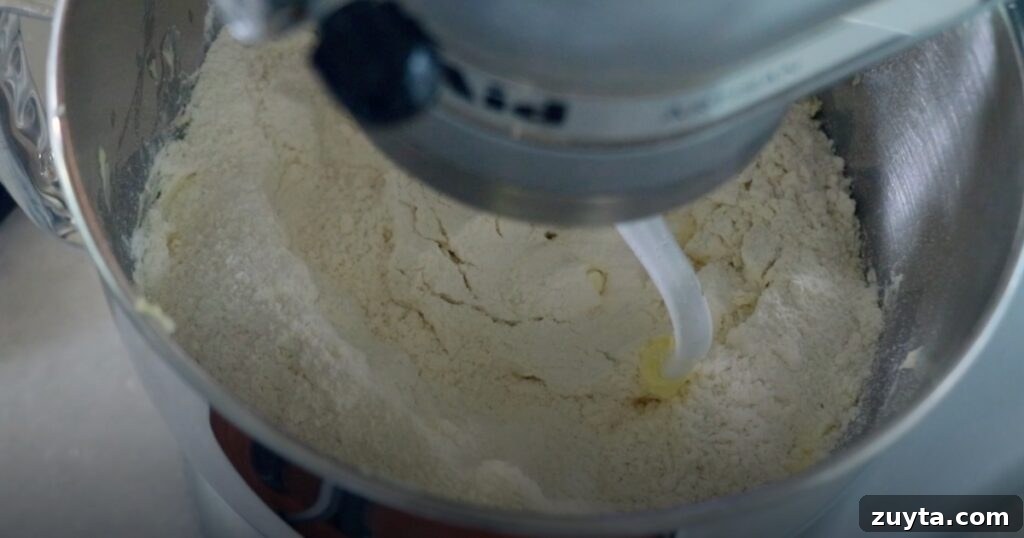
Step 3: Add cake flour and almond flour and mix
Aya’s tips 💡
- Be sure to scrape and clean the paddle and bowl so all the ingredients are evenly incorporated.
- This recipe yields a little over 850 g of dough from one batch — plenty to shape and decorate multiple designs.
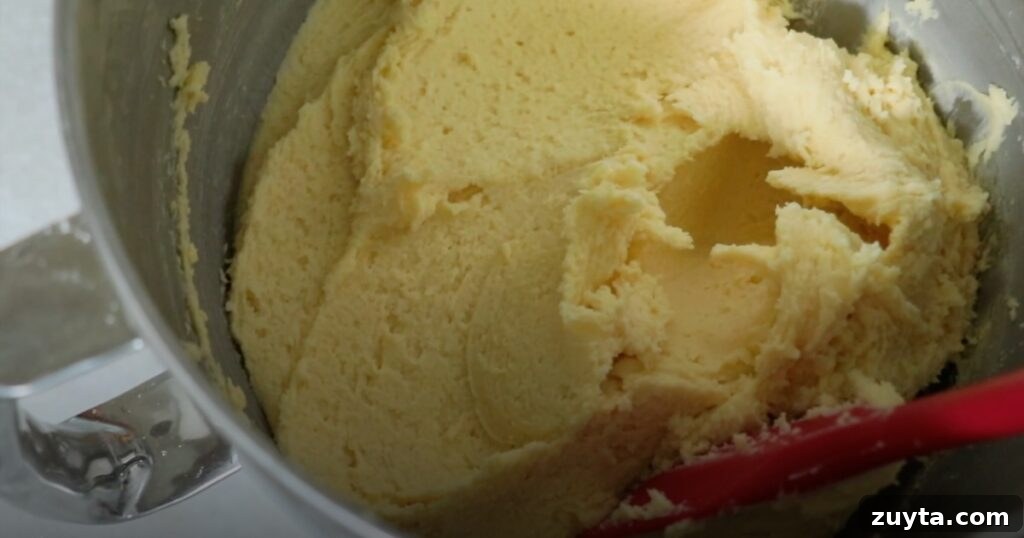
Step 4: Color and shape the dough
Divide and color the dough as you like, then assemble the shapes and logs for slicing. Have fun experimenting with patterns, stripes, and layers to create unique designs.
Food coloring
Use paste or gel food colorings when possible. Thin liquid colors can change the dough’s consistency if you add a lot, which may affect how well the shapes hold.
Step 5: Chill and slice
Chill the shaped logs in the refrigerator or freezer so they are firm enough to slice cleanly. Freezing briefly makes slicing easier and helps the shapes hold their form.
Step 6: Bake
Keep the sliced cookies cold until they go into the oven. Cold dough spreads less, so chilling or a short freeze is recommended before baking.
Bake at 340–350°F for about 7–10 minutes, then lower to 330°F and bake another 7–10 minutes or until the edges are lightly golden.
- Adjust time and temperature for your oven and cookie size — thinner cookies will bake faster than thicker ones.
- For a light, crisp texture, bake until you see a gentle golden-brown caramelization on the edges.
Design Ideas for Icebox Cookies
This dough is a blank canvas for seasonal and themed cookies — birthday patterns, holiday motifs, and more. Many slice-and-bake designs can be created by layering, rolling, and combining colored doughs. Look through past projects for inspiration and adapt patterns to your own ideas.
Video tutorials demonstrate techniques for Easter eggs, shamrocks, and holiday shapes — they’re useful references if you want to practice specific patterns.
Frequently Asked Questions
Wrap the dough tightly in plastic wrap. Refrigerate for up to 4 days, or freeze for several months. Thaw overnight in the refrigerator before slicing and baking.
Store baked cookies in an airtight container at room temperature for up to 4 days or in the refrigerator for up to 2 weeks. Cookies will gradually dry out; if you want to keep them crisp, include a food-safe desiccant packet in the container.
Yes. Add extracts (vanilla, almond, lemon), finely grated citrus zest, or spices to customize the flavor. Add gently so you don’t alter the dough’s texture.
No. Because the dough contains raw egg, keep it refrigerated or frozen for food safety.
More Basic Cookie Recipes
If you enjoy this dough, try other classic cookie recipes for new textures and techniques — shortbread, butter cookies, tuiles, and cut-out sugar cookies are all great options to expand your baking repertoire.
- Shortbread cookies
- Butter cookies
- Tuiles (cigarette cookies)
- Cut-out sugar cookies
Did you try the recipe?
Share your honest feedback in the comment section below. I’d love to hear how the cookies turned out and which designs you made for friends and family.
Thank you! – Aya

Icebox Cookies (for slice-and-bake cookies)
20
20
30
12 servings
Equipment
Method
Nutrition
Notes
Video
A full demonstration video is available showing the slice-and-bake technique and assembly tips.
Ingredients
- 226 g (1 cup) Butter, softened
- 160 g (1 ⅓ cups) Powdered sugar
- ¼ teaspoon Salt
- 1 egg Whole egg
- 1 yolk Egg yolkSave the egg white for an egg wash if needed.
- 350 g (3 cups) Cake flour
- 70 g (¾ cup) Almond flour
NOTE: For consistent results, measure ingredients by weight. The recipe is designed with grams/ounces; cup measures are provided for convenience.
Equipment
- Stand mixer with a paddle attachment (or a bowl with a whisk and spatula)
- Whisk (to blend flours)
- Rubber spatula
- Plastic wrap (to wrap the dough)
Method
-
Mix softened butter, powdered sugar, and salt until smooth and evenly blended.226 g butter, 160 g powdered sugar, ¼ teaspoon salt
-
Add the whole egg and the extra yolk and mix until smooth, scraping the sides and bottom as needed.1 whole egg, 1 yolk
-
Add the flours (cake flour and almond flour) and mix just until incorporated. Clean the paddle and bowl to ensure even mixing.350 g cake flour, 70 g almond flour
-
Color and shape the dough. Assemble patterns or logs and freeze briefly so they are firm enough to slice cleanly.
-
Bake the slices. Bake at 340–350°F (170–176°C) for about 7–10 minutes, then reduce to 330°F (165°C) and bake another 7–10 minutes or until the edges are lightly toasted. Adjust time and temperature for your oven and cookie thickness.For a crisp, light texture, watch for gentle golden caramelization around the edges.
Notes
Nutrition
Tried this recipe?
Let us know how it was in the comments below.