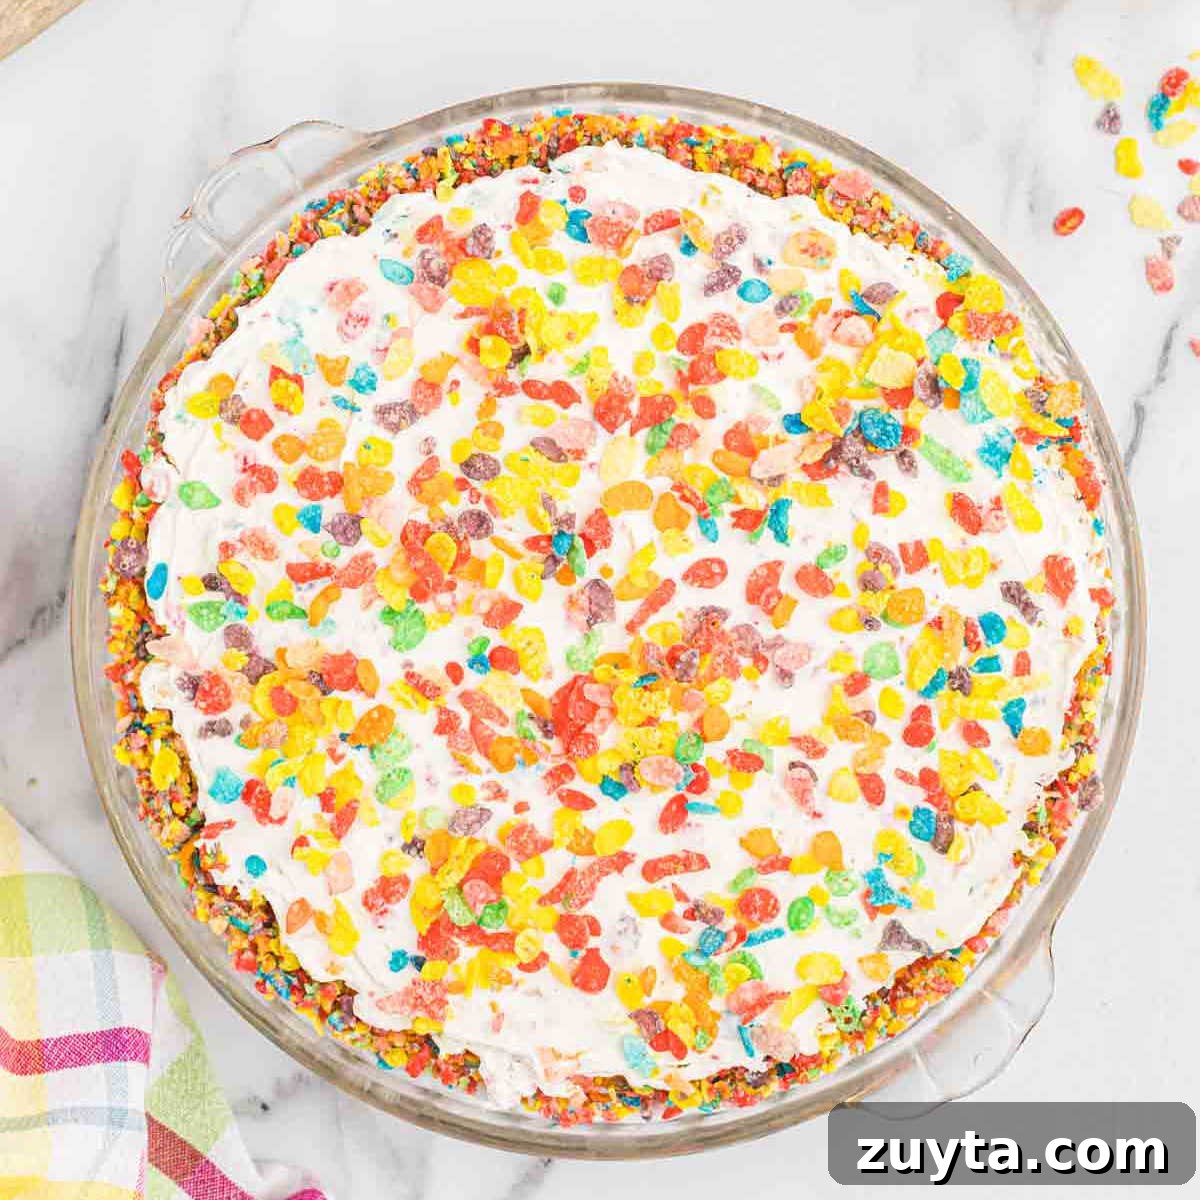
Each bite of Fruity Pebbles Cheesecake is bursting with bright, nostalgic cereal flavor. From the crunchy crust to the creamy filling, this no-bake cheesecake is studded with Fruity Pebbles for color, crunch and sweet, fruity notes. It’s an easy dessert that’s perfect for birthdays, potlucks, or any time you want a playful, crowd-pleasing treat.
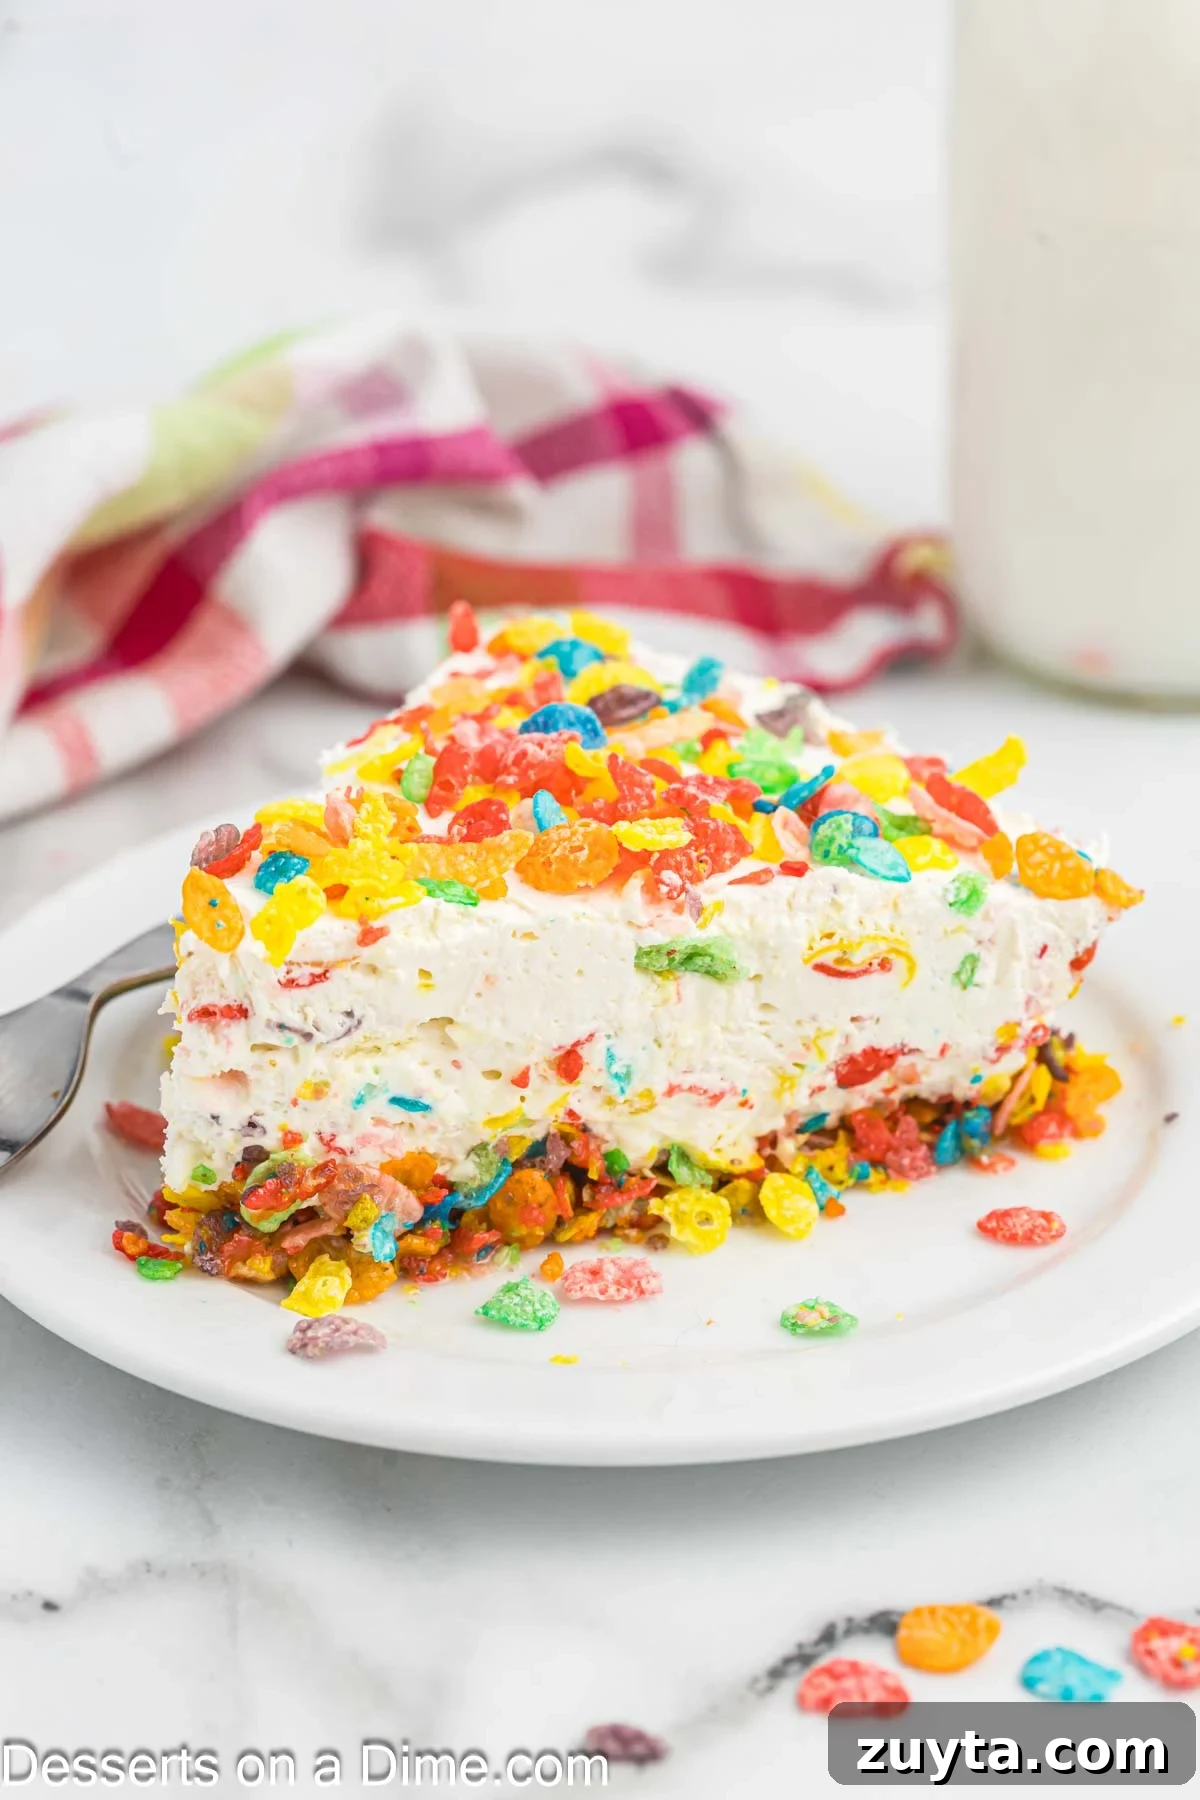
If you enjoy a classic no-bake cheesecake and love Fruity Pebbles cereal, this recipe brings the two together beautifully. The texture is silky and rich, balanced by the crisp cereal in both the crust and the filling for a fun contrast in every forkful.
This variation is simple to make and requires no oven—just a few bowls, a mixer, and patience while it chills. You can also use the same cereal in other desserts for a coordinated treat platter.
Table of contents
- Why We Love This Recipe
- Ingredients
- Crust
- Cheesecake Filling
- Substitutions and Additions
- Step by Step Instructions
- Toppings
- Storage
- Can you freeze the cheesecake?
- Pro Tips
Why We Love This Recipe
This is a straightforward no-bake cheesecake that delivers both flavor and visual appeal. The ingredient list is short and pantry-friendly, and the preparation is quick: crush the cereal for the crust, whip the filling, fold in the cereal, and chill. The finished cheesecake slices hold their shape and serve beautifully, making it an ideal dessert for gatherings or a colorful everyday treat.
Ingredients
Crust
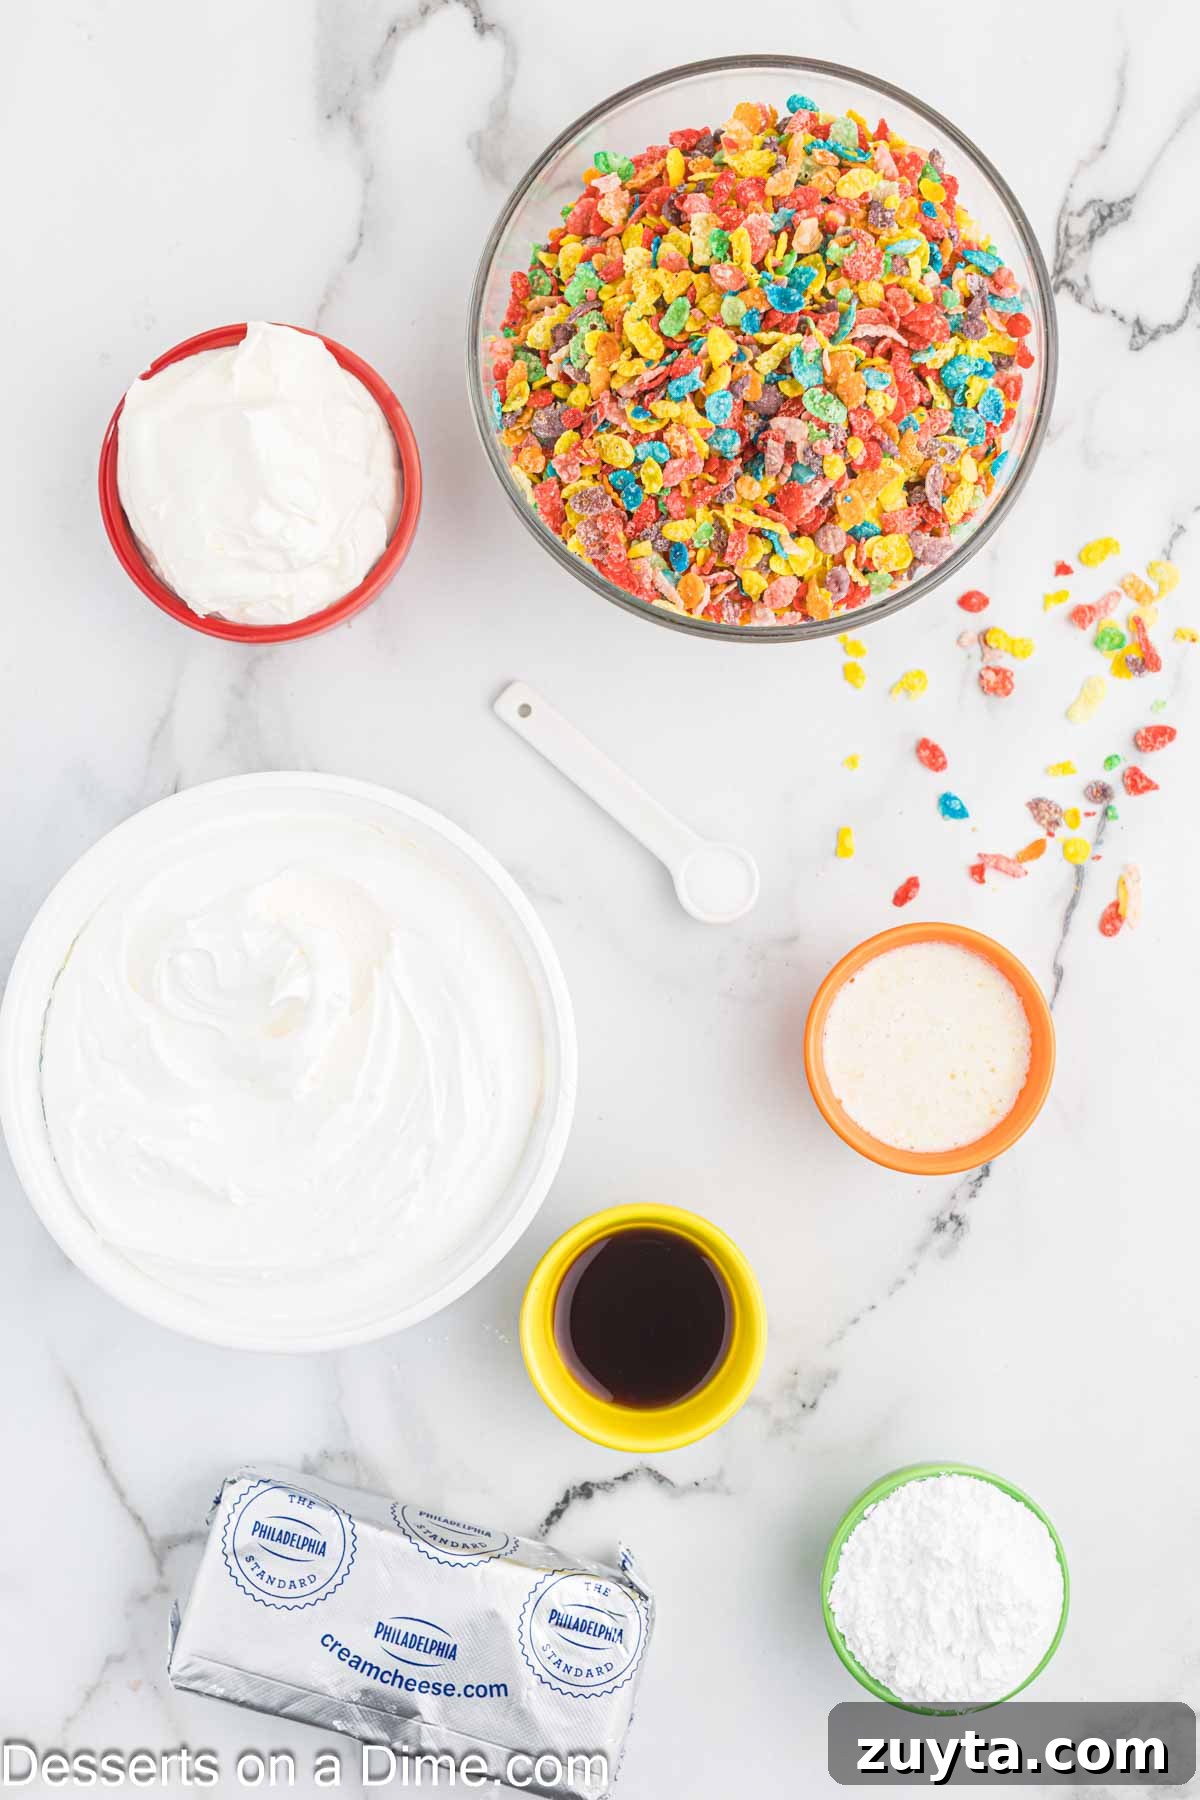
- Fruity Pebbles cereal – crushed to make a colorful, crunchy crust.
- Melted butter – unsalted works well and binds the crust.
- Salt – a pinch to balance sweetness.
Cheesecake Filling
- Cream cheese – softened to room temperature for a smooth base.
- Sour cream – full-fat recommended for richness and stability.
- Powdered sugar – sifted first to avoid lumps.
- Vanilla extract – pure, for the best flavor.
- Cool Whip – store-bought or homemade whipped cream folded in for lightness.
- Fruity Pebbles cereal – fresh and divided between filling and topping.
See the recipe section below for exact quantities.
Substitutions and Additions
- Cocoa version: Replace Fruity Pebbles with Cocoa Pebbles for a chocolatey twist.
- Classic crust: Use crushed graham crackers or vanilla wafers instead of cereal for a more traditional base.
- Alternate cereals: Try Fruit Loops for a similar colorful effect and slightly different flavor profile.
Step by Step Instructions
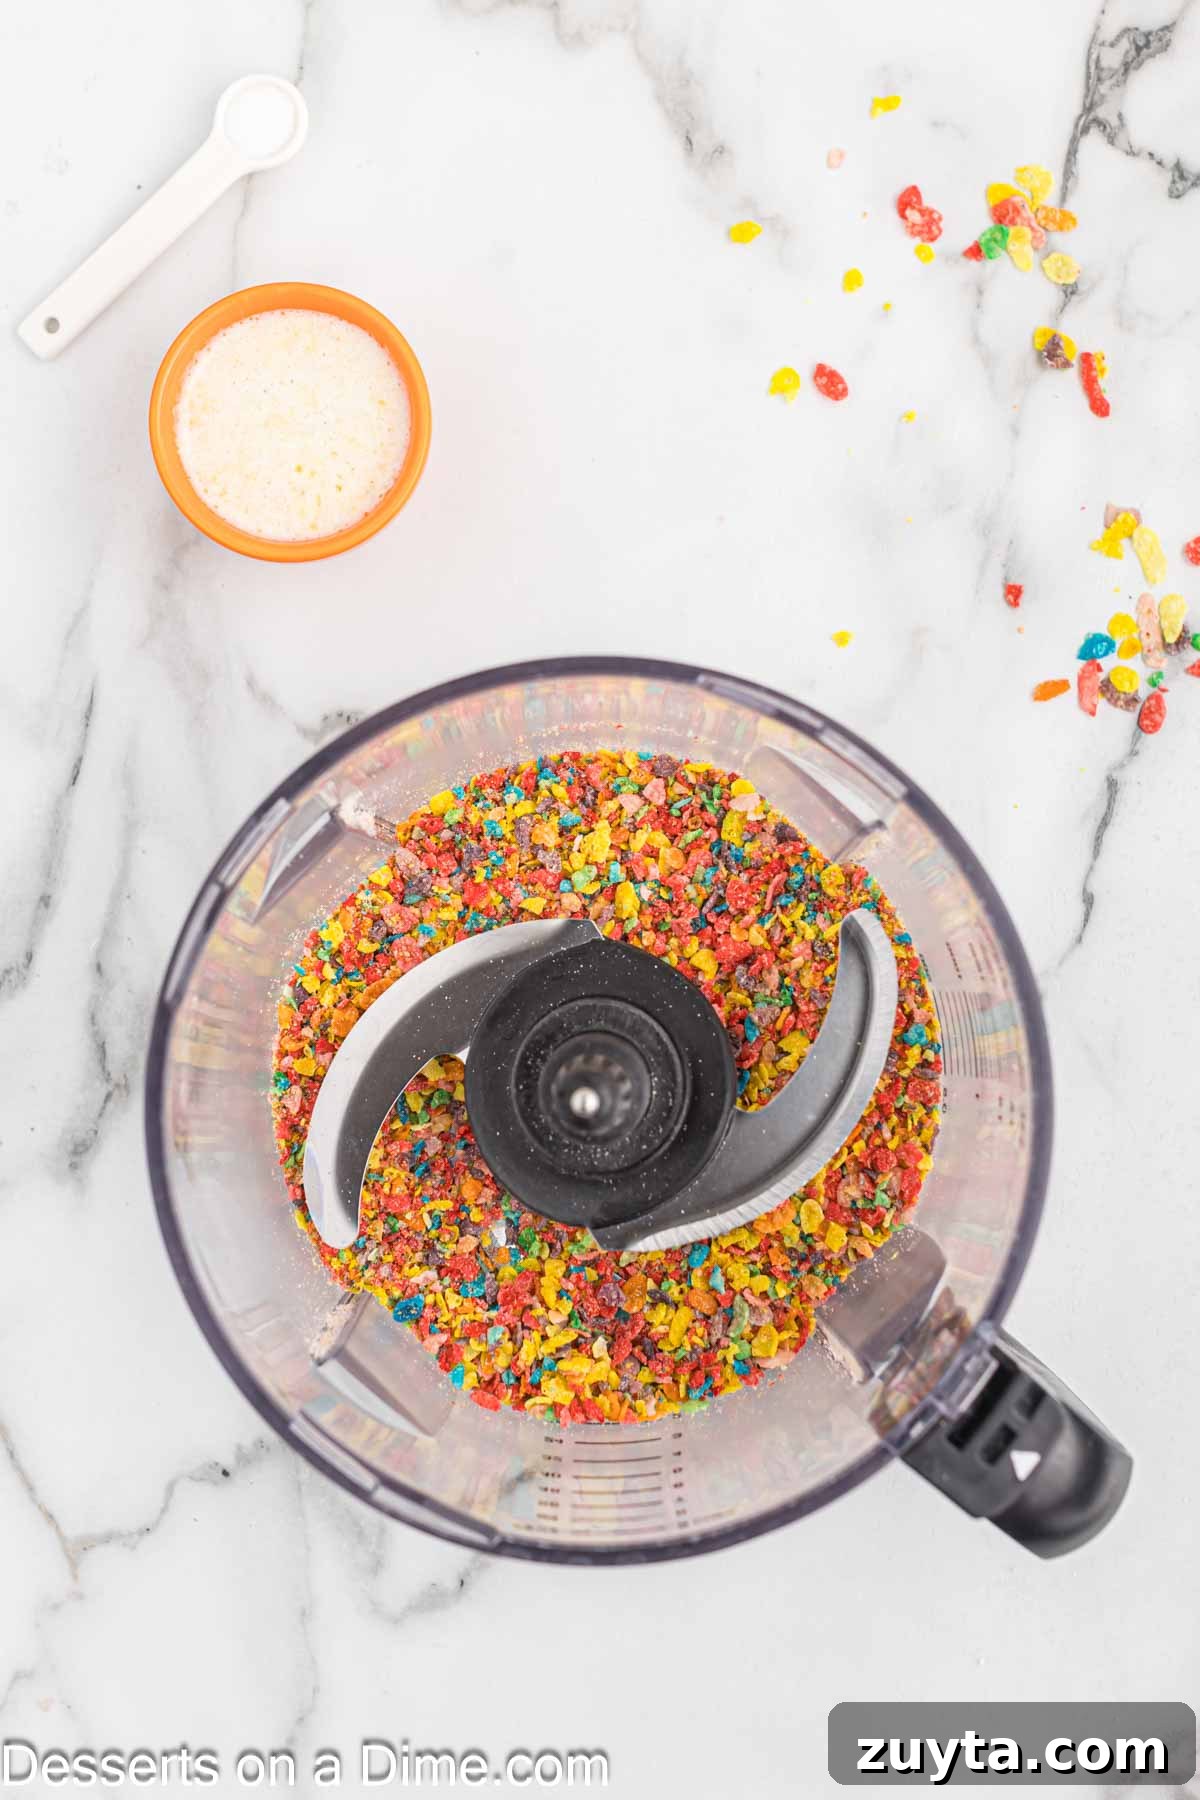
Step 1. Place the Fruity Pebbles in a food processor or a heavy-duty bag and crush until fine crumbs form.
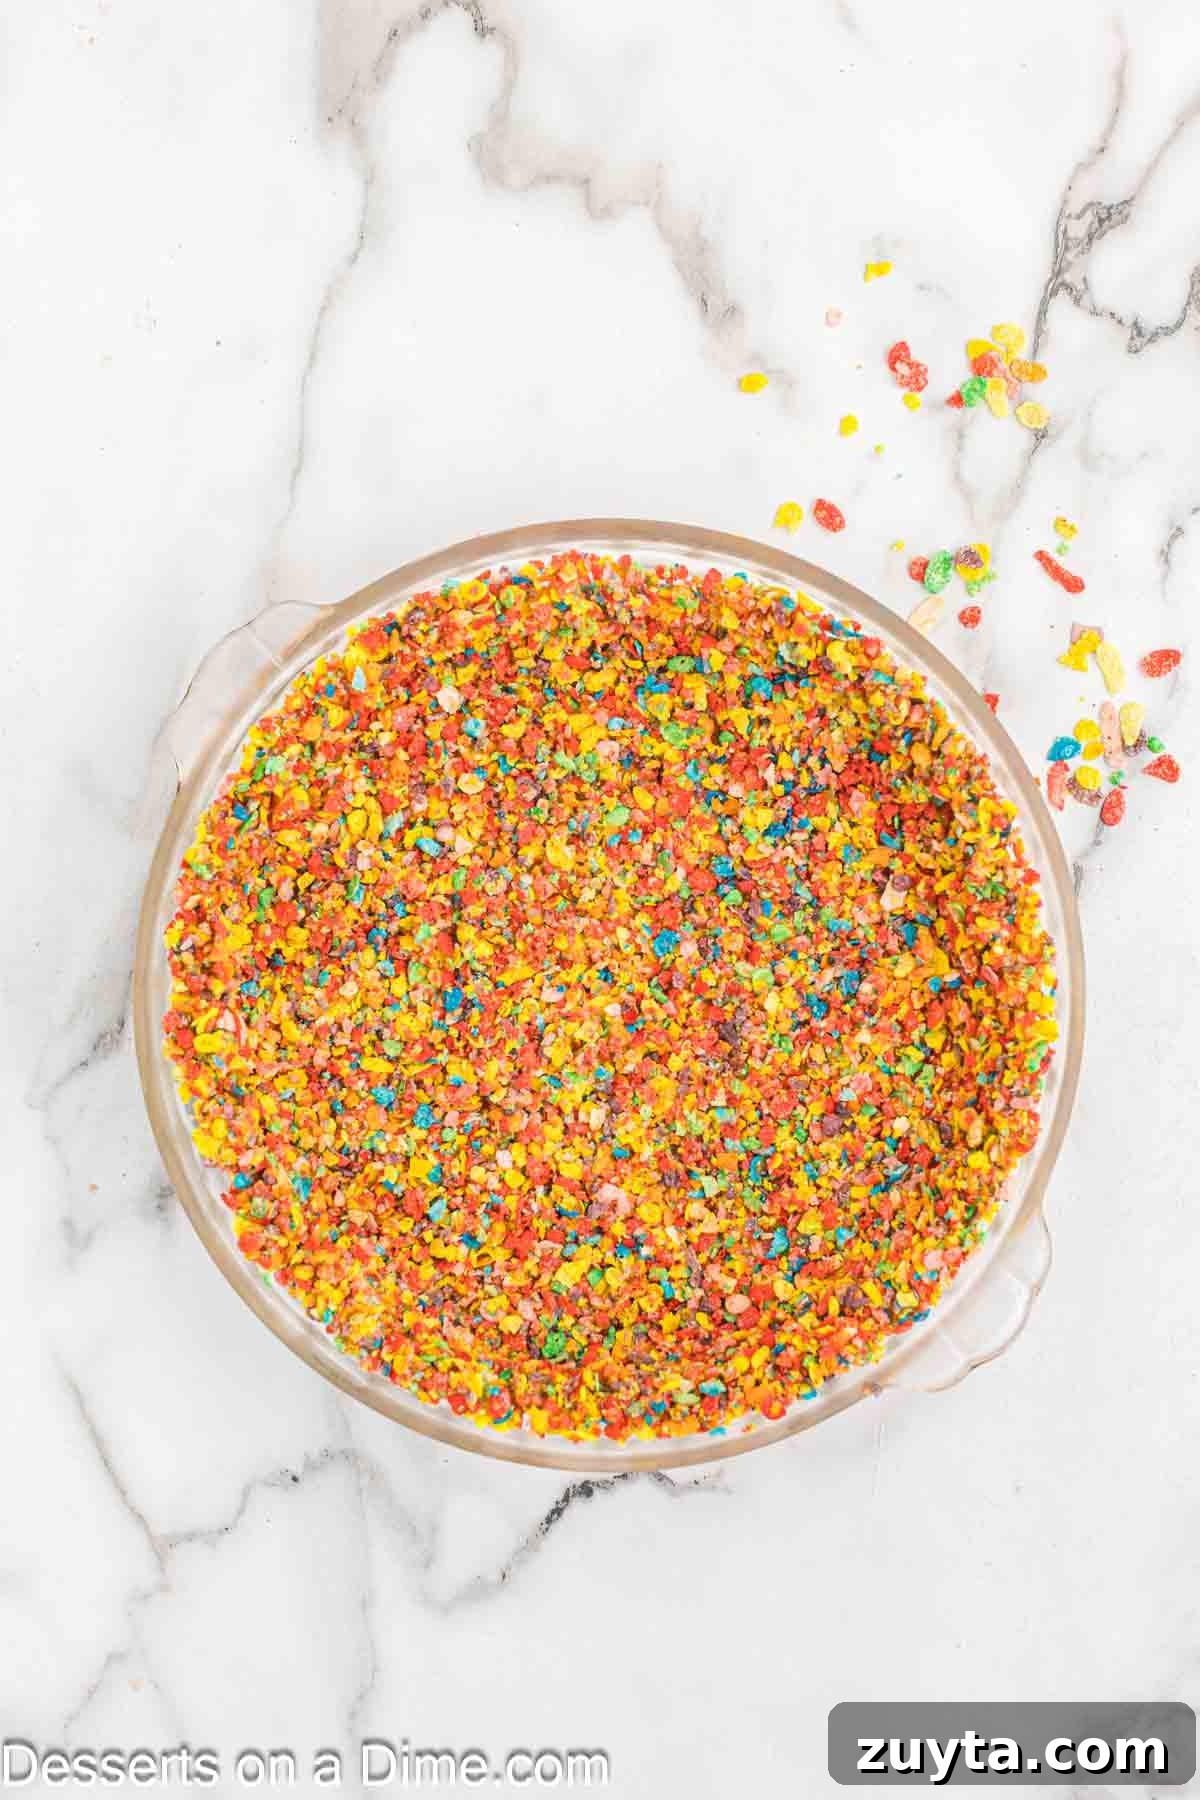
Step 2. In a bowl, mix the crushed cereal with melted butter and a pinch of salt. Press the mixture firmly into a 9-inch pie pan, including slightly up the sides. Freeze for 15–20 minutes to set the crust.
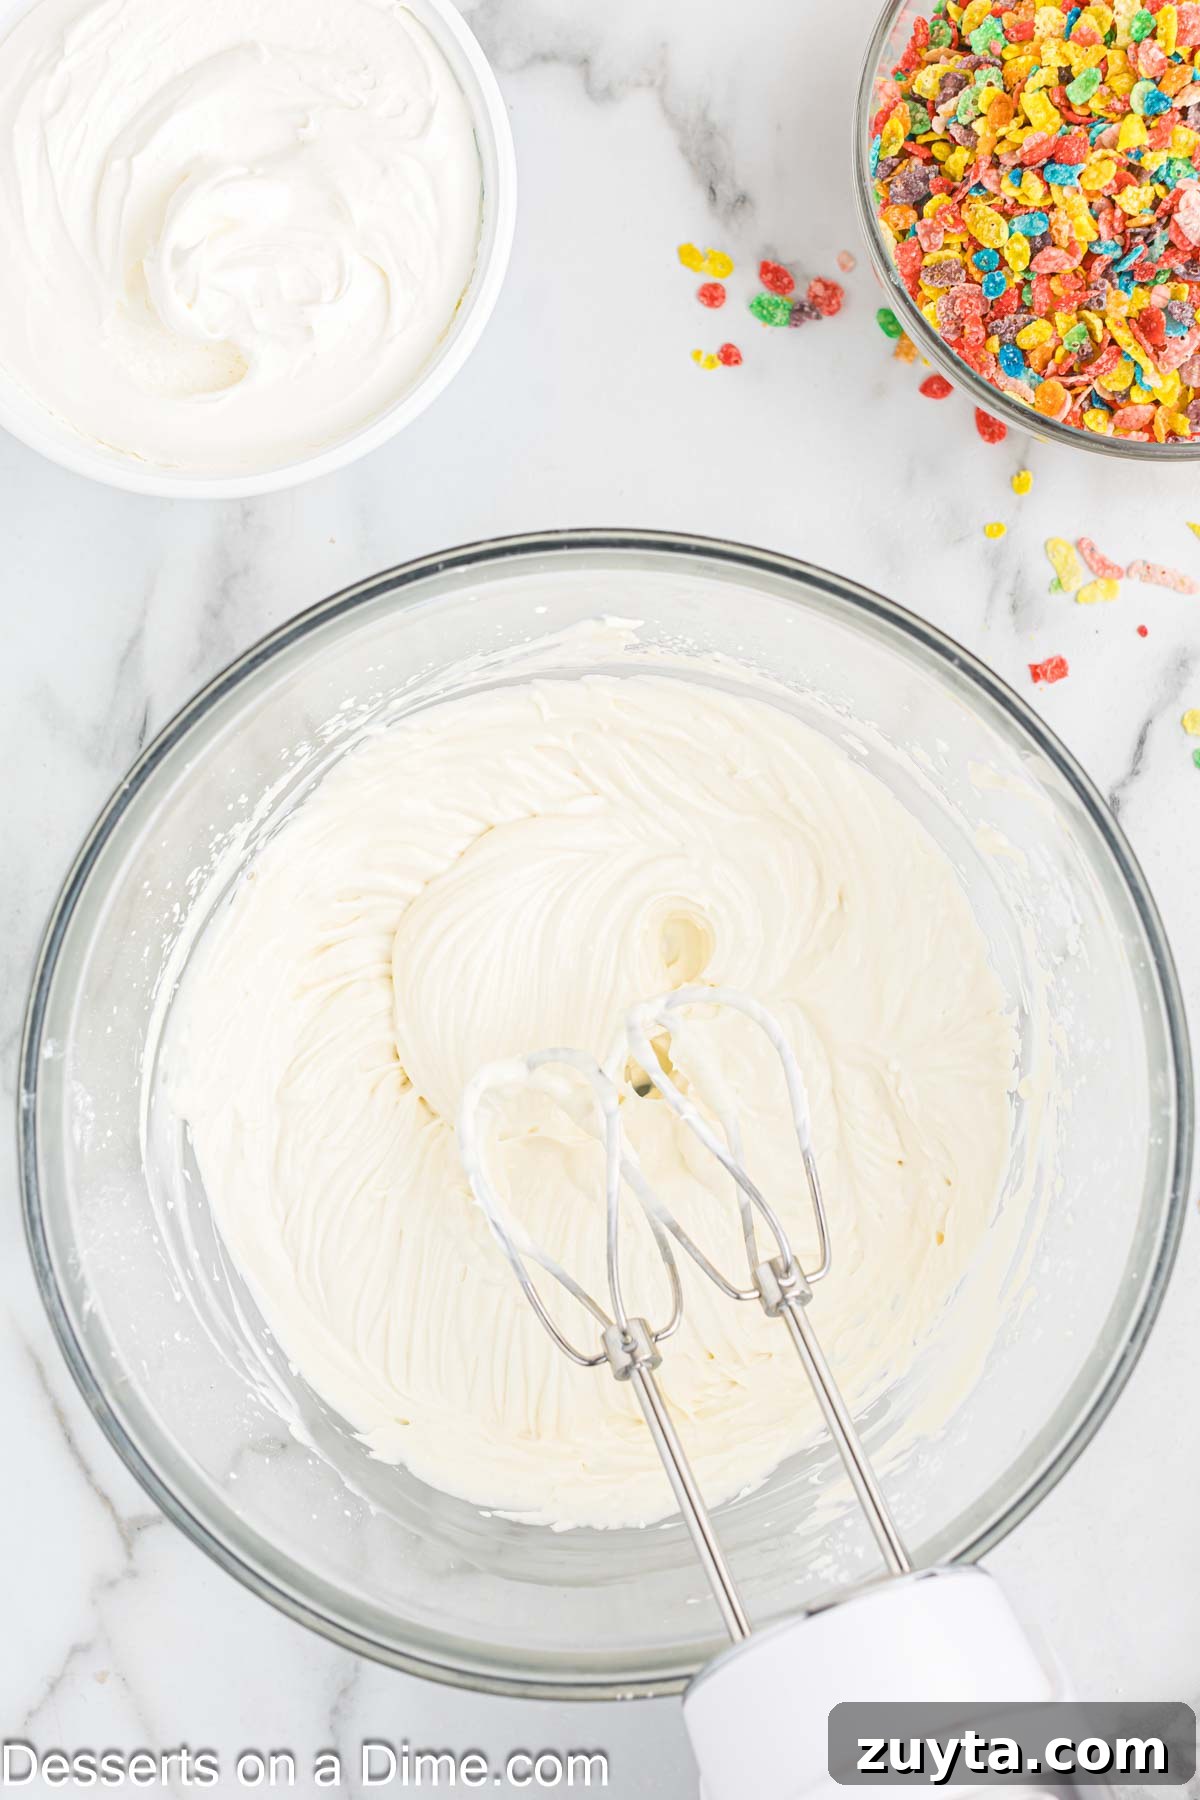
Step 3. While the crust chills, beat together softened cream cheese, sour cream, powdered sugar and vanilla in a large mixing bowl until smooth and well combined.
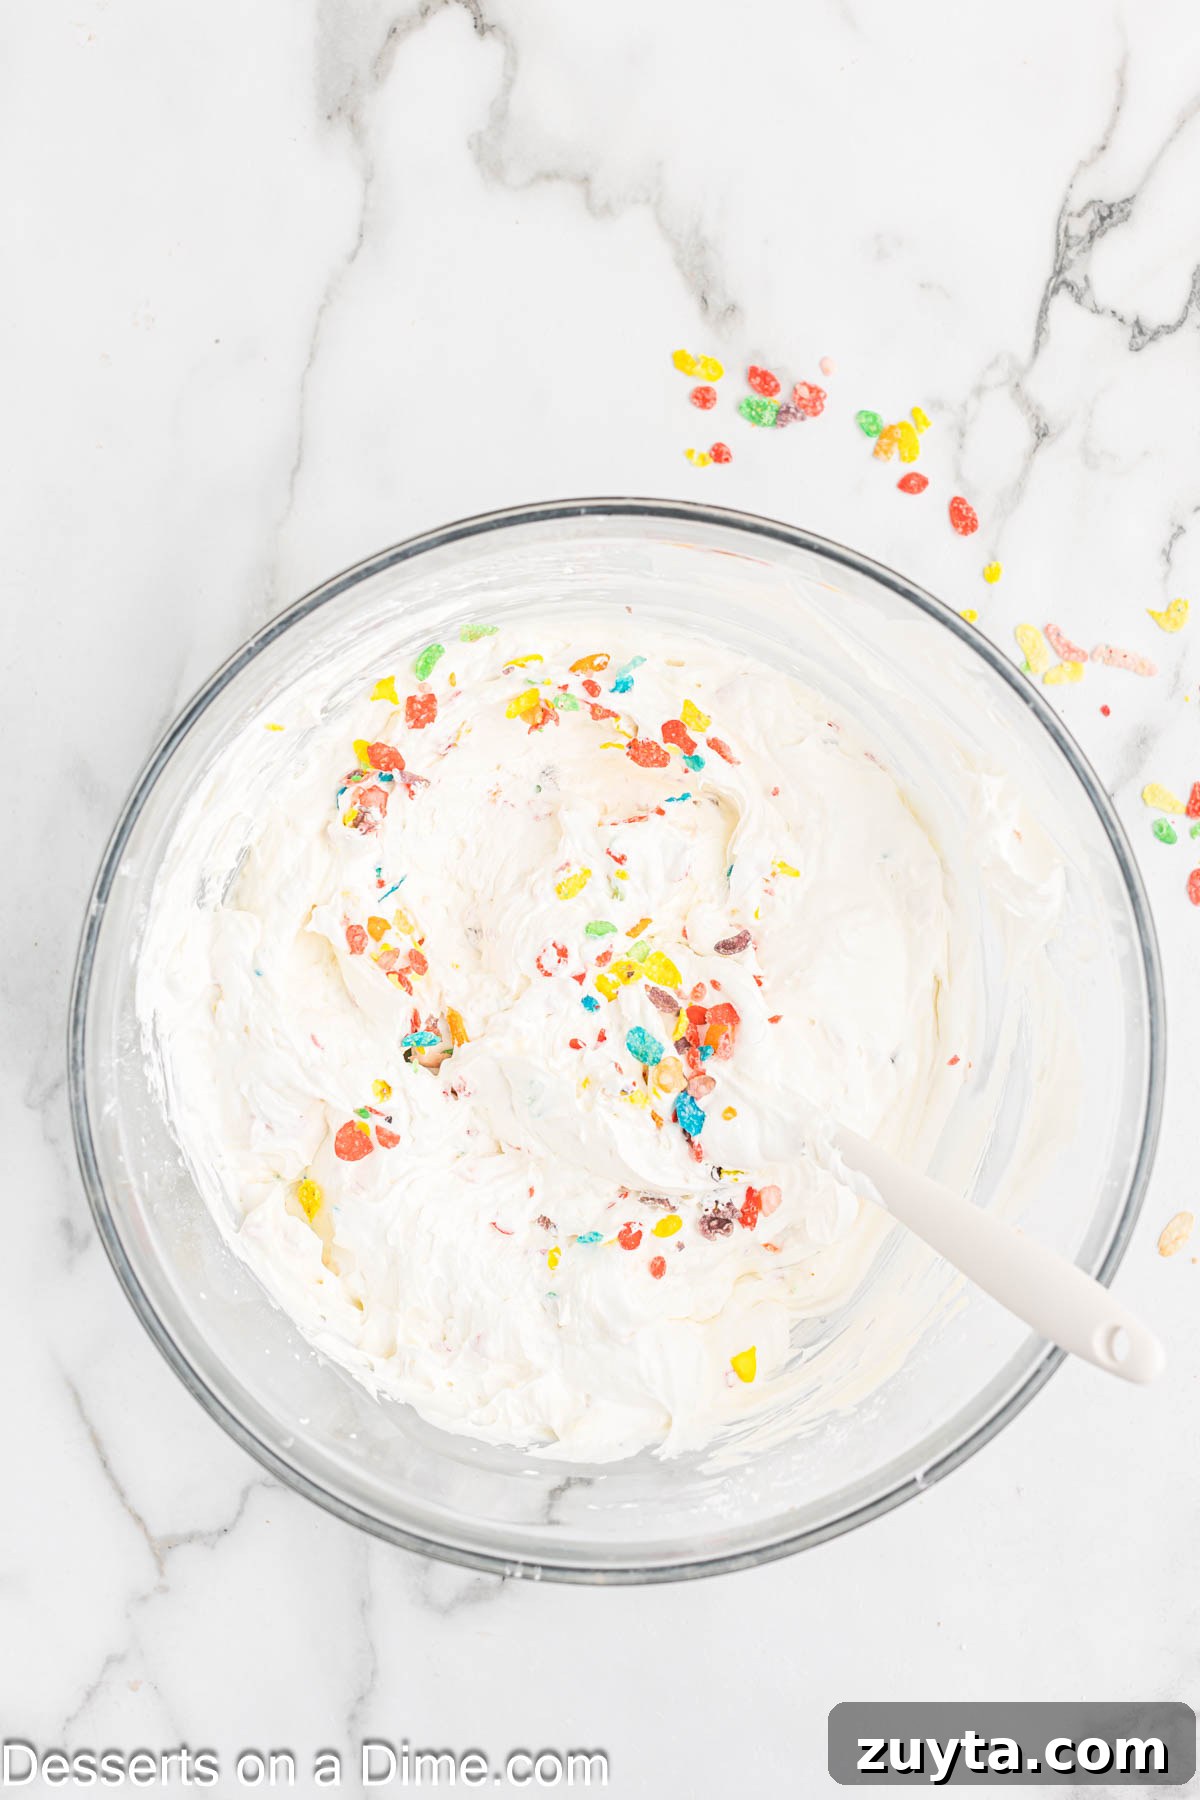
Step 4. Gently fold in the Cool Whip and about one cup of Fruity Pebbles by hand so the cereal remains crunchy and evenly distributed.
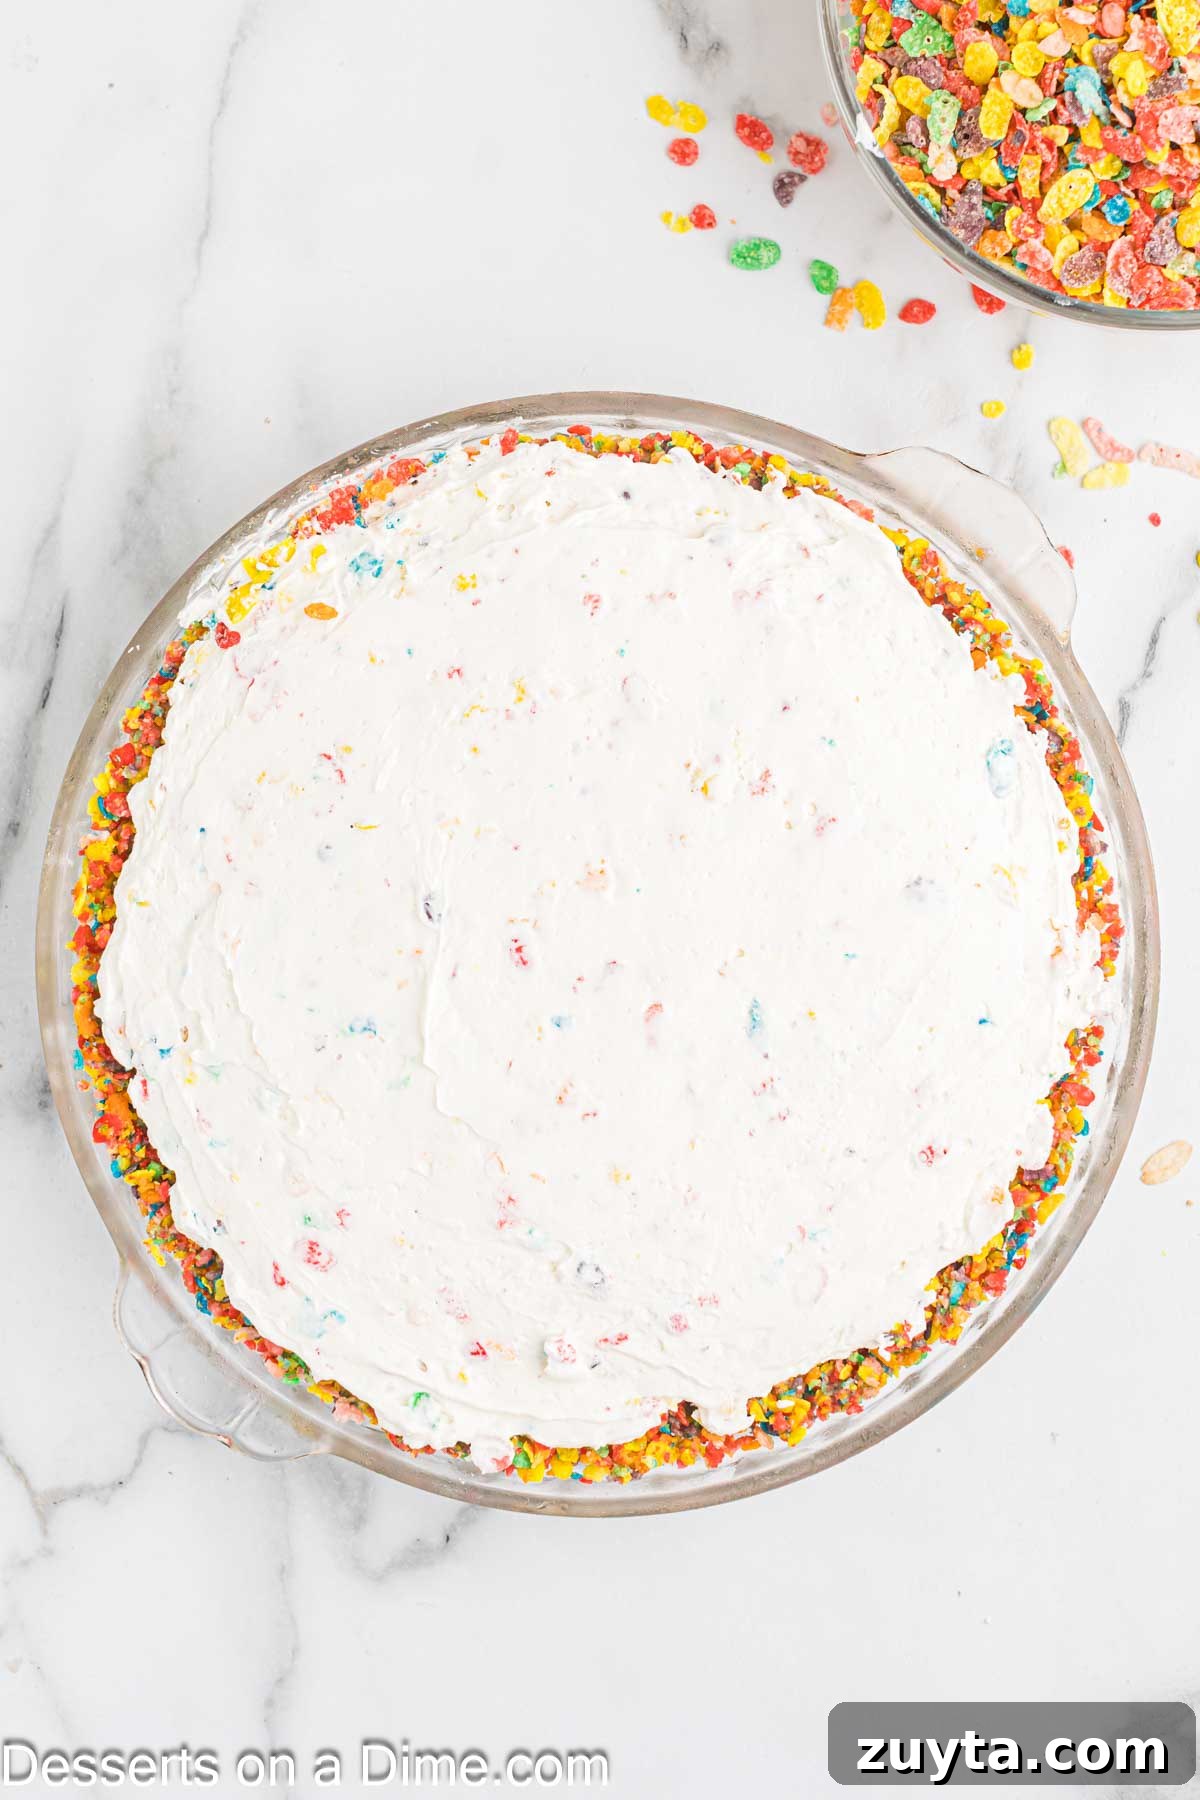
Step 5. Spread the filling into the prepared crust and smooth the top. Chill in the refrigerator for at least 3–4 hours; overnight chilling gives the best texture.
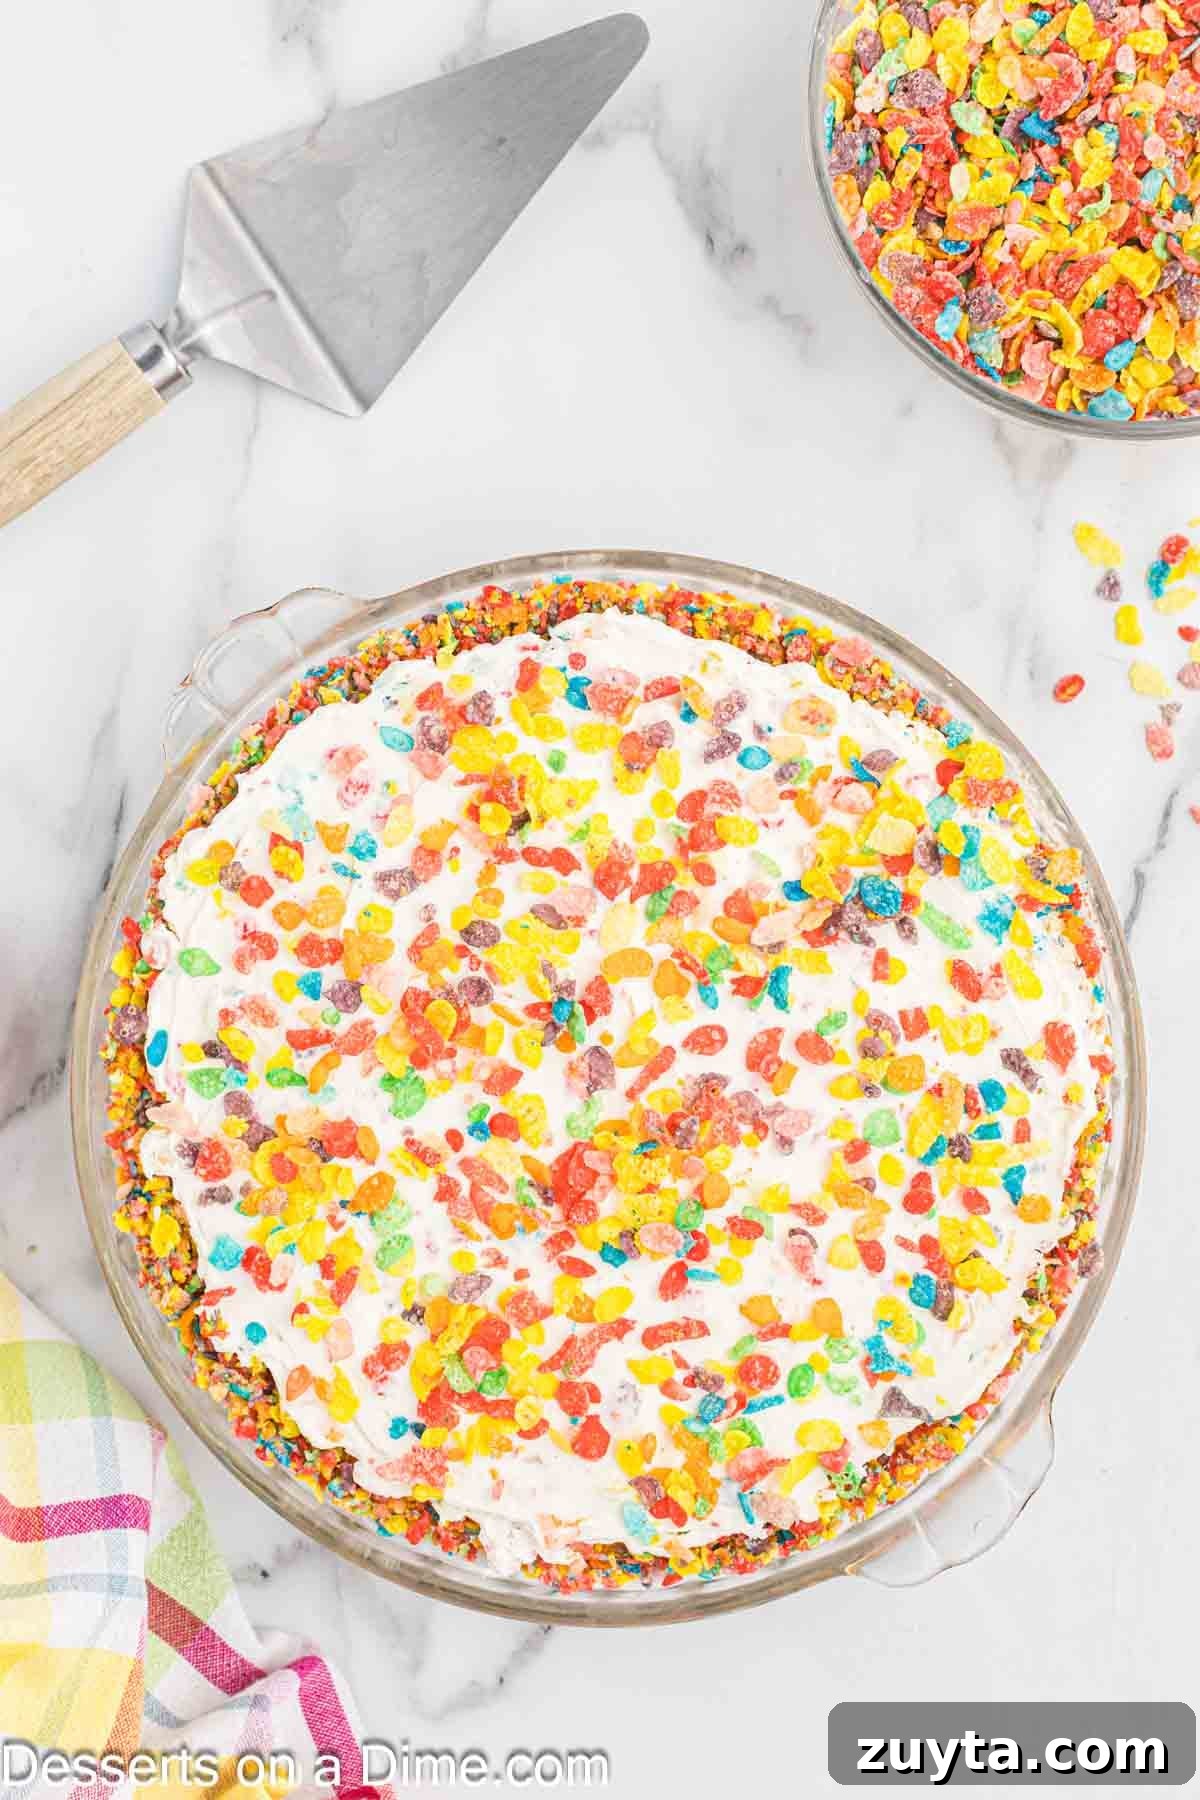
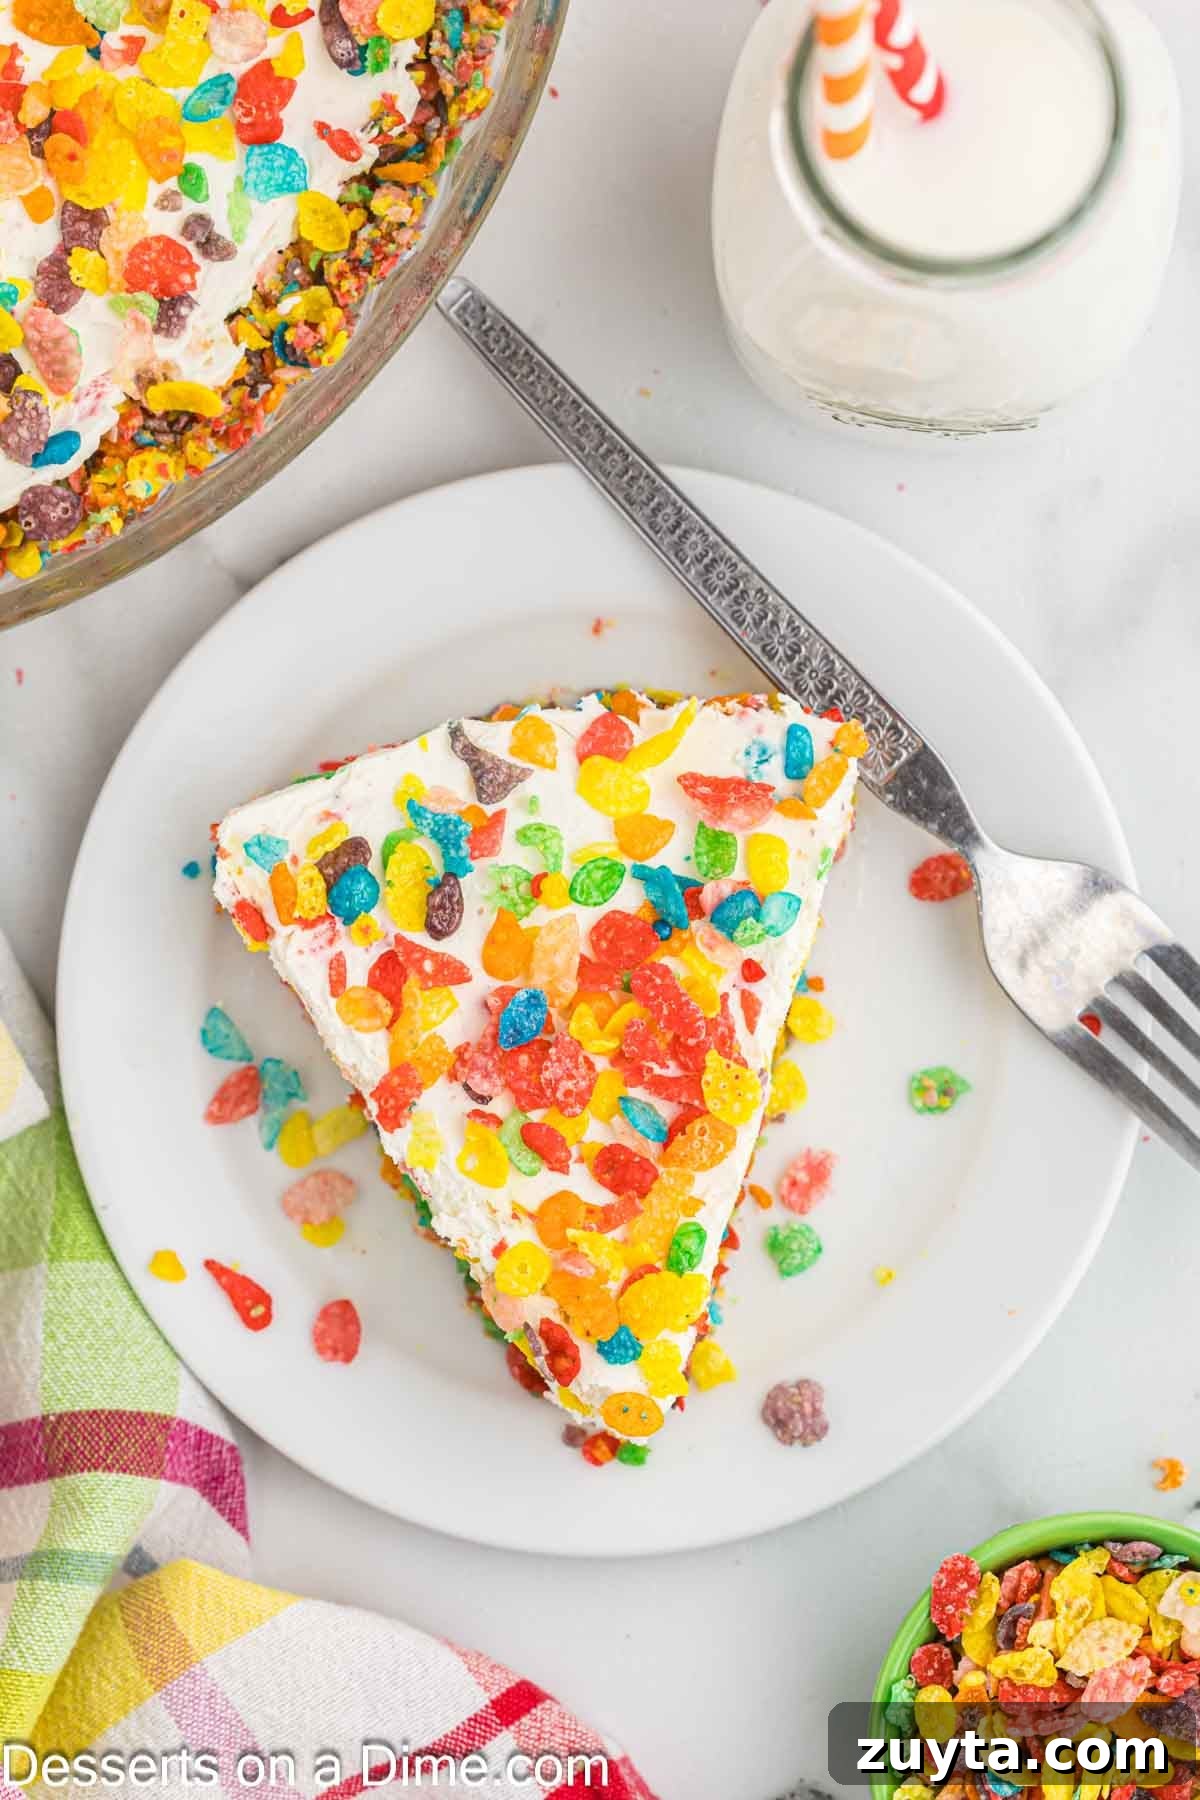
Step 6. Just before serving, sprinkle the remaining Fruity Pebbles over the top for color and crunch. Slice and serve chilled.
Toppings
- Extra cereal: Add more Fruity Pebbles at serving time for added crunch.
- Fresh berries: Strawberries, raspberries, or blueberries pair nicely with the sweet cereal flavors.
- Fruit sauce or pie filling: A spoonful of strawberry sauce or cherry pie filling complements each slice.
Storage
Keep the cheesecake covered in plastic wrap or in an airtight container in the refrigerator for up to 3–4 days. Chilled slices hold their shape best and maintain that crisp cereal texture.
Can you freeze the cheesecake?
Yes. To freeze, wrap the whole cheesecake tightly in plastic wrap and then in aluminum foil. Freeze for up to one month. Thaw overnight in the refrigerator before serving. Note that cereal on top may soften slightly after freezing and thawing; for best texture, add any extra cereal right before serving.
Pro Tips
- Soften the cream cheese: Bring cream cheese to room temperature for a smooth, lump-free filling. If short on time, cut it into small pieces to soften faster.
- Use full-fat dairy: Full-fat cream cheese and sour cream produce a richer texture and better set.
- Crush the cereal: Crushing the cereal for the crust creates a more cohesive base; leaving the cereal whole in the filling preserves crunch.
- Chill thoroughly: Allow several hours or overnight for the cheesecake to fully set—this makes slicing cleaner and improves texture.
More Cheesecake Recipes

Deep Fried Cheesecake
Cinnamon Roll Cheesecake
No Bake Blueberry Cheesecake
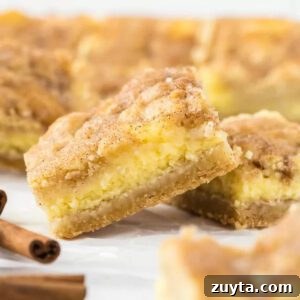
Snickerdoodle Cheesecake Bars
Make this no-bake Fruity Pebbles Cheesecake when you want a colorful, fun dessert with creamy texture and a crunchy twist. It’s great for birthdays, holidays, or any casual gathering. Please leave a rating and a comment after trying the recipe.
Fruity Pebbles Cheesecake
Recipe Details
Servings: 8 | Cuisine: American | Course: Dessert | Calories: 389 | Author: Carrie Barnard
Ingredients
For the Crust:
- 3 cups Fruity Pebbles Cereal
- 1/3 cup melted butter
- 1/4 teaspoon salt
For the Cheesecake Filling:
- 8 ounces cream cheese, softened
- 1 cup sour cream
- 1/2 cup powdered sugar
- 2 teaspoons vanilla extract
- 8 ounces Cool Whip
- 1 1/2 cups Fruity Pebbles cereal, divided
Instructions
For the Crust:
- Place the Fruity Pebbles in a food processor and blend until finely crushed.
- Mix the crushed cereal with melted butter and salt in a medium bowl.
- Press the mixture into a pie pan, slightly up the sides, then freeze for 15–20 minutes to set.
For the Cheesecake Filling:
- Beat the cream cheese, sour cream, powdered sugar and vanilla until smooth.
- Gently fold in the Cool Whip and 1 cup of the Fruity Pebbles cereal.
- Pour the filling into the prepared crust, smooth the top, and chill at least 3–4 hours (overnight is best).
- Before serving, top with the remaining Fruity Pebbles cereal. Slice and enjoy.
Notes
- Keep refrigerated until ready to serve.
- Softened cream cheese mixes more smoothly; cut into smaller pieces if time is short.
- Refrigerate leftovers, covered, for up to 3–4 days.
Nutrition Facts
Calories: 389 kcal; Carbohydrates: 37 g; Protein: 4 g; Fat: 25 g; Saturated Fat: 15 g; Sugar: 22 g; Sodium: 372 mg.