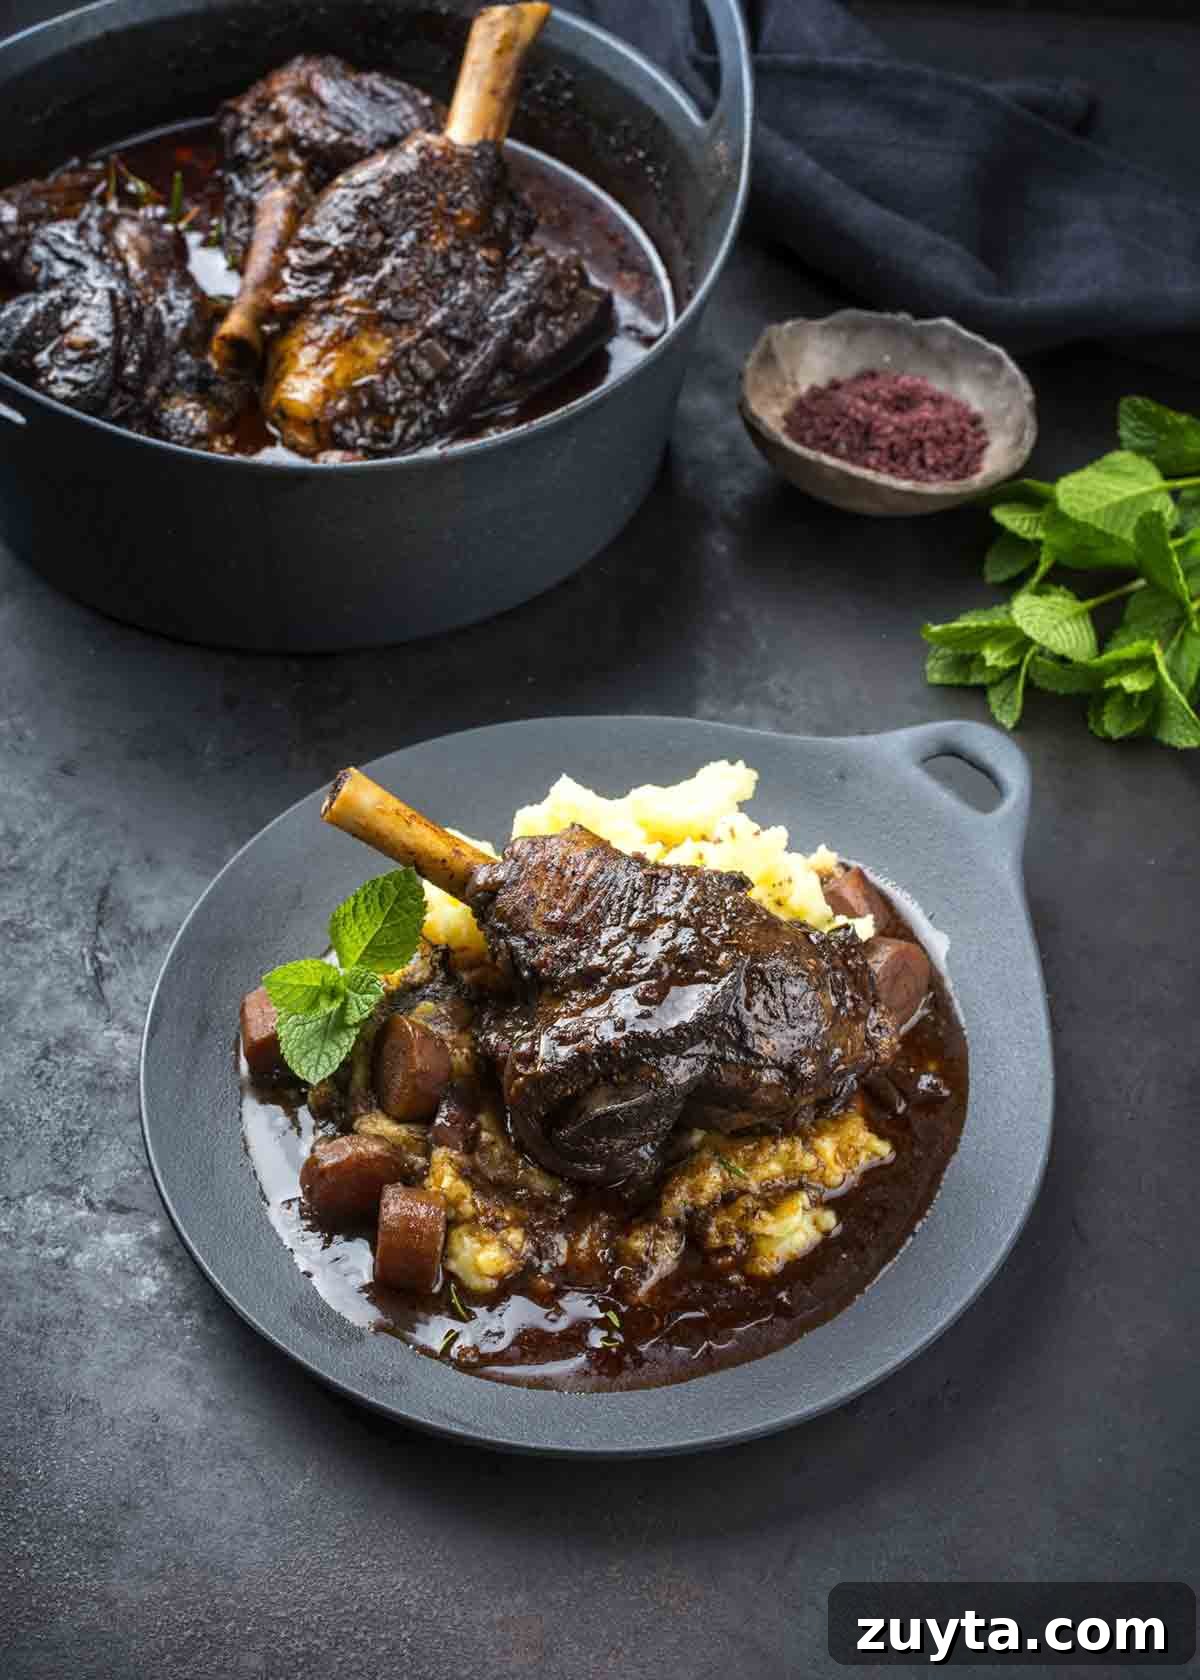
When snow piles up and temperatures drop, few things rival the comfort of a slowly cooked braise. Beyond the home-filling aroma that signals dinner is almost ready, braising is a low-effort technique that transforms modest, inexpensive ingredients into deeply flavored, tender dishes. It requires minimal hands-on time and rewards patience with rich sauces and melt-in-your-mouth textures.
So what is braising?
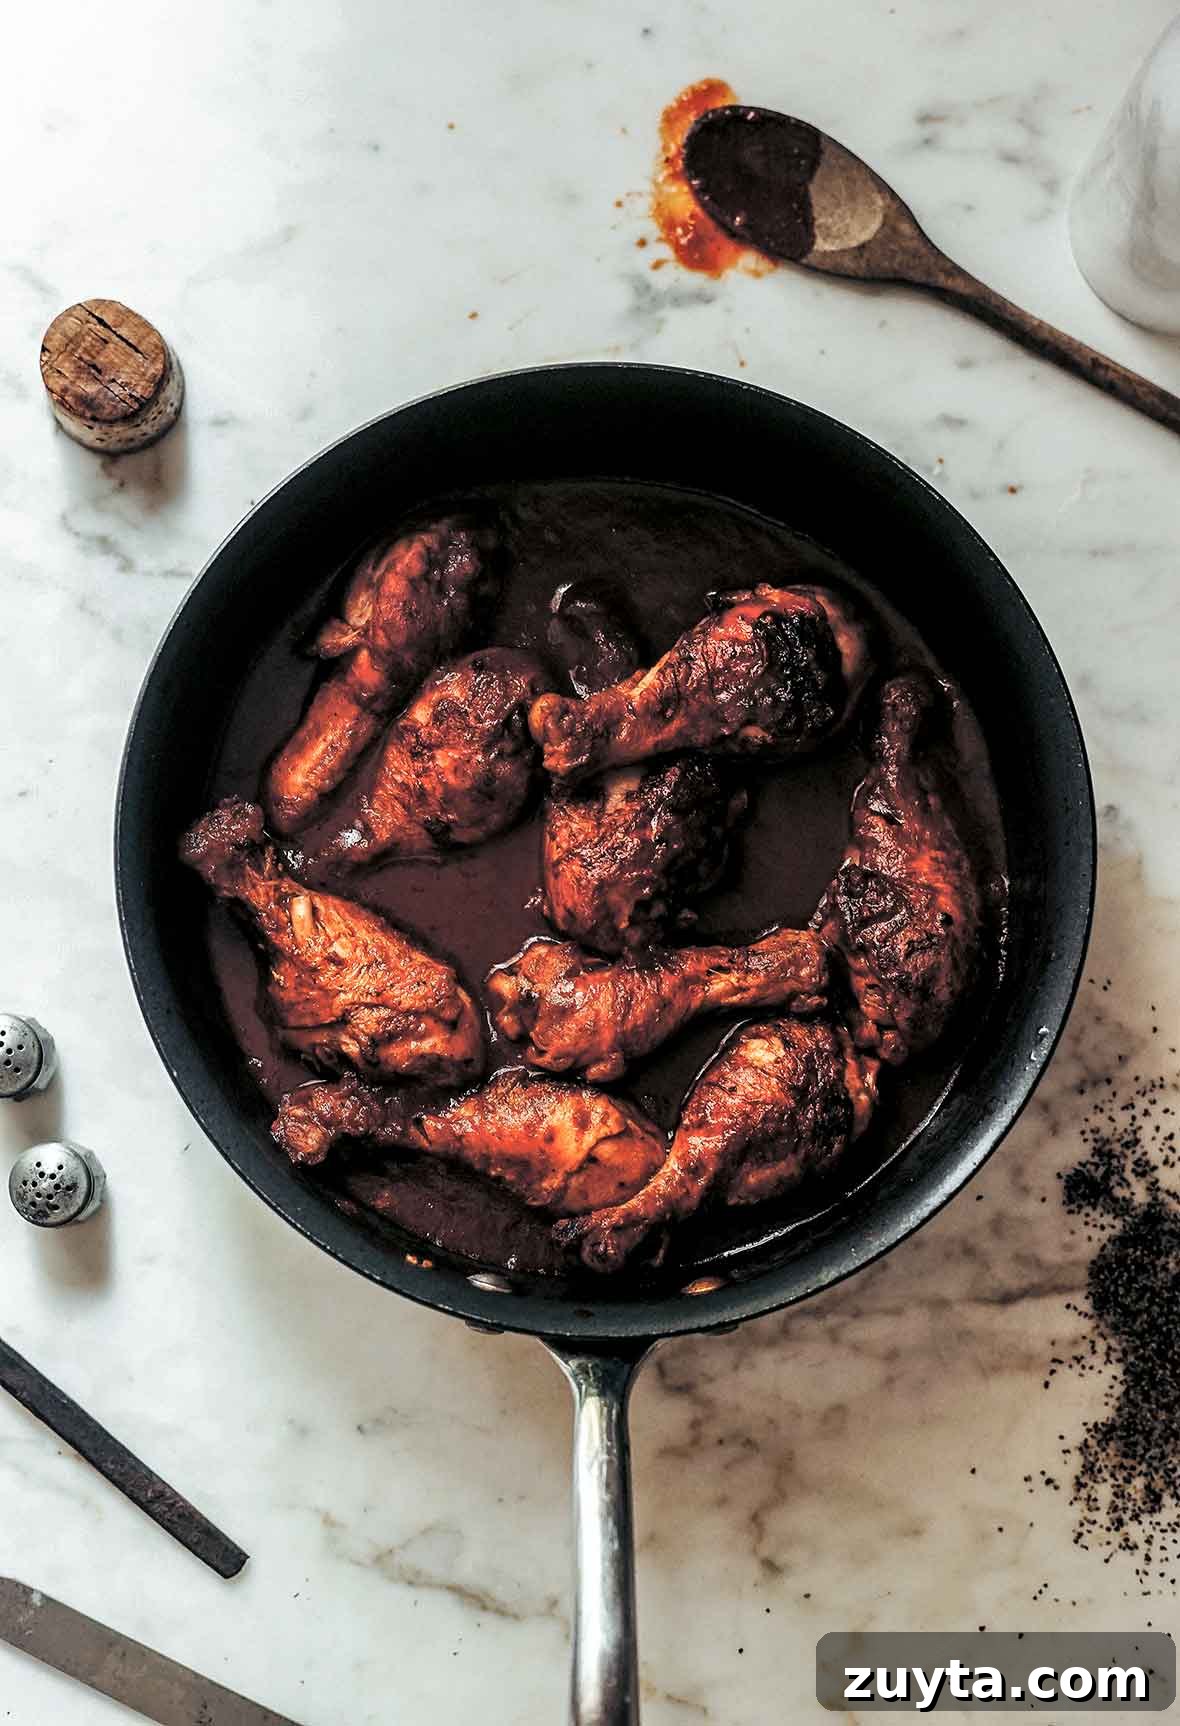
Braising is a cooking method that combines gentle heat, a small amount of liquid, and time to turn tougher cuts of meat and hearty vegetables into cohesive, richly flavored meals. It’s often the go-to method for economical cuts like short ribs, osso buco, chuck roast, lamb shanks, and chicken legs. Because flavors continue to meld after cooking, braised dishes frequently taste even better the next day, making them ideal for make-ahead cooking and effortless reheating.
Many home cooks have already braised without calling it that. Typical instructions—“reduce to a low simmer, cover tightly, and cook for 1 1/2 to 2 hours”—describe exactly how a braise works. Slow cooker recipes also fall under the braising umbrella, as they apply the same low-and-slow logic to cook tough ingredients into tender meals.
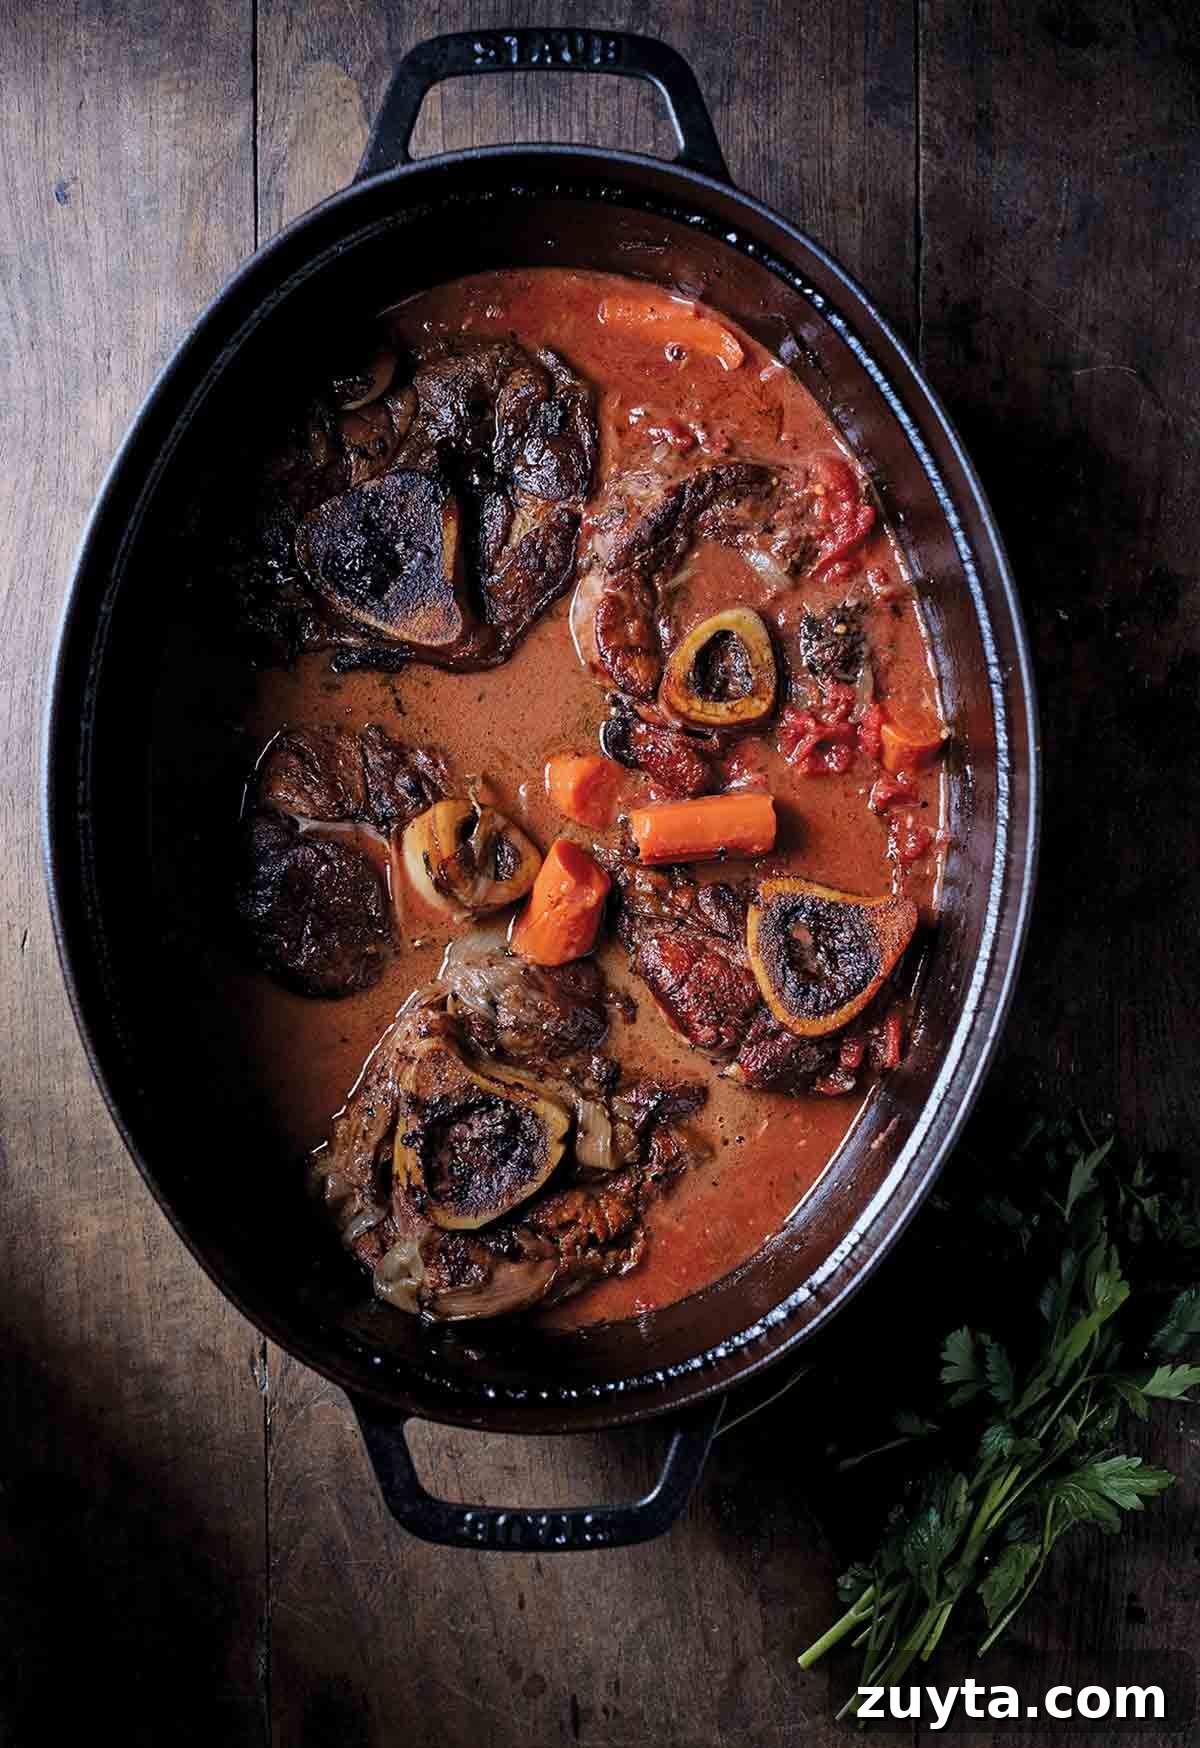
At its core, braising uses sustained low heat to cook a primary ingredient in a relatively small amount of liquid. Aromatics and vegetables are added, the pot is covered tightly, and the mixture simmers gently for an extended period—often well over 45 minutes. Whether cooked on the stove, in the oven, or in a slow cooker, the critical elements are low temperature, long time, and the presence of a cooking liquid that concentrates flavors without diluting them.
How does braising work?
Braises are always cooked covered, creating a humid environment that traps steam. Condensation on the lid drips back into the pot, keeping the ingredients moist and preventing the liquid from evaporating away. Many recipes begin by searing the meat to build fond—the browned bits on the pot’s bottom—which contributes depth and richness to the finished sauce.
The liquid in a braise usually reaches only a third to halfway up the meat. That may seem modest, but as meats and vegetables cook they release juices that blend with the aromatics to form a concentrated, flavorful sauce. Using high-quality stock or wine will improve the final flavor since the braise depends heavily on the cooking liquid. Avoid adding too much liquid; excessive volume dilutes taste and reduces texture development.
The low-and-slow temperature is what turns collagen, cartilage, and connective tissue into gelatin. Around 180–200°F (82–93°C), these components break down and melt into the cooking liquid, turning tough cuts into tender, glossy, succulent pieces of meat. This technique is unsuitable for quick-cooking cuts like chicken breast or ribeye but is perfect for the traditionally tougher options mentioned earlier.
How do you know when a braise is done?
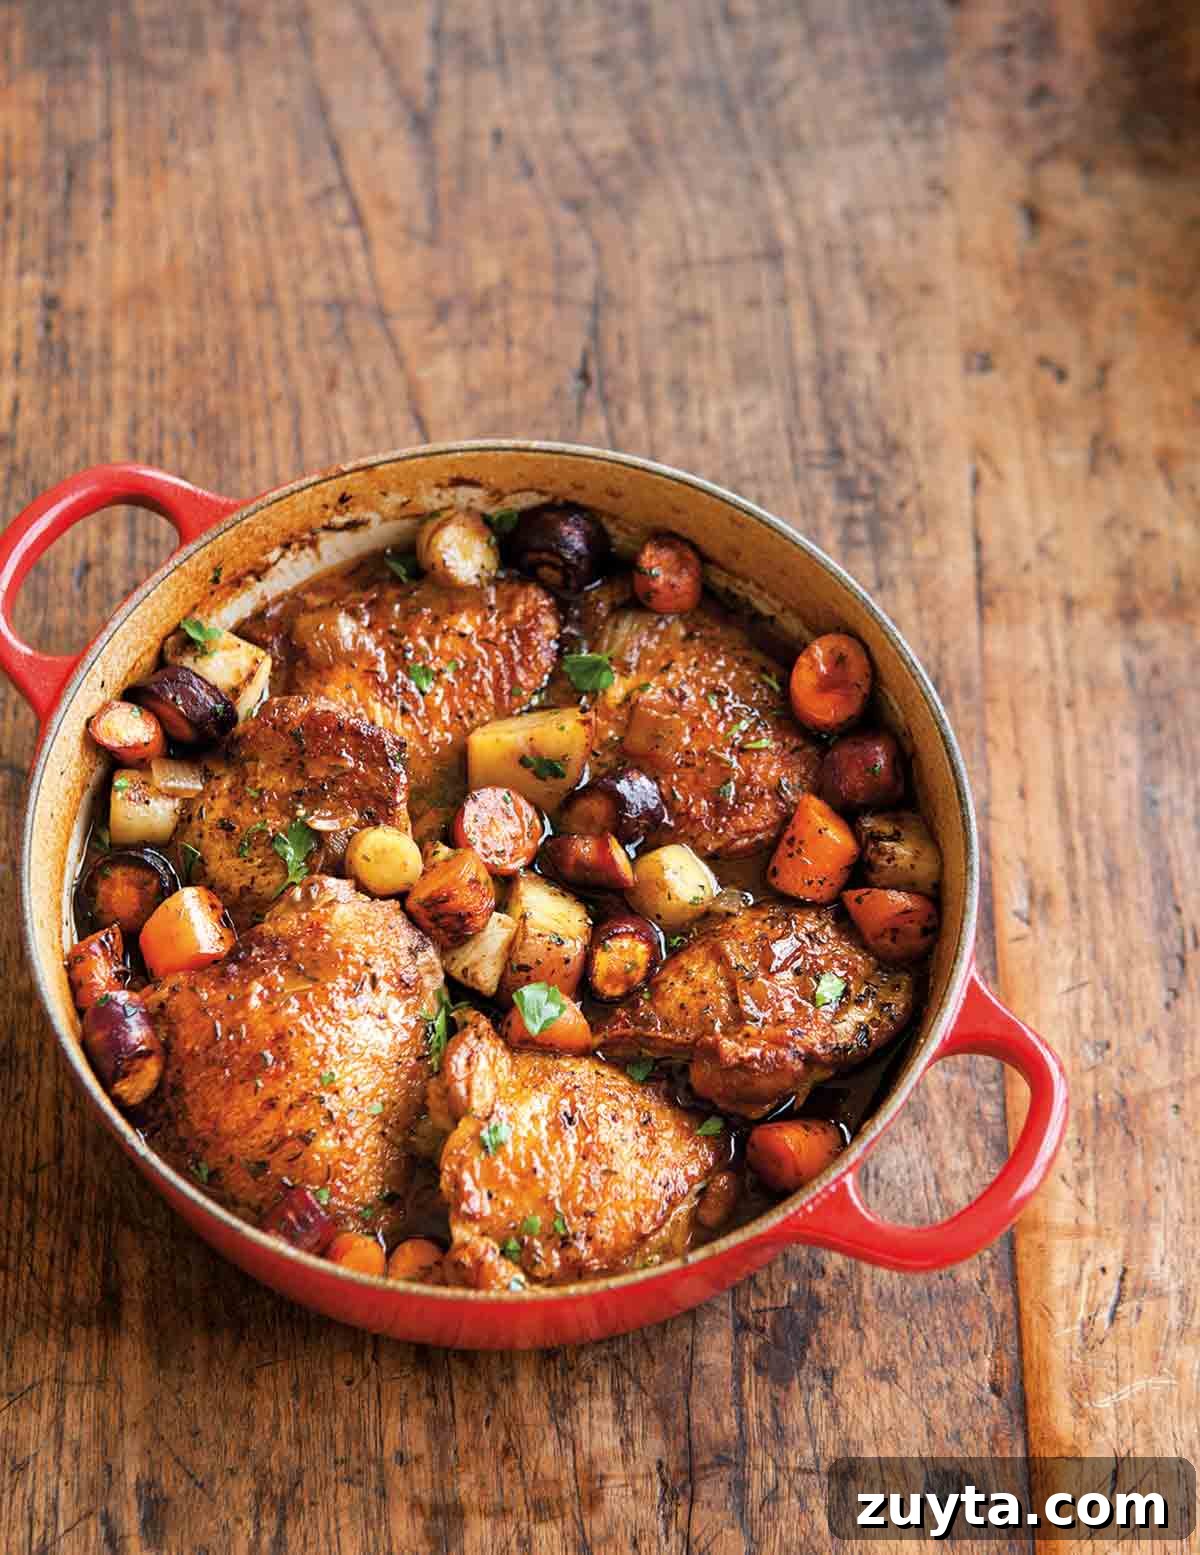
Braising can’t be rushed. Although the internal temperature may exceed standard USDA doneness guidelines well before the meat becomes tender, safety isn’t the same as tenderness here. The proper test is the fork test: insert a fork into the meat—if it slides in easily and the meat pulls apart without resistance, the braise is done. A tough braise usually means it needs more time, not less.
That said, overcooking is possible. Once muscle fibers disintegrate completely, the meat can lose structure, flavor, and pleasant texture. Many shredded-style preparations—like ropa vieja or a slow ragu—are cooked until fibers separate with little coaxing. When using the fork test, stop cooking once the meat yields easily and before the fibers collapse entirely. Use a timer and check near the end of the estimated cooking window to avoid overshooting.
Tips to help ensure better braising
A few practical tips will help you braise with confidence and consistency:
Use tight-fitting lids
A tight lid keeps steam circulating and prevents the cooking liquid from evaporating too quickly. If large amounts of steam escape during a test simmer, improve the seal with a sheet of parchment or a layer of aluminum foil under the lid. Only check the braise once or twice while cooking—each peek releases heat and steam, which prolongs cooking time.
Choose the right-size pot
Match the pot to the recipe. Dutch ovens are popular because they hold heat and moisture well, but any heavy-bottomed pot or wide braiser with a snug lid will work. Shallow pans with a large surface area help keep the liquid level low so the meat steams and braises rather than poaches. For very large items, a covered roasting pan works fine—brown in a skillet first, then transfer to the larger vessel.
Choose almost any pot, though, as long as it’s the right size
You don’t need expensive cookware to braise well. A sturdy, heavy pot with a tight lid—even a secondhand one—will produce excellent results. Some lids are designed to encourage condensation to drip back into the food, but a good seal with parchment or foil will achieve the same effect.
Maintain a low heat
Sustaining a gentle simmer can be tricky on some stovetops. Electric coils cycle on and off and gas burners may concentrate heat in the center. A heat diffuser or flame tamer evens out the heat and helps maintain a steady low simmer, making it easier to braise without hot spots or unintended boiling.
Braise vegetables and meat
Vegetarians can enjoy braises too. Without muscle fibers, vegetables cook faster and take on intense, focused flavors. Heartier vegetables—carrots, fennel, artichokes, potatoes, cabbage—braise beautifully and make satisfying main or side dishes. The same low-and-slow logic applies: a little liquid, aromatic herbs, and time yield deep flavors.
Make it ahead!
Braises often improve after a rest. Refrigerating a finished braise overnight lets flavors meld and causes excess fat to harden on the surface, which you can easily remove before reheating. Store the braise in its cooking vessel for convenient reheating, and add bright finishing touches like lemon juice or vinegar just before serving to preserve their freshness.
Find reliable recipes
Once you’ve practiced a few trusted recipes and learned timing and temperature cues, you can adapt braises to suit what you have on hand. For beginners, follow well-tested recipes focused on low heat, small volumes of liquid, and long cook times to build confidence. With a little practice, braising will become a dependable technique for flavorful, economical meals that shine on cold nights and beyond.