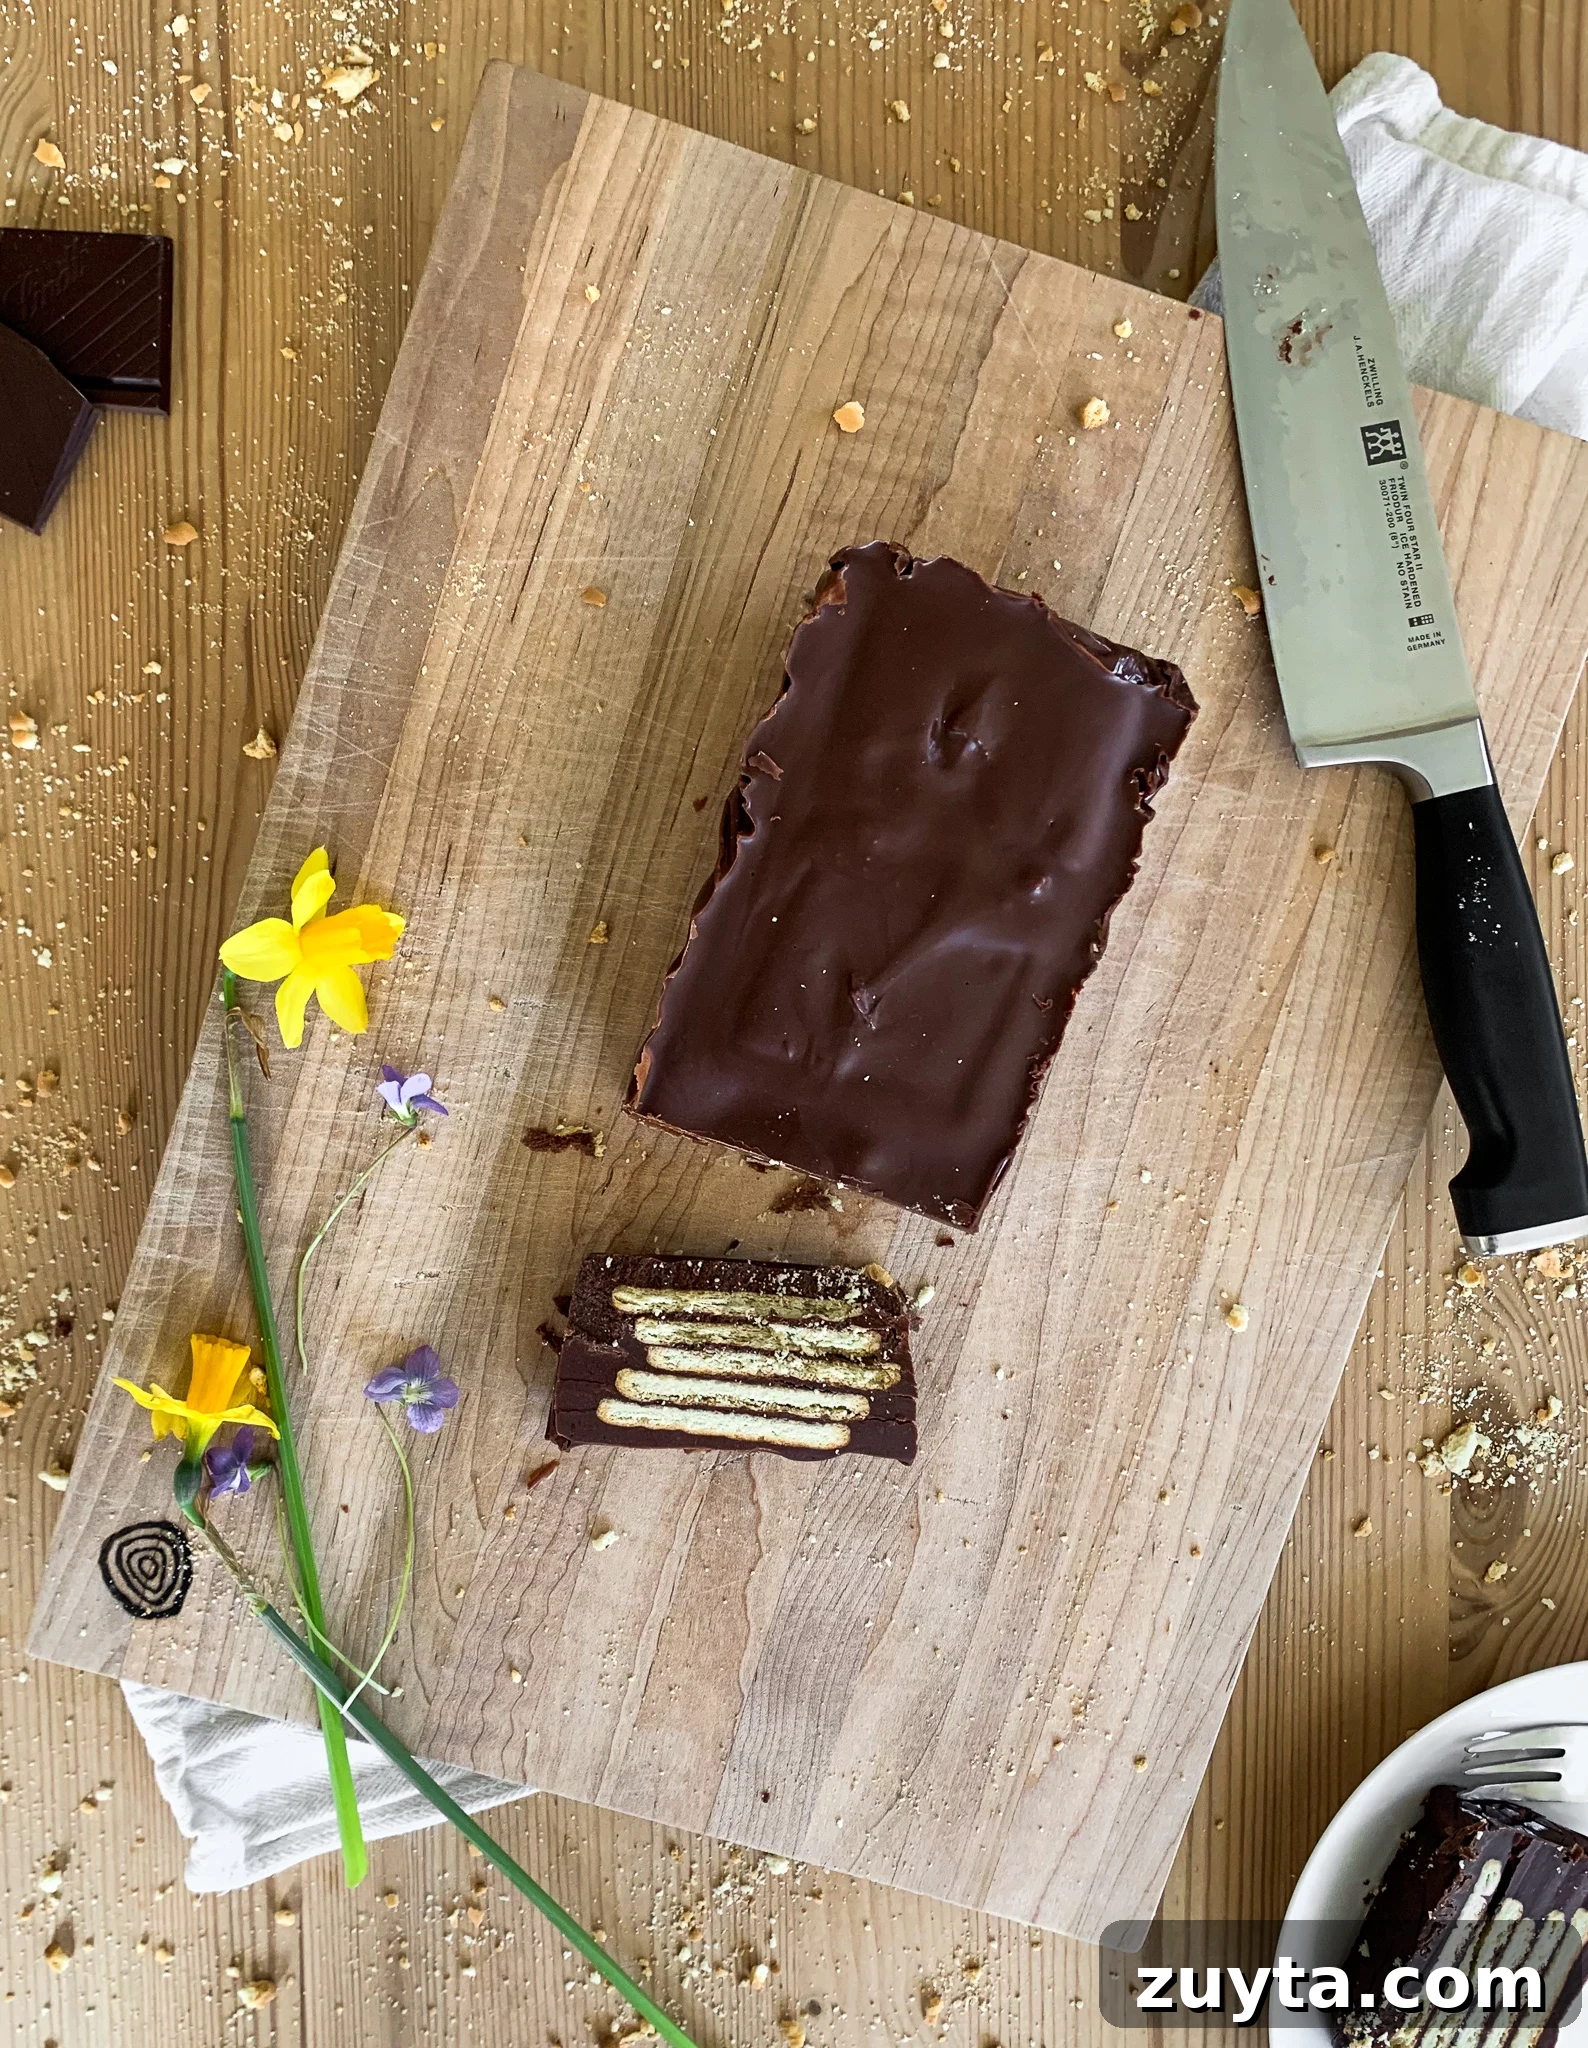
Today’s recipe is a no-bake dessert — a handy choice when you don’t want to use an oven or when the weather is too warm to bake. No-bake cakes are quick, impressive, and ideal for hot climates, small kitchens, or last-minute gatherings. This particular cake is rich, layered, and delightfully simple to make.
Kiksekage, often called a cookie cake or biscuit cake, is a classic Danish no-bake dessert made from alternating layers of a thick chocolate mixture and rectangular vanilla butter cookies. The chocolate layers have a dense, almost truffle-like texture that sets in the fridge, while the cookie layers soften slightly, creating a satisfying contrast of creamy chocolate and tender crunch. When sliced, it reveals striking, even layers that make a beautiful presentation.
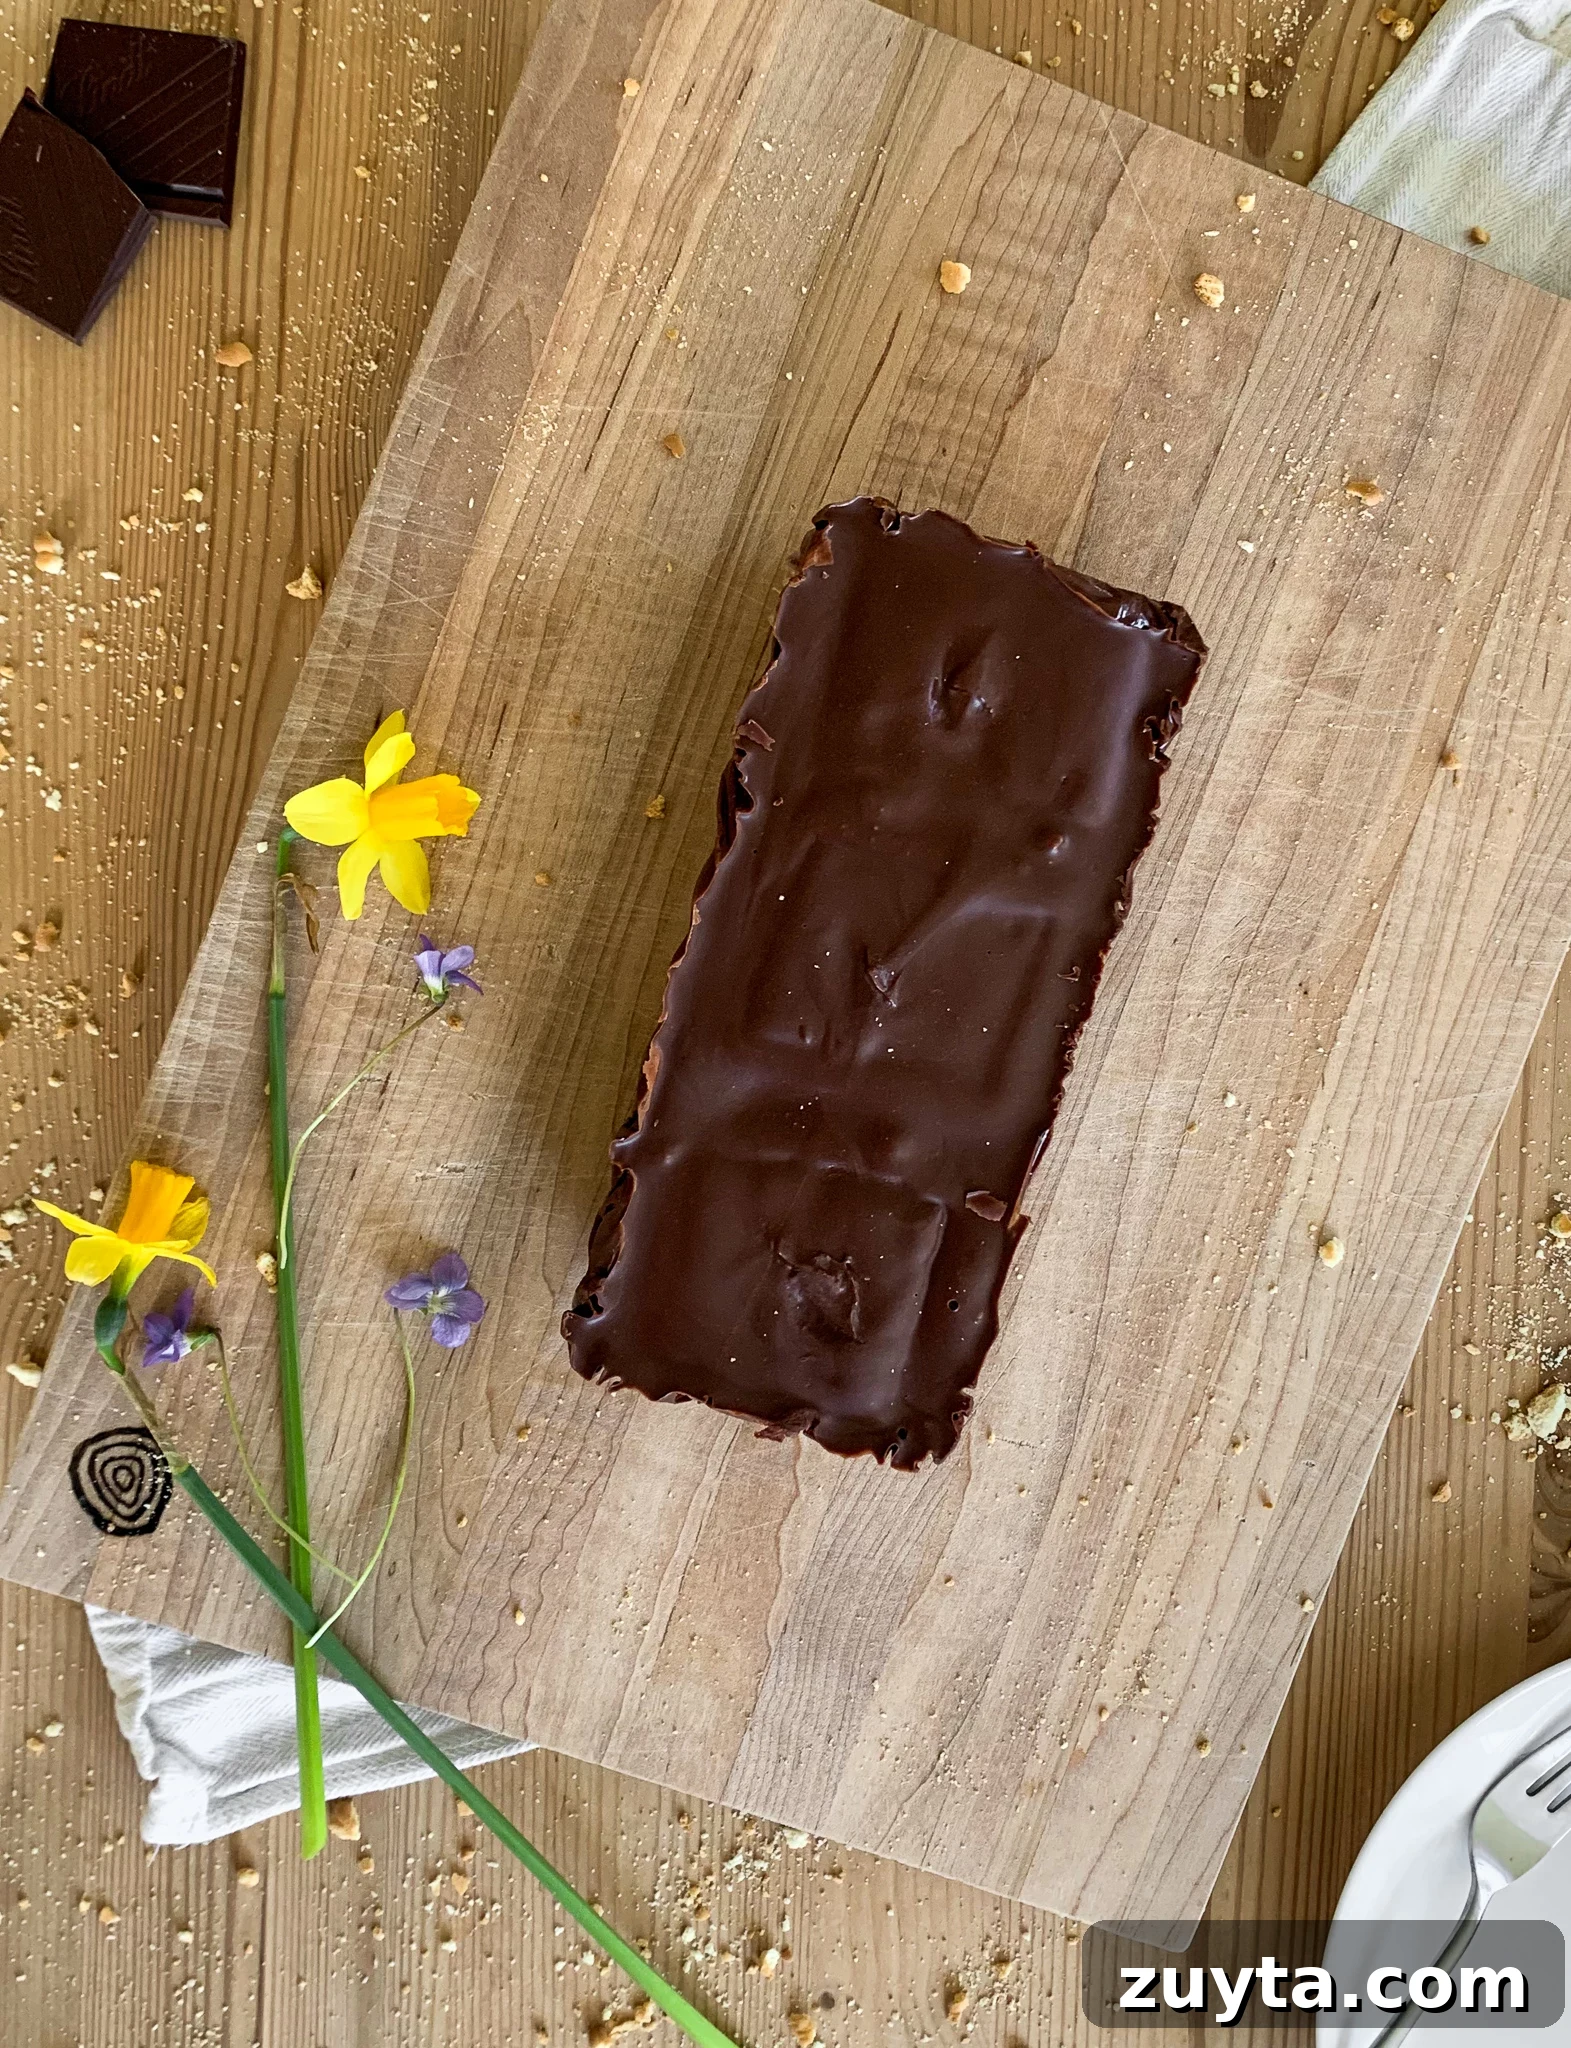
This is an old-fashioned Danish favorite that was especially popular in the 1970s and 80s, though variations of this dessert appear across Europe. The idea of combining crushed or layered biscuits with a chocolate mixture likely shares roots with Italian chocolate salami, where biscuits are coated in chocolate and sliced to resemble salami. Kiksekage uses whole rectangular biscuits to create clean, even layers instead.
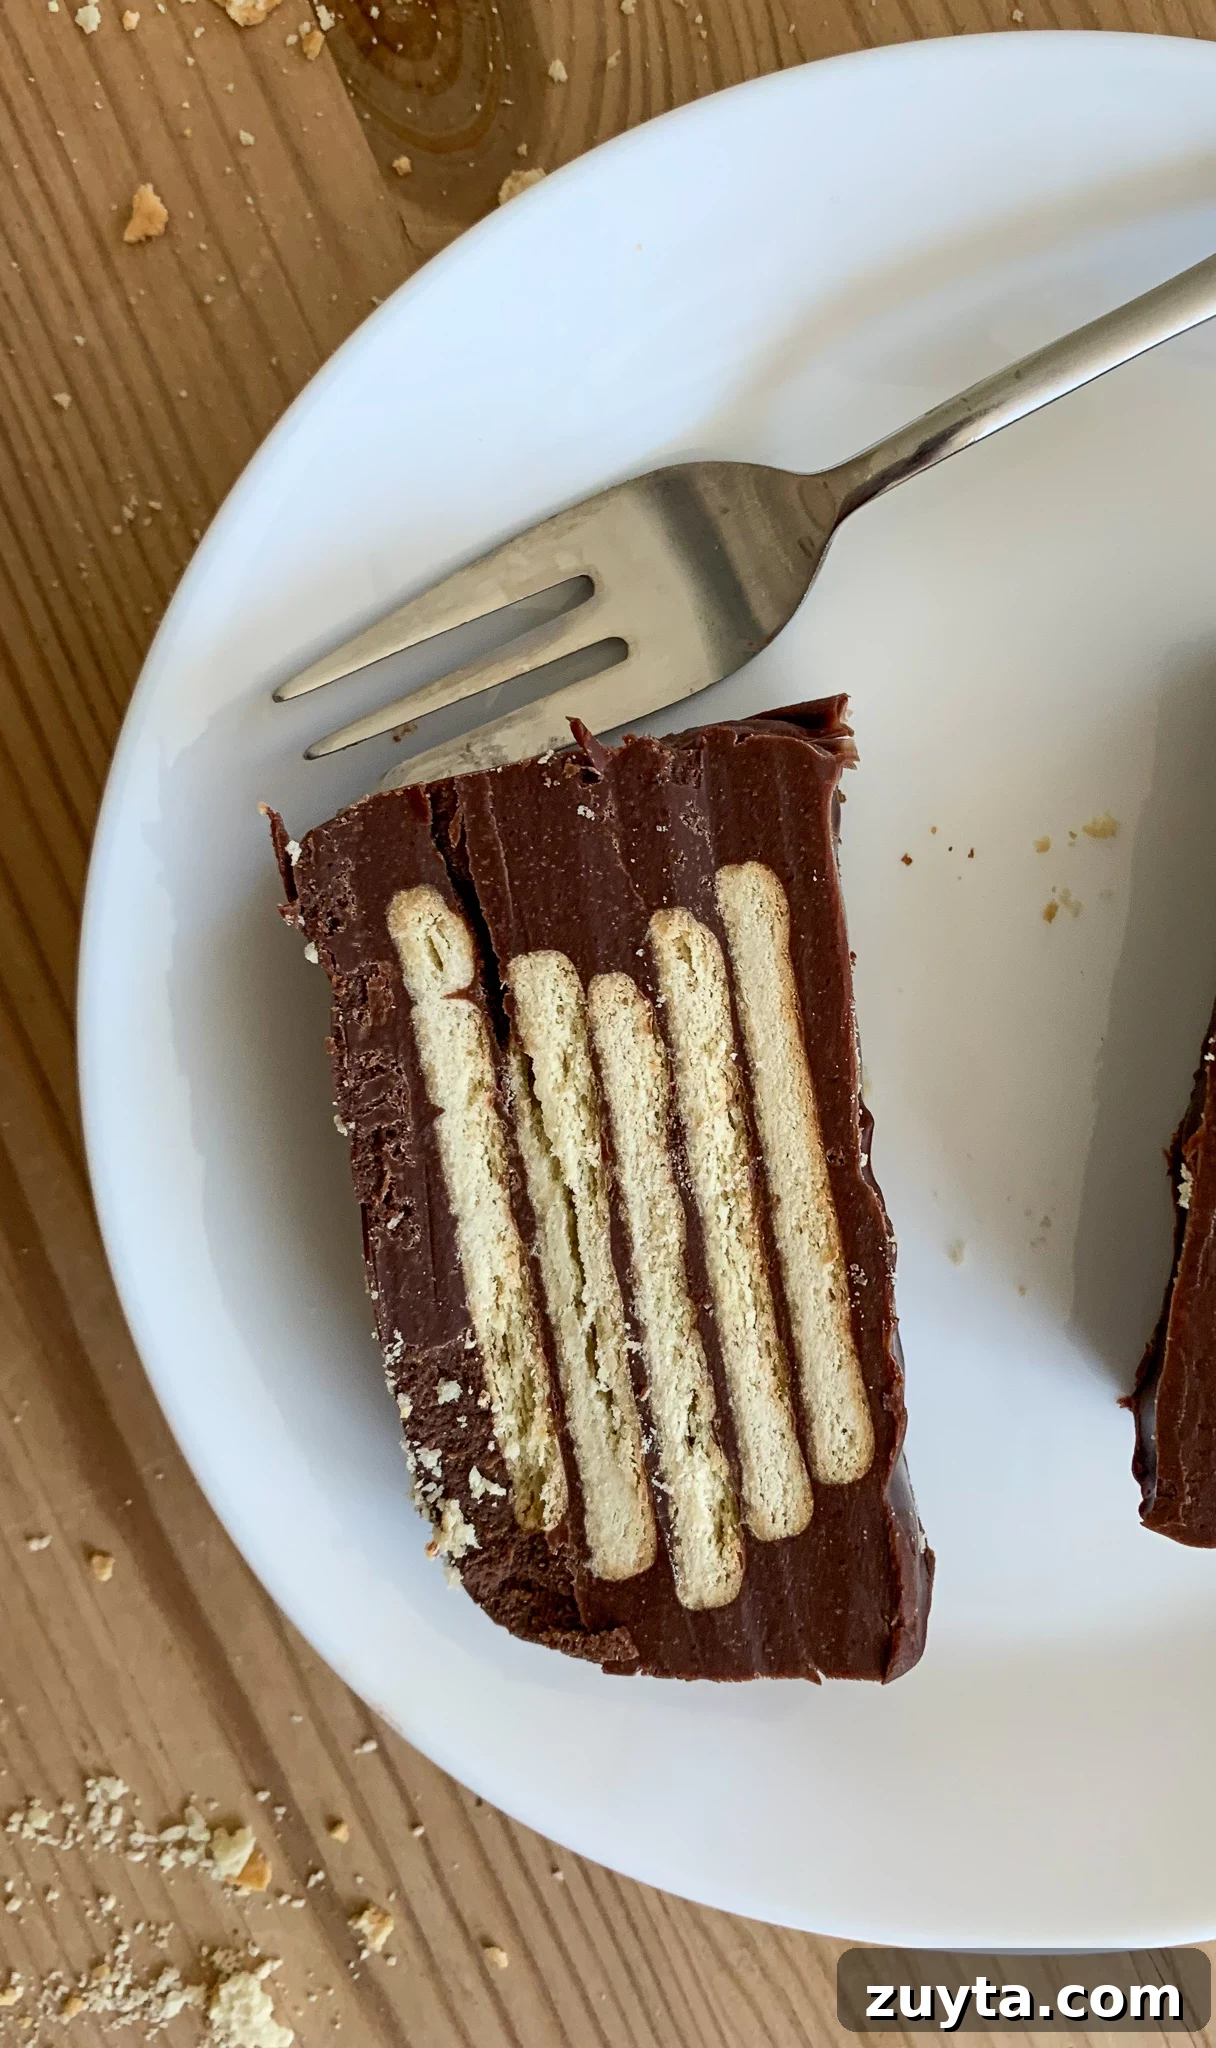
Traditional Danish versions sometimes use palmin (a vegetable shortening made from coconut fat) instead of butter, and include both melted chocolate and cocoa powder for intense flavor. Our version allows you to use either unsalted butter or palmin, and calls for a bit of cocoa powder plus dark chocolate for depth. The method is straightforward: melt the fat, add chocolate and cocoa, then temper the egg and powdered sugar mixture by slowly whisking the chocolate into it. Layer the mixture with vanilla butter cookies in a lined loaf pan, chill until set, then slice.
A few practical tips: use a digital scale and metric measurements when possible for the most consistent results; allow the mixture to cool slightly before adding it to the eggs so they don’t cook; and for the cleanest slices, let the chilled cake sit at room temperature for 20–30 minutes before cutting.
Kiksekage (Chocolate Cookie Cake)
A rich, crunchy, no-bake chocolate cookie cake with layered vanilla biscuits and a truffle-like chocolate filling.
Servings: 10
Prep time: 15 mins
Chill / set time: 2 hours (preferably overnight)
Total time: 2 hrs 15 mins
Ingredients
- 170 grams (about 12 tbsp) unsalted butter or palmin
- 100 grams (about one bar or 2/3 cup) dark chocolate (70% or higher)
- 50 grams (1/2 cup) unsweetened cocoa powder
- 100 grams (1 cup) powdered sugar
- 1 large egg
- 1 sleeve rectangular vanilla butter cookies (any store-bought rectangular vanilla biscuits will work)
Instructions
-
Melt the butter or palmin in a small saucepan over medium heat until fully liquid.

-
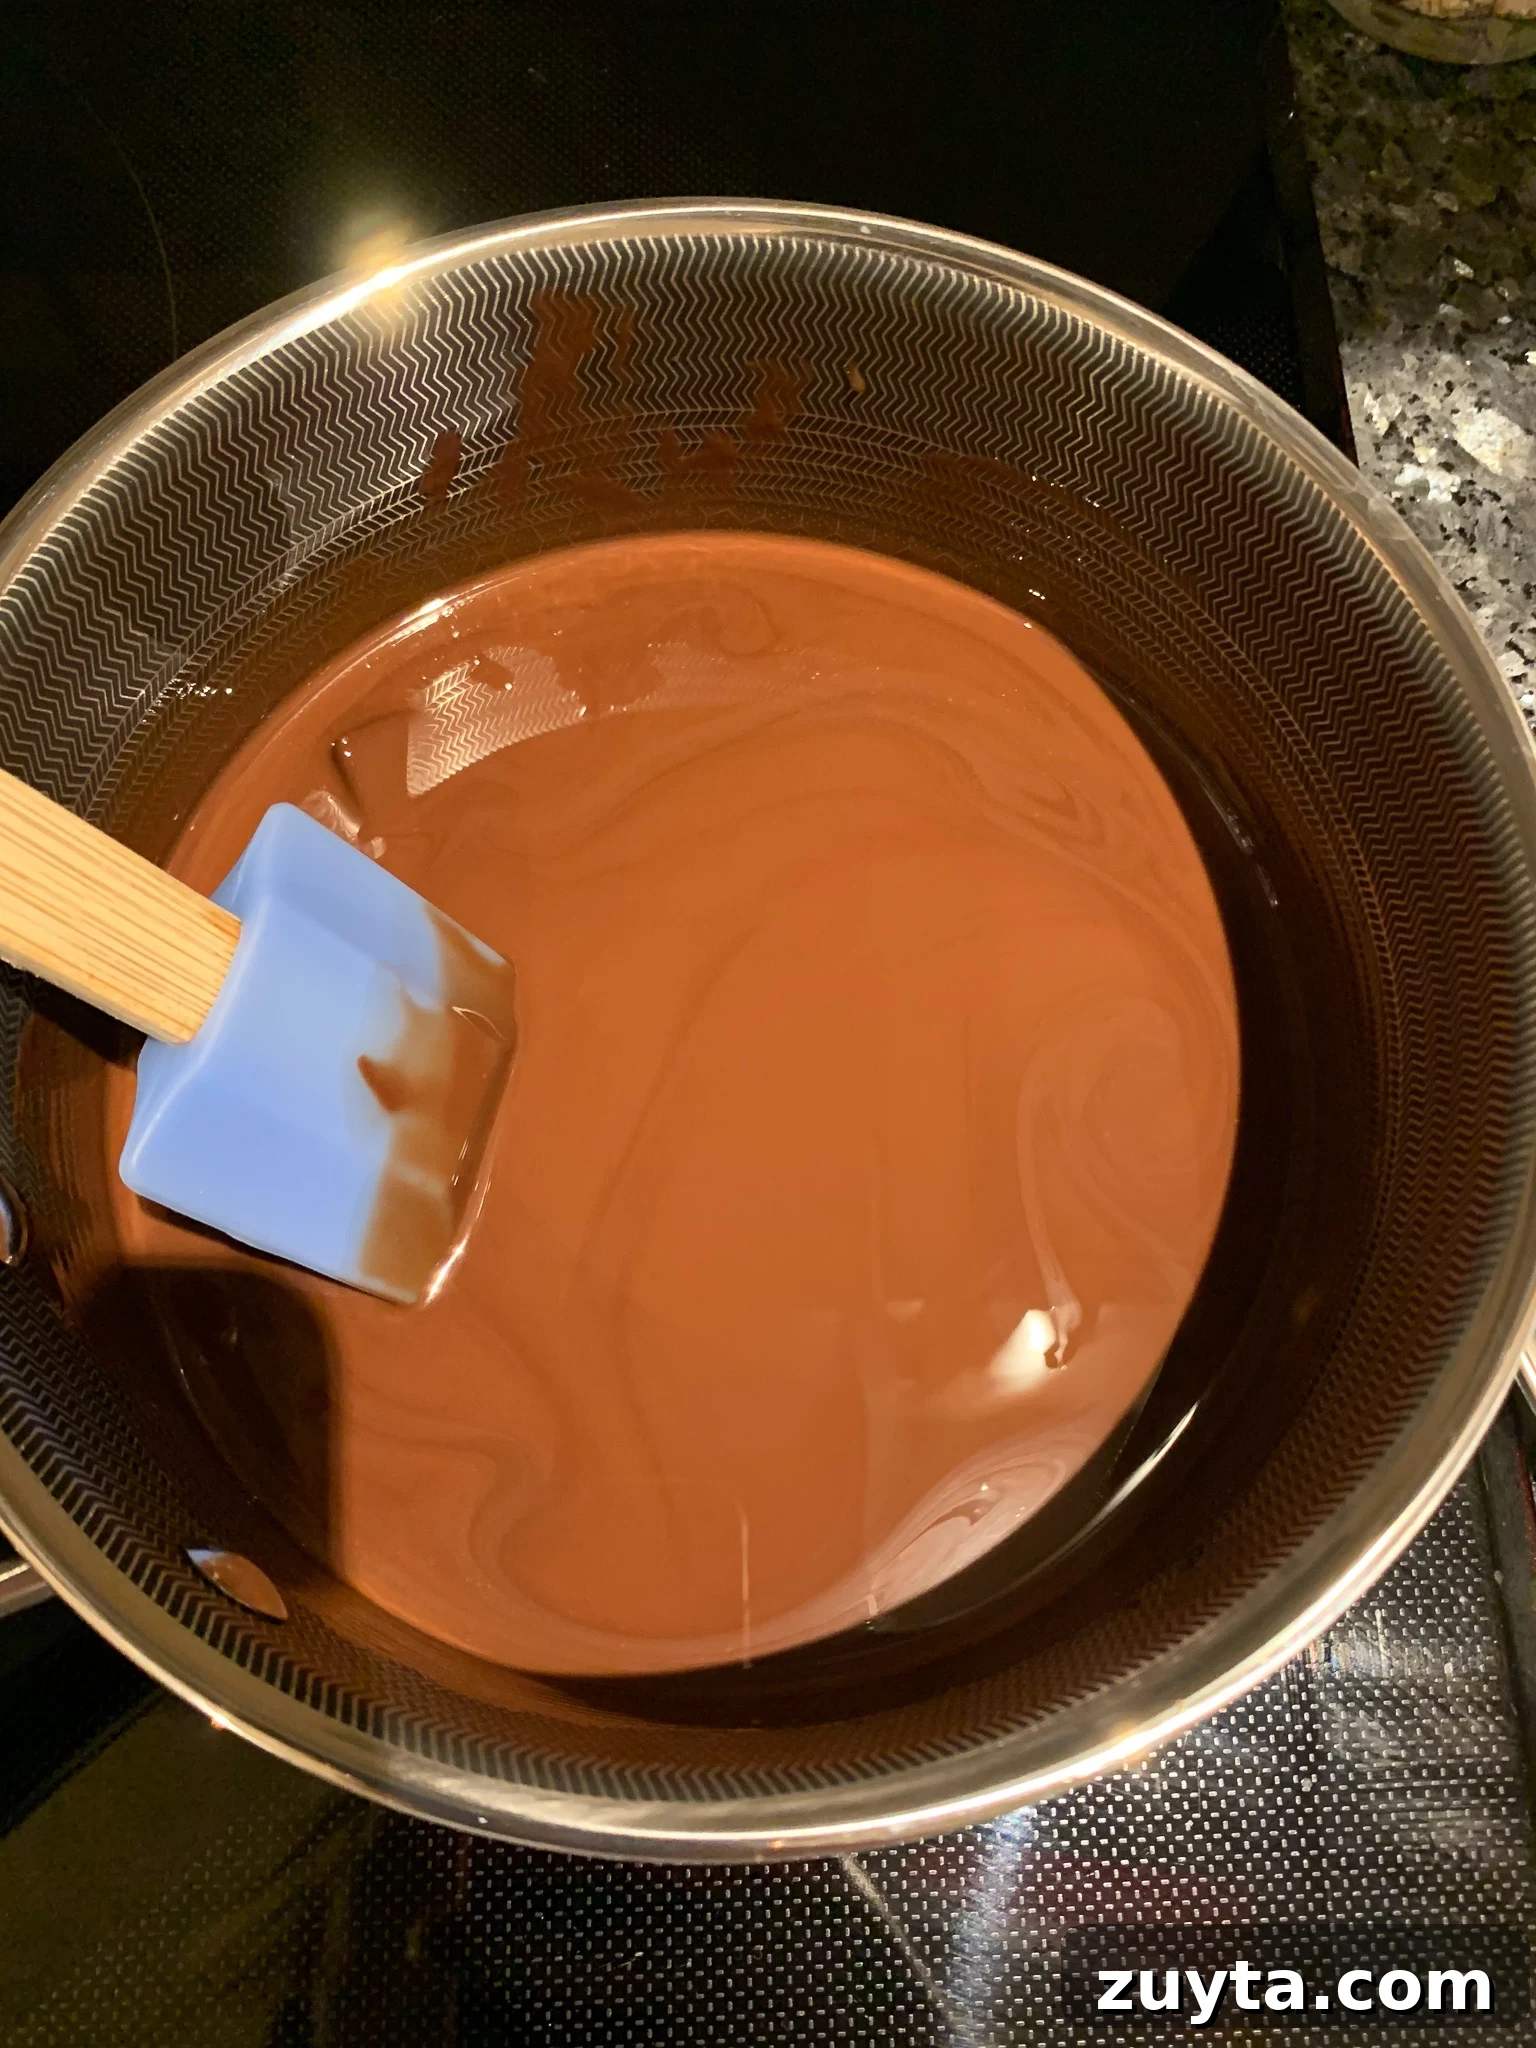
Remove the pan from the heat. Add the chopped dark chocolate and the cocoa powder, stirring until completely smooth and glossy. Set aside to cool briefly.
-
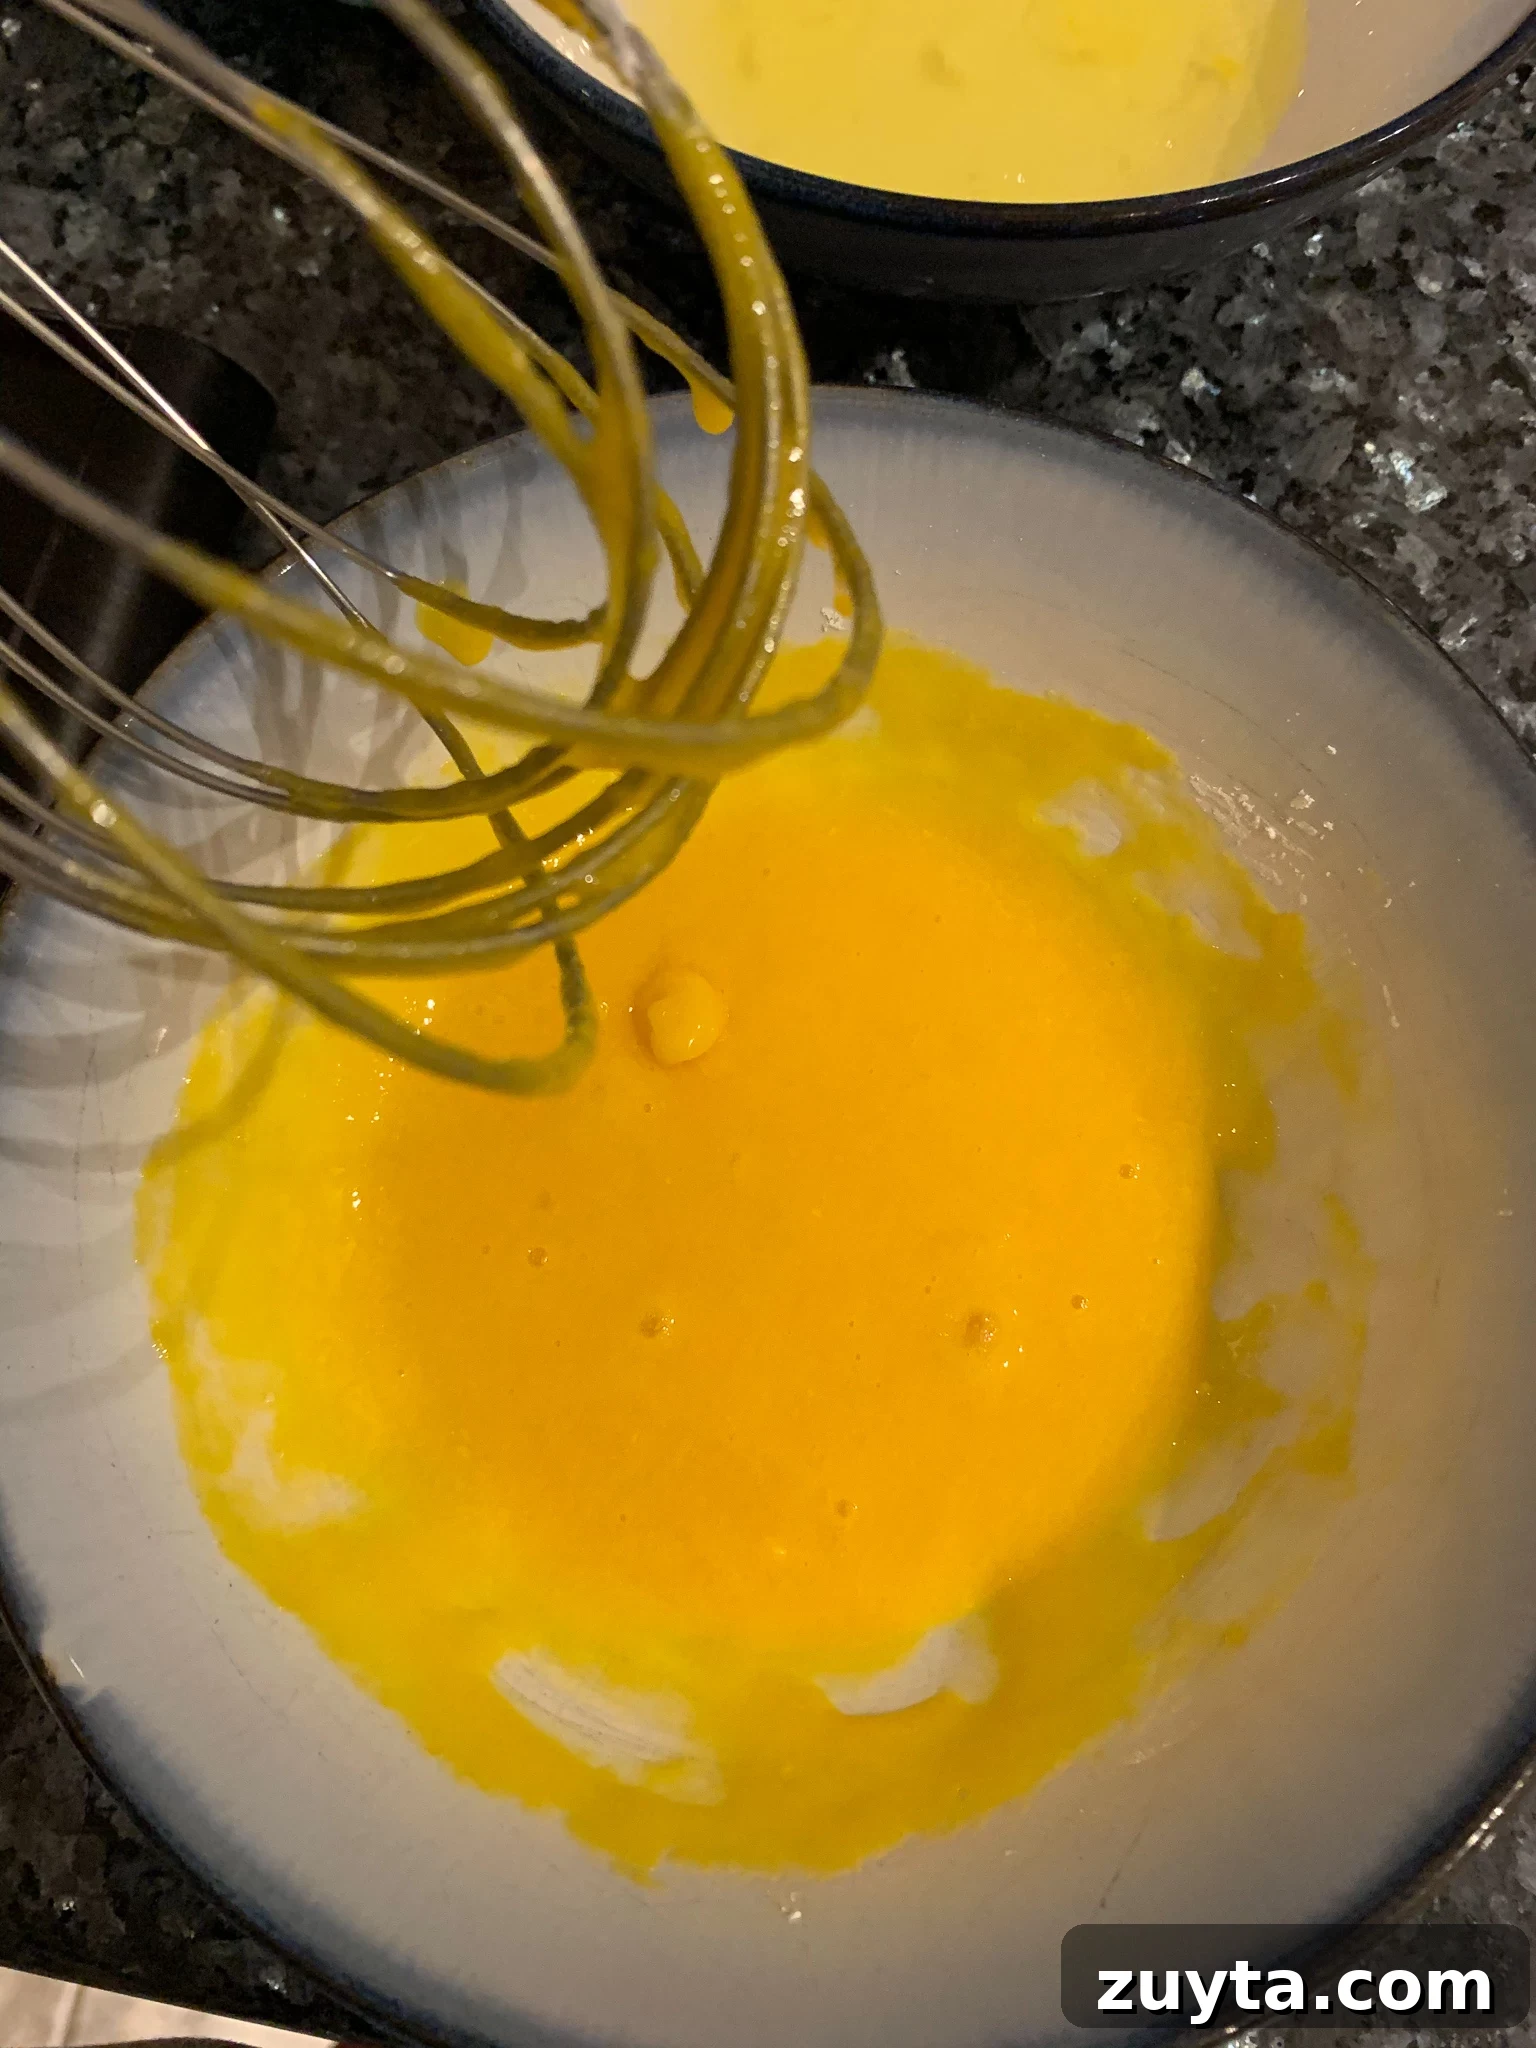
In a separate heatproof bowl, whisk together the powdered sugar and the egg until smooth.
-
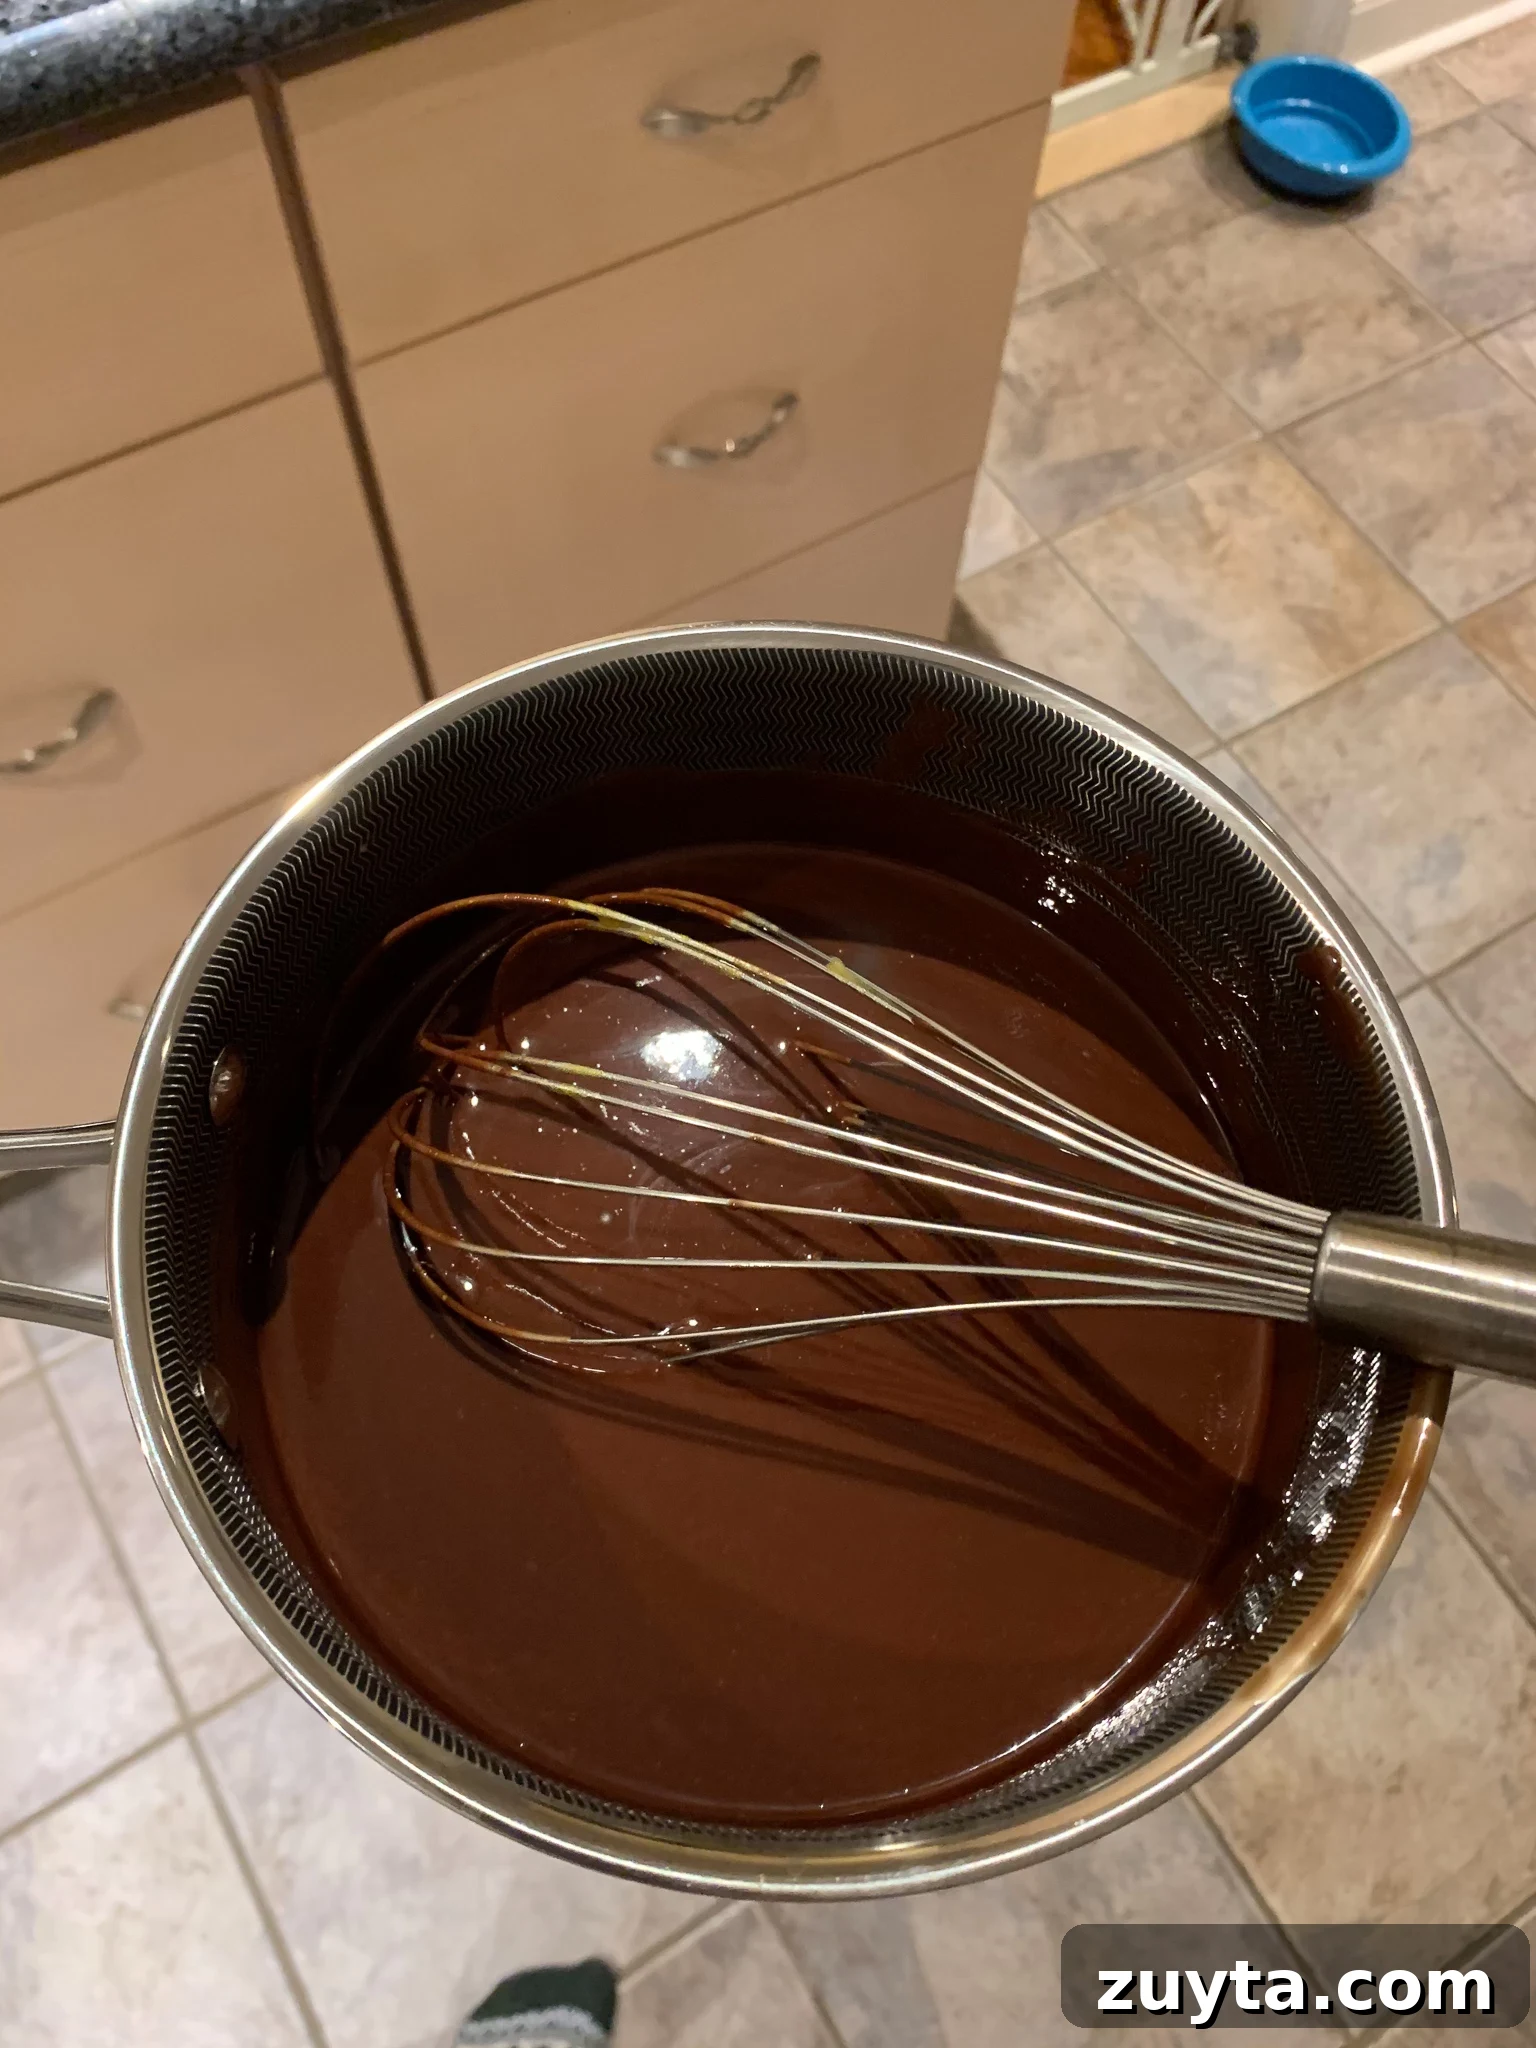
Temper the egg mixture by pouring the warm chocolate into it very slowly while whisking constantly. Take care to pour gradually so the egg does not scramble. Continue whisking until the mixture is homogeneous and slightly thickened.
-
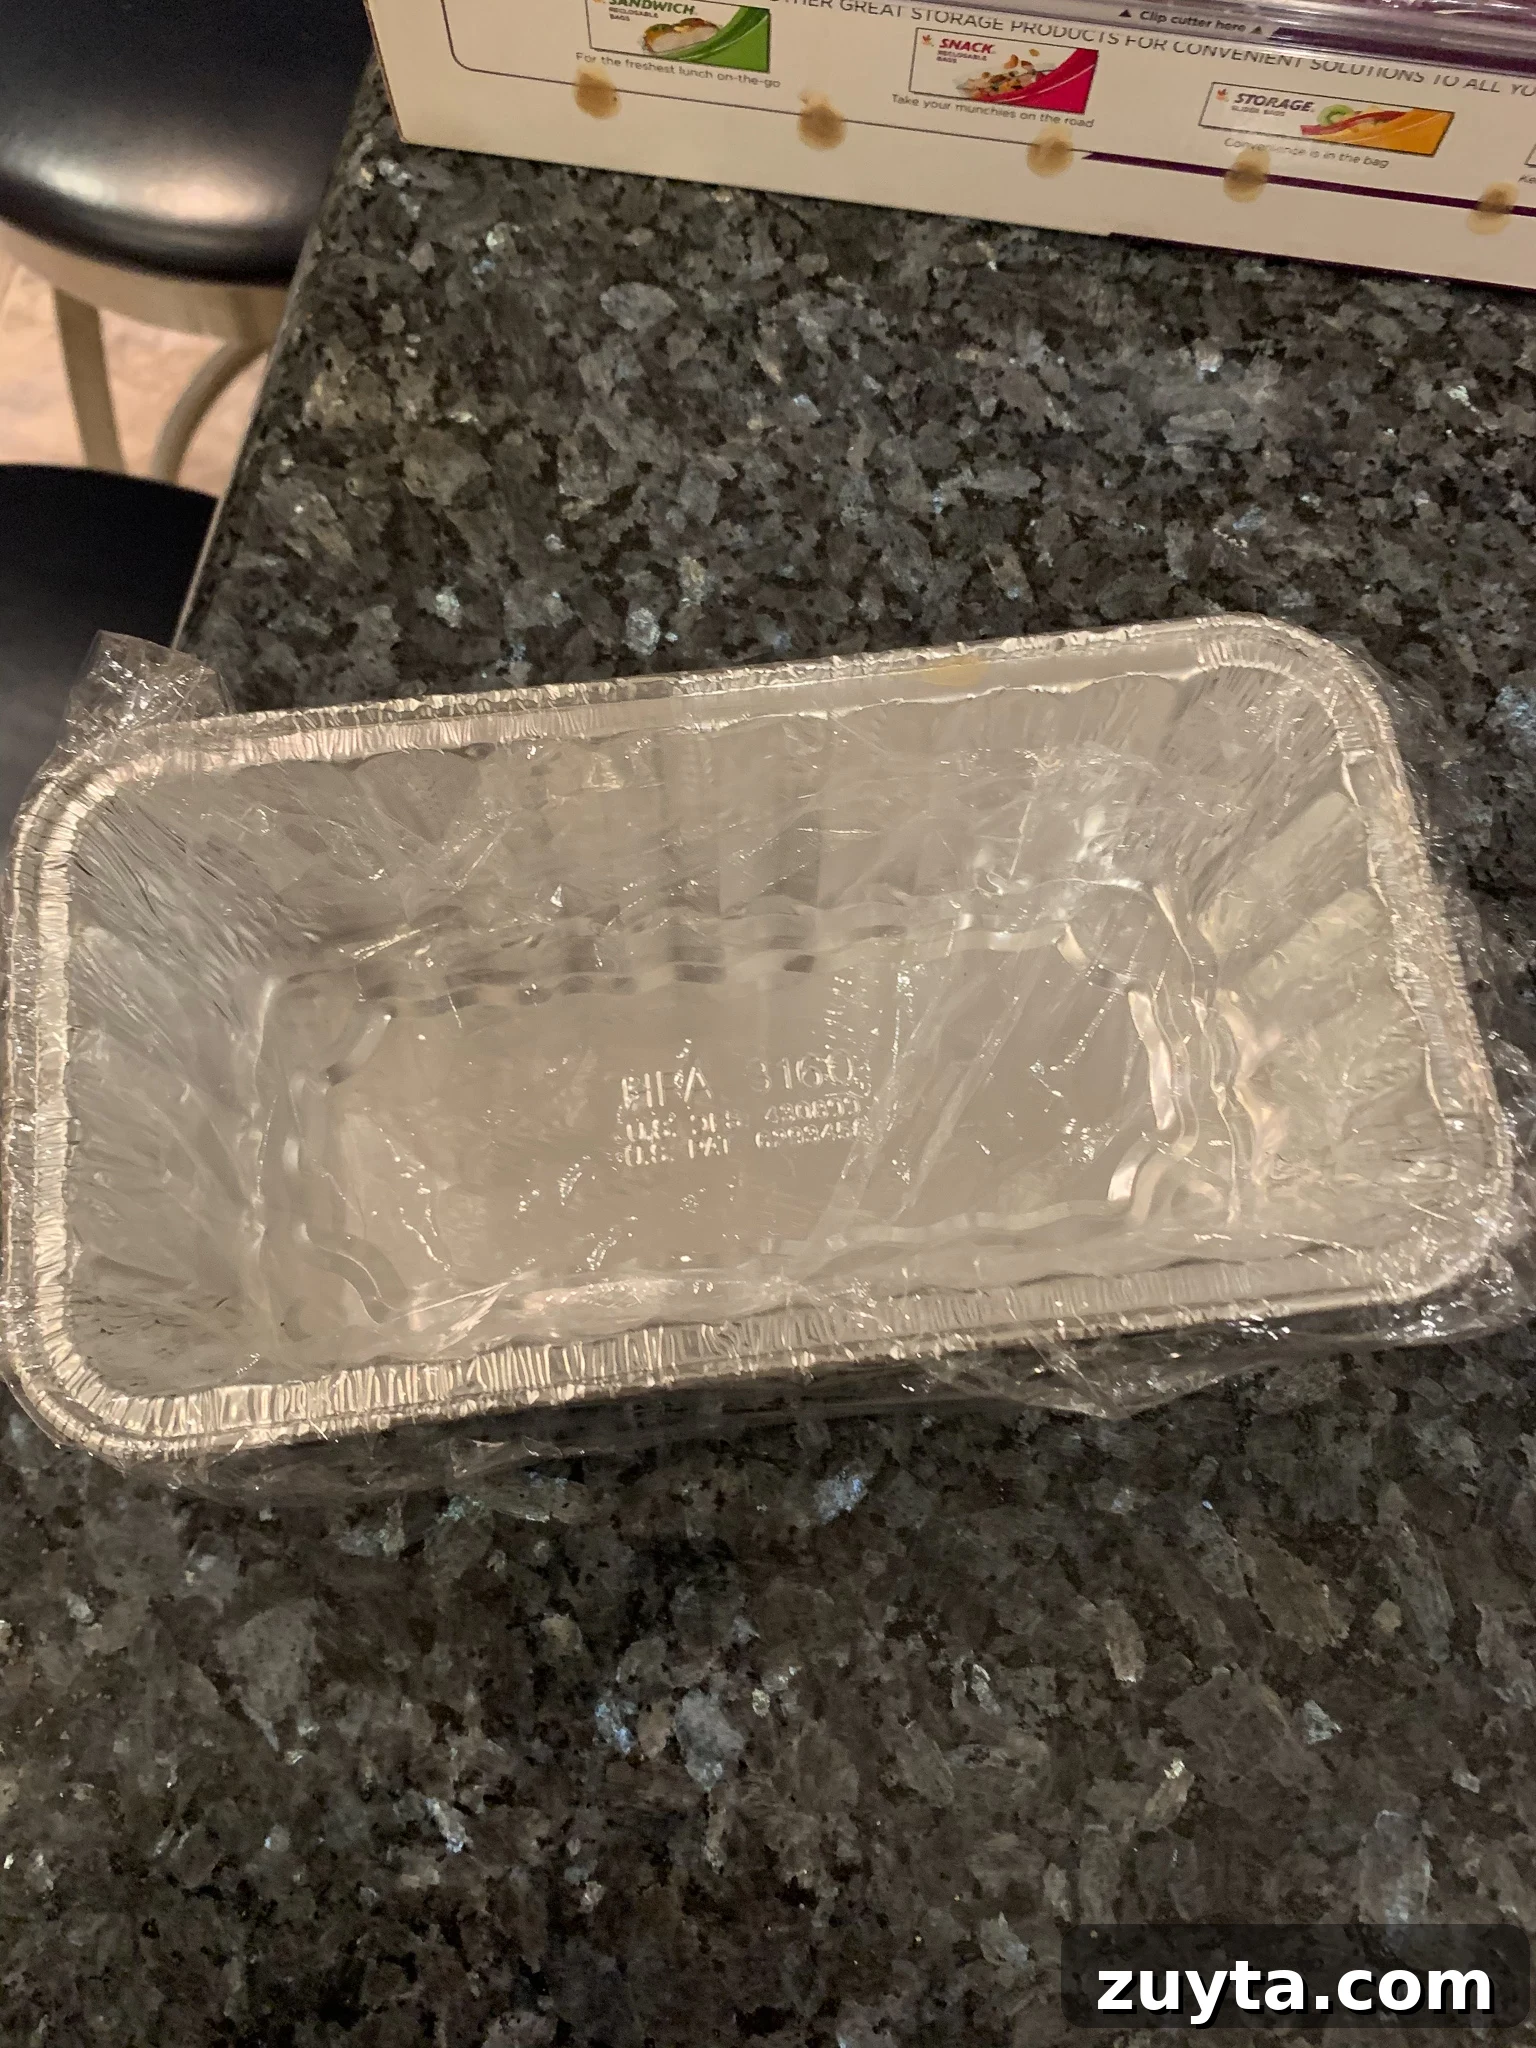
Let the chocolate mixture cool for about 5 minutes. Line a loaf pan with cling film so it fully covers the interior and overhangs the sides to help remove the cake later.
-
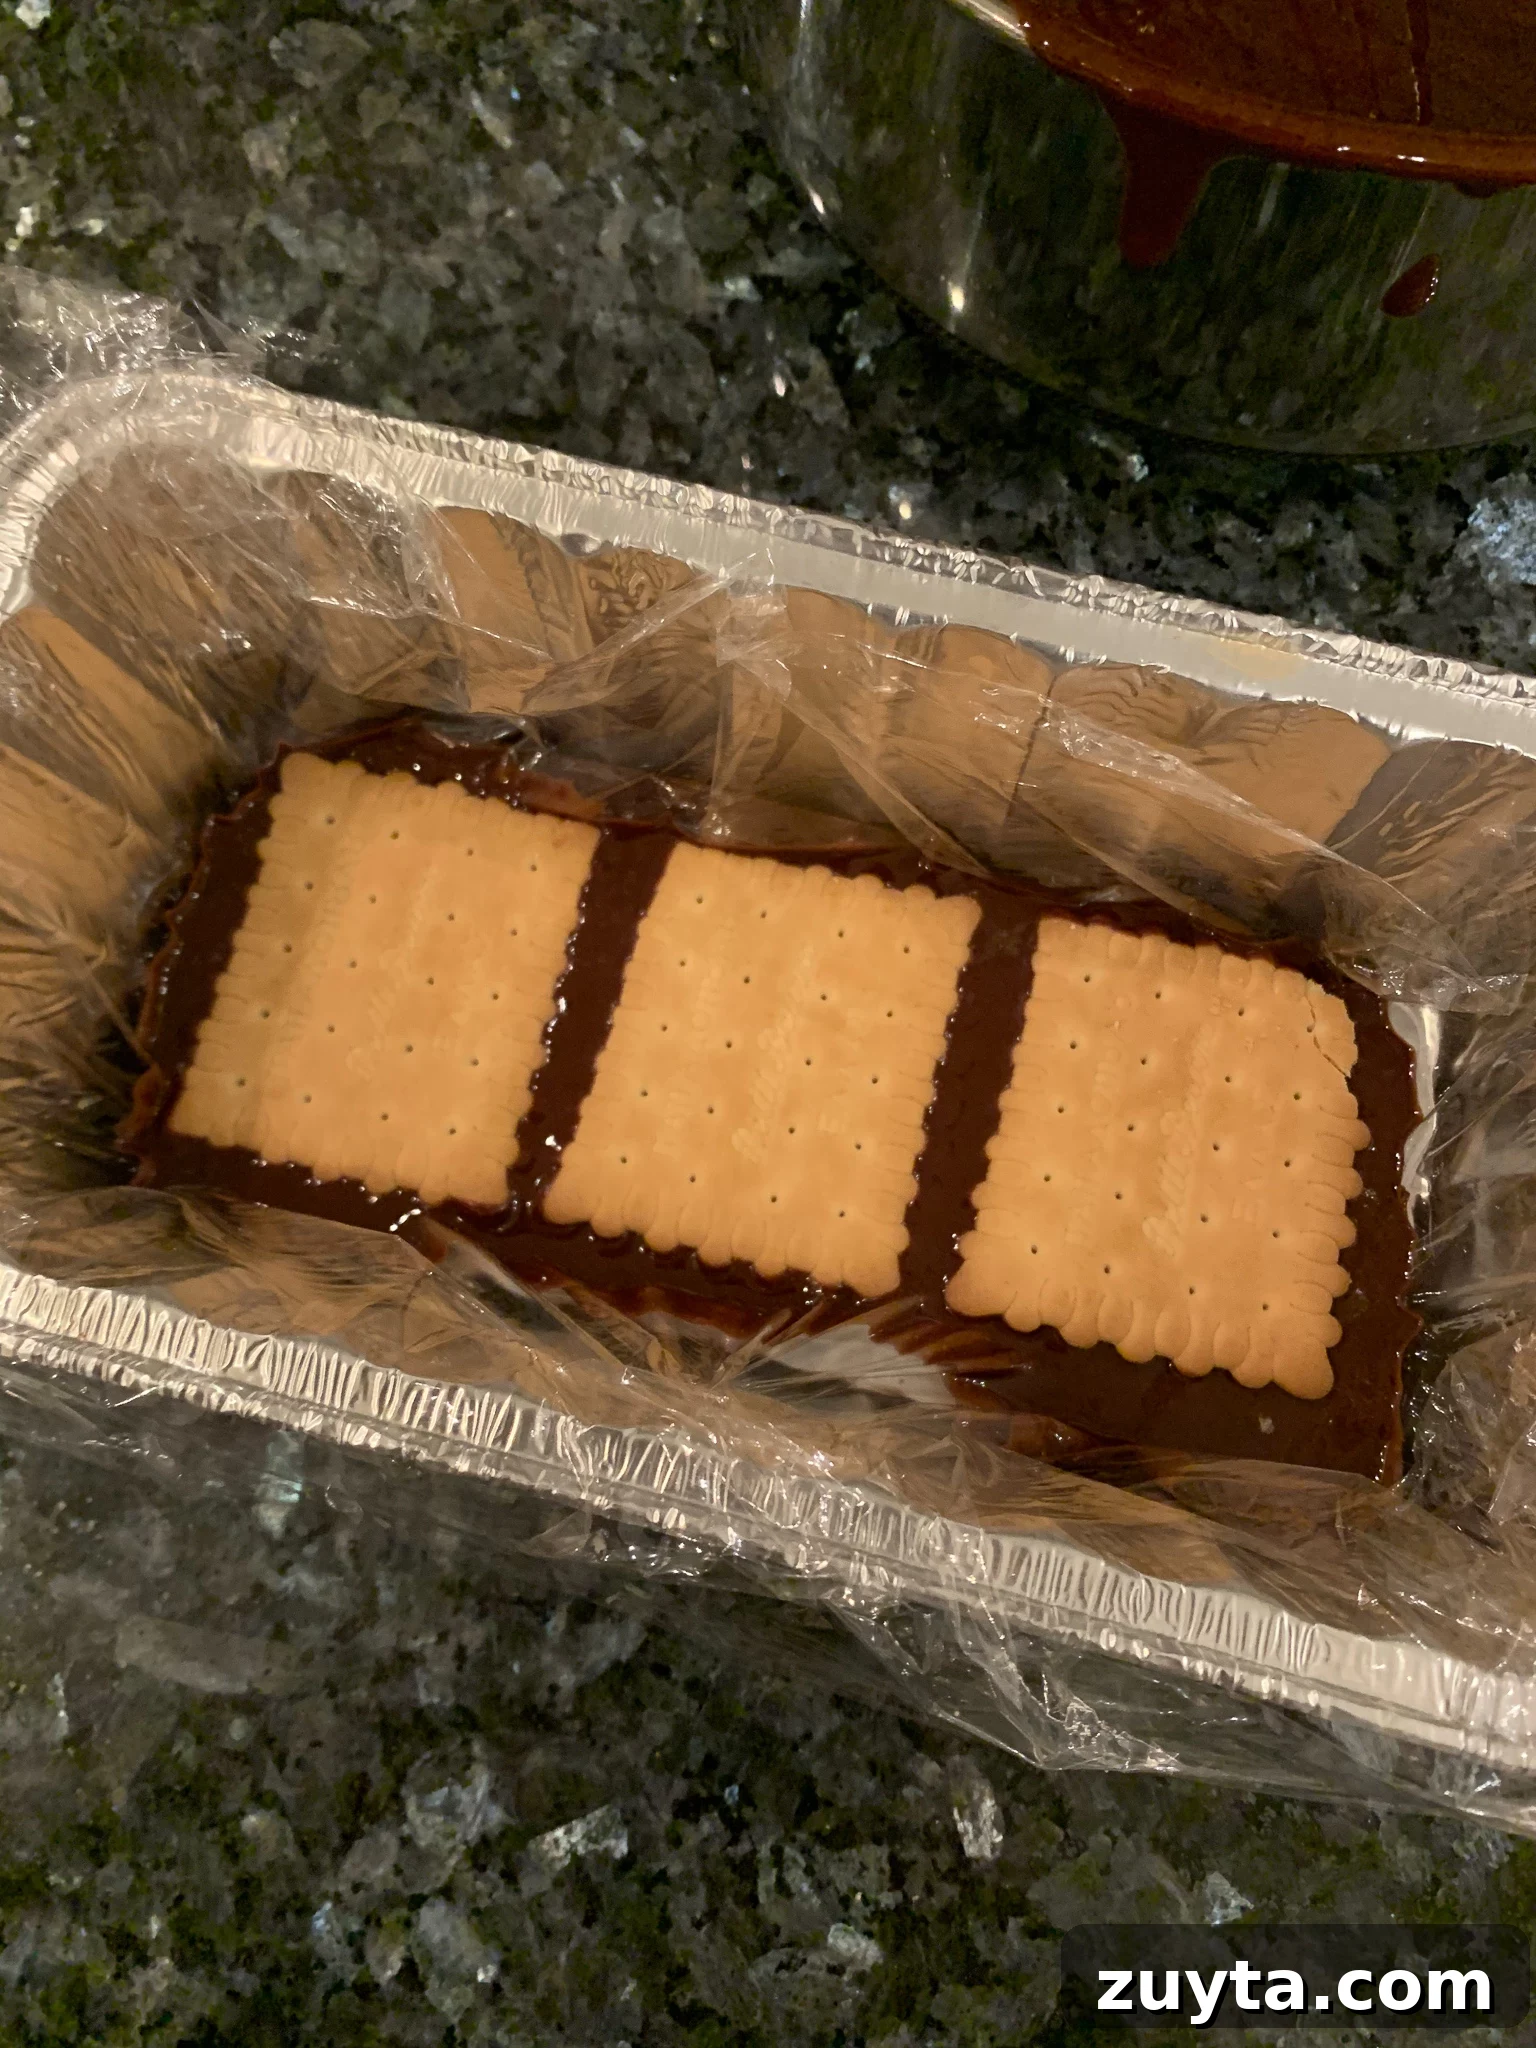
Build layers: spread a thin layer of the chocolate mixture on the bottom of the pan, add a single layer of rectangular cookies, then spread more chocolate, and repeat, finishing with a chocolate layer. The number of layers depends on the pan size; you should get about 4–5 cookie layers.
-
Cover and refrigerate for at least 2 hours until fully set. For best texture and flavor, chill overnight.
-
To serve, remove from the pan using the cling film overhang. For cleaner slices, let the cake sit at room temperature for 20–30 minutes before cutting. Slice and enjoy.
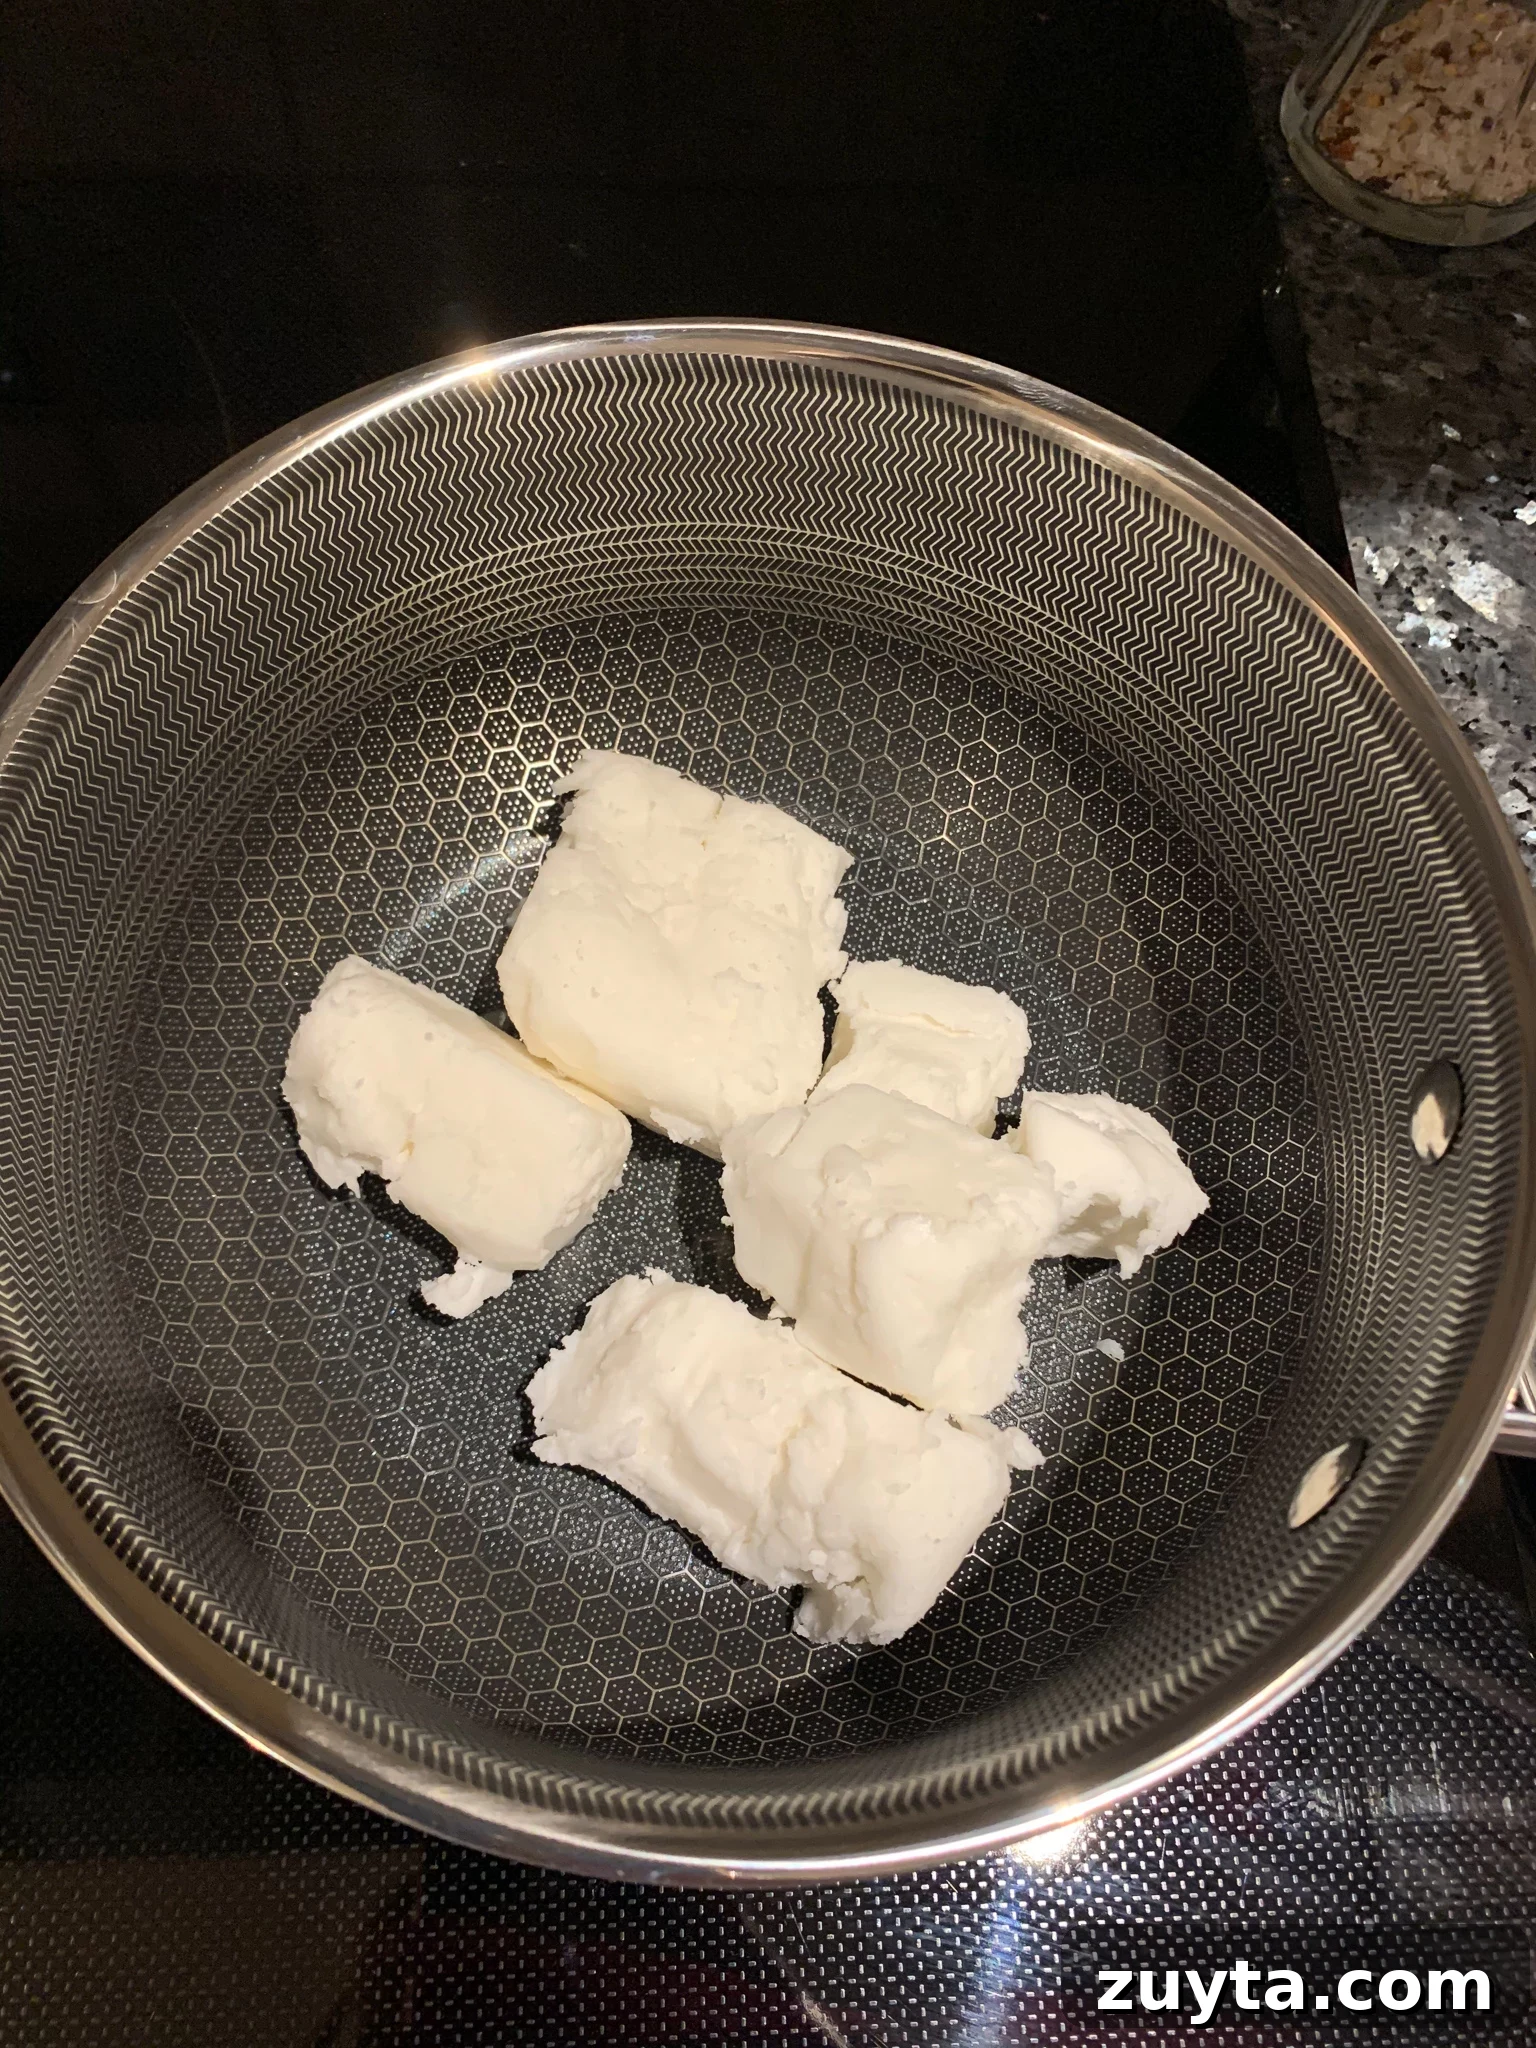
Notes: Use a digital scale and metric measurements when possible for accuracy. If you prefer a softer filling, allow the chocolate mixture to cool a bit longer before combining with the egg. You can swap butter for palmin depending on your preference or dietary needs.
Course: Dessert
Cuisine: Danish
Keywords: chocolate, cocoa, cookie, crunchy, decadent, layers, no bake, rich, simple
Difficulty: Intermediate