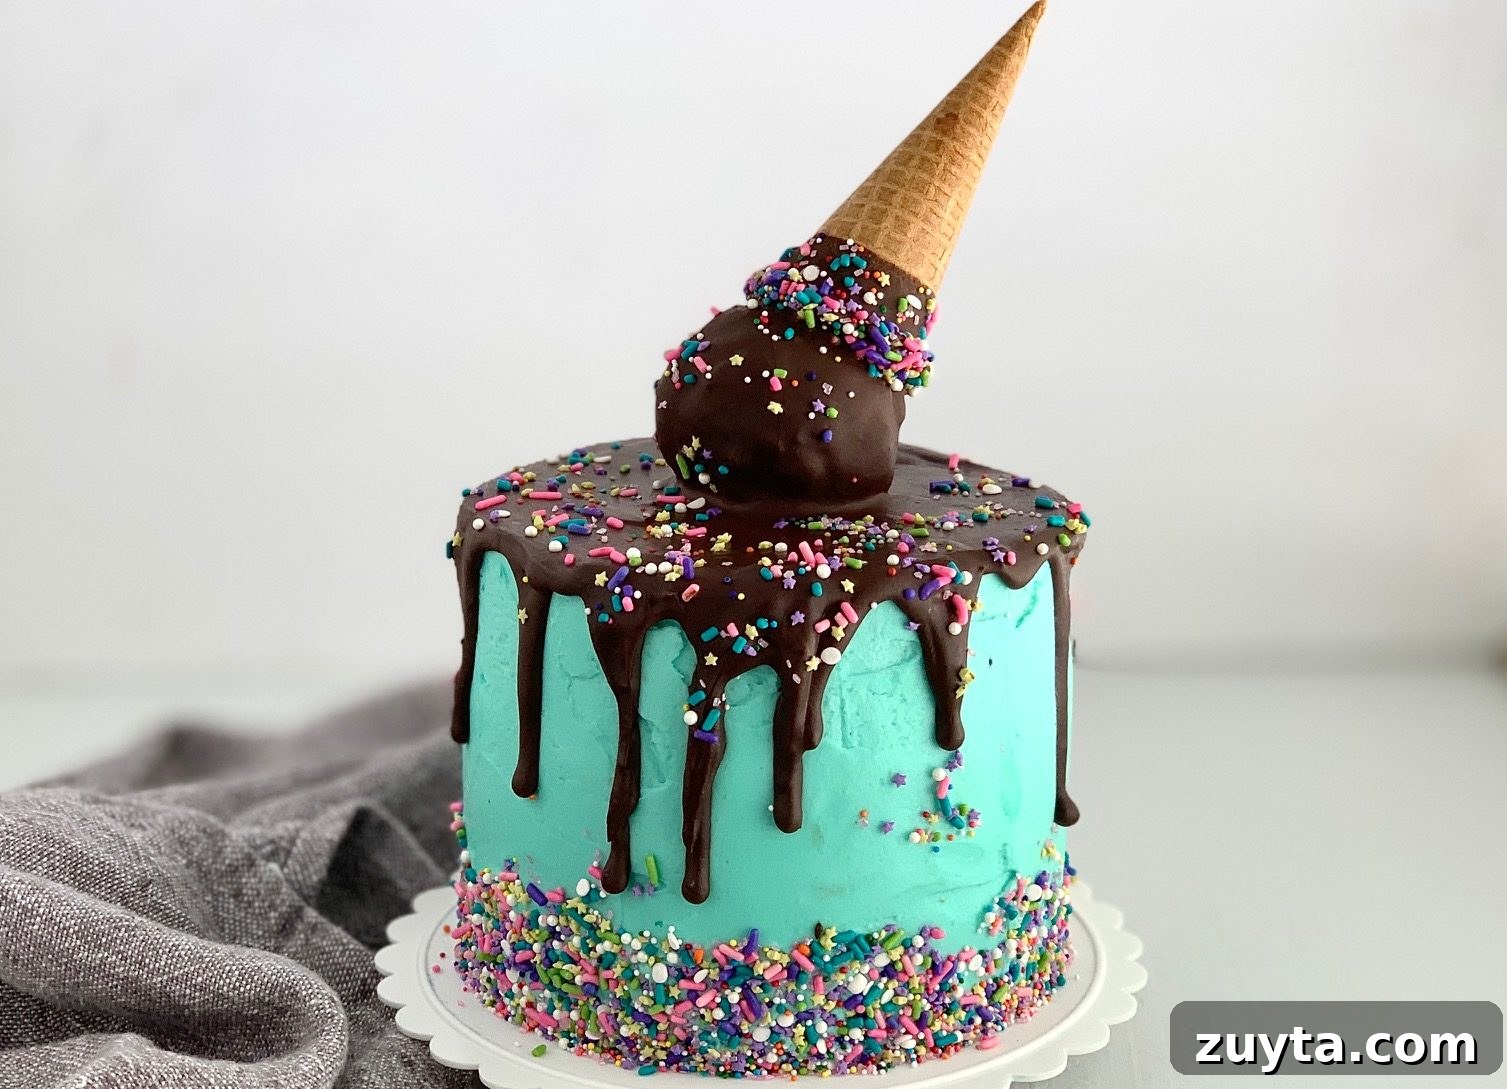
My daughter adores dairy-free ice cream and would happily have a scoop every day. If she could choose, she’d always pick a gluten-free sugar cone to go with it.
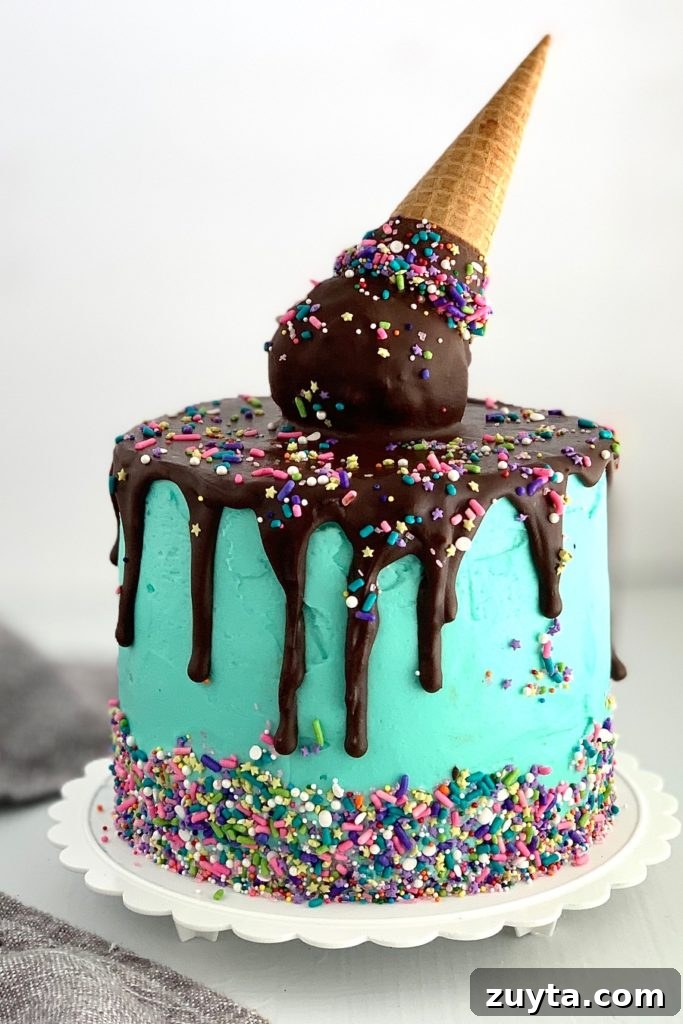
When I discovered this ice cream cone cake idea, I knew it would be perfect for her birthday. She was absolutely delighted with her cake—so excited that it became the highlight of her party.
If you want a playful and memorable birthday cake, this ice cream cone cake is a fantastic choice. It looks impressive but is straightforward to make, and the flavor is wonderful.
Below you’ll find clear, step-by-step instructions for baking and decorating this cake, along with an easy-to-follow supply list. Everything you need to recreate this allergy-friendly celebration cake is included.
Now it’s time to get baking!
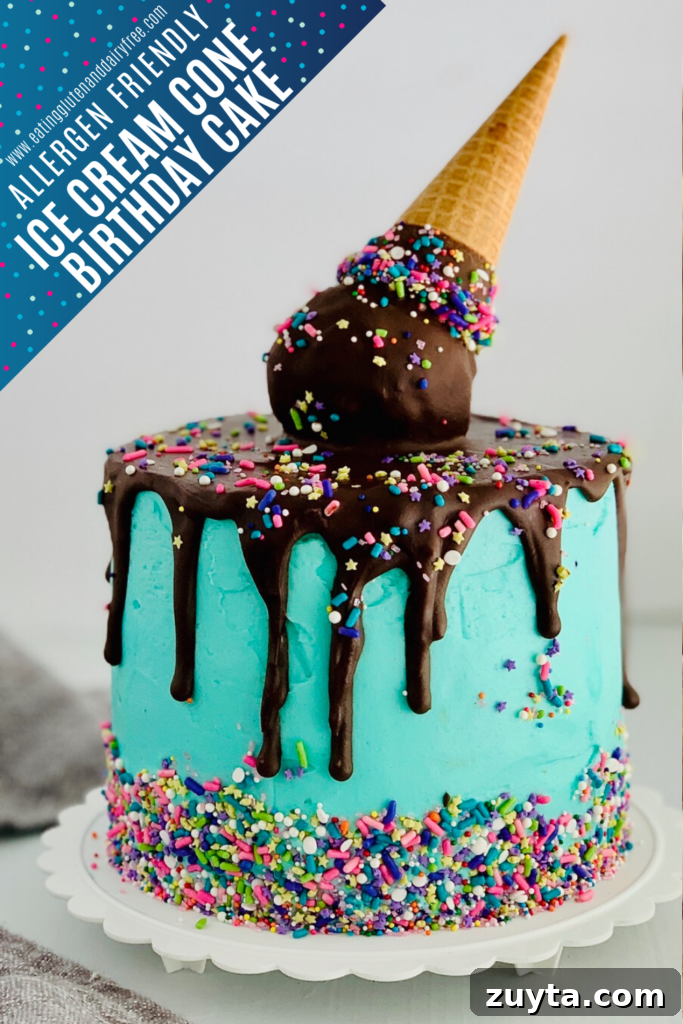
Ice Cream Cone Cake Ingredient Notes
- Start with 2 gluten- and dairy-free cake mixes. Use your preferred brand of box cake mix. I often use King Arthur gluten-free cake mixes.
- Prepare a dairy-free buttercream frosting. Tripling a standard buttercream recipe (about 6 cups) gives enough frosting to fill between layers, crumb coat, frost the whole cake, pipe decorations, and form the ice cream ball.
- Make a smooth dairy-free chocolate ganache for the drip. A simple two-ingredient ganache works beautifully and sets nicely for decorating.
- Don’t forget sprinkles — choose colors and shapes to match the party theme. Look for allergy-friendly sprinkles labeled gluten- and dairy-free if needed.
- Use a gluten- and dairy-free sugar cone for the toppled-cone effect. Many specialty grocery brands make cones suitable for gluten-free diets; buy cones that arrive in good condition or pick them up locally if possible.
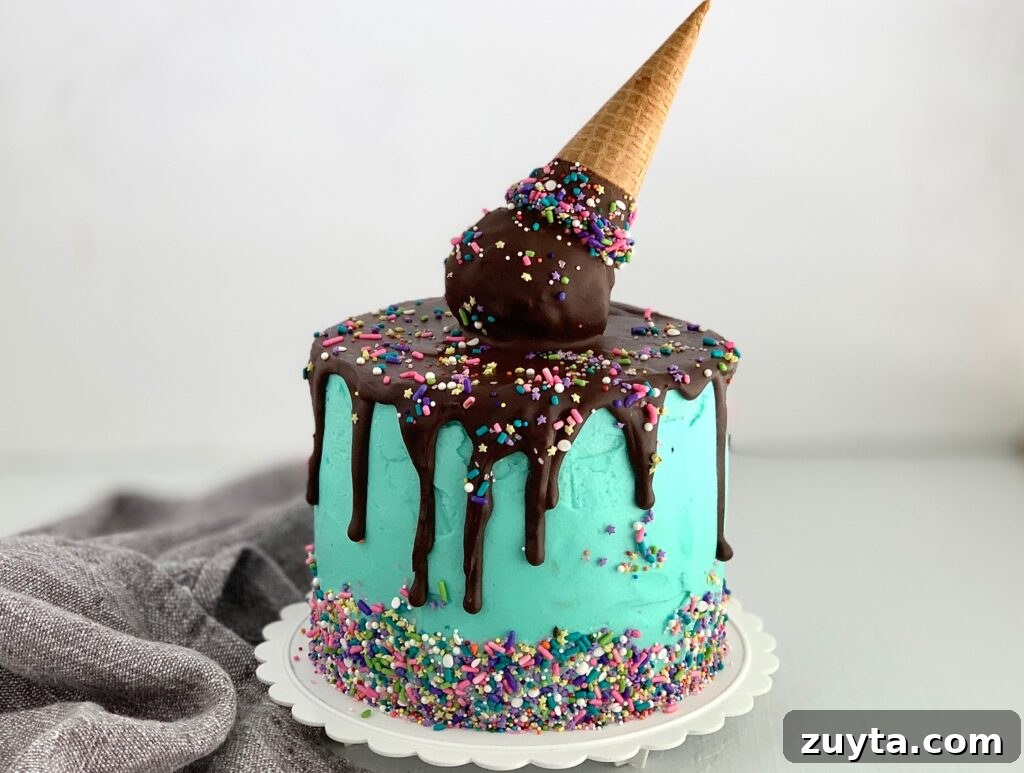
Ice cream cone cake supplies
- Three 6-inch cake pans (or other pans sized to produce three uniform layers).
- A cake plate or cake board sized for a 6-inch cake.
- Disposable piping bags and a large 1A round decorating tip for filling and piping.
- A turntable cake stand to make icing and smoothing easier.
- A cake scraper and smoother (warm and dry the scraper briefly before smoothing to help create a polished finish).
- An offset spatula for spreading frosting evenly.
How to Make Ice Cream Cone Cake
You’re just a few steps away from a festive, crowd-pleasing cake. Follow these directions for best results.
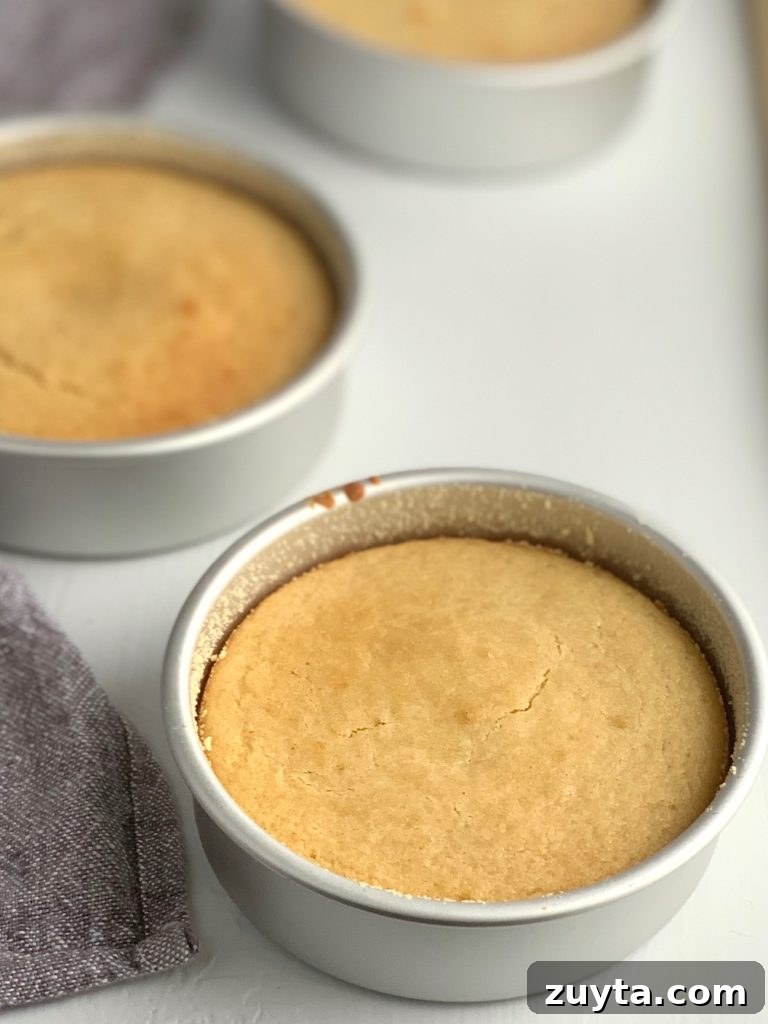
- Bake three 6-inch gluten- and dairy-free cake layers and several cupcakes following the box directions. Prepare both cake mixes and pour batter into the pans; you’ll have leftover batter for about 5–6 cupcakes. You only need three cupcakes to form the ice cream ball.
- Make about 6 cups of dairy-free buttercream frosting. Fill a disposable piping bag fitted with a large 1A round tip and set aside.
- Once the cakes are fully cooled, place the first layer on the cake plate or turntable. Pipe frosting over the top and smooth with an offset spatula. Repeat with the second layer, then place the third layer on top.
- Prepare the dairy-free chocolate ganache and let it cool and thicken slightly so it will drizzle but still set.
- Apply a thin crumb coat of frosting over the entire cake to trap crumbs; use your cake scraper and offset spatula. Chill briefly if possible.
- Frost the entire cake smoothly and refrigerate so the frosting firms. A cold cake helps the ganache set cleanly.
- To make the ice cream ball, gently break three cupcakes into a bowl, add a couple of spoonfuls of buttercream, and press together until the mixture forms a round scoop. Shape by hand as needed and set aside.
- Dip the top edge of the sugar cone into the ganache, hold for a few seconds so the chocolate starts to set, then add sprinkles. Stand the cone upright in a cup until ready to place on the cake.
- Set the ice cream ball on top of the cake, then slowly pour ganache over it so it drips naturally down the sides. Use a spoon to encourage drips if desired.
- Angle the cone into the ice cream ball to create the toppled look; hold briefly while the ganache sets and acts like glue to hold the cone in place.
- Finish by adding sprinkles to the cake and decorating as you wish. Chill briefly to help the ganache harden if needed.
- Slice, serve, and celebrate.
This playful cake is always a hit—memorable and full of charm. Best of all, it can be made gluten- and dairy-free without sacrificing flavor.
More cake ideas
- Oreo ice cream cake made with gluten- and dairy-free ice cream, allergy-friendly cookies, and a chocolate ganache layer.
- Shark-shaped birthday cake that recreates a Great White look — a fun choice for ocean lovers and themed parties.
- Motocross cake for kids who love bikes and action-packed celebrations.
Recipe Tips & Variations
- Chill the cake before drizzling ganache — a cold surface helps the ganache set faster and creates neater drips.
- Work quickly when dipping the cone and placing the ice cream ball; ganache begins to set and will act as the glue to hold the cone in position.
- Switch cake flavors to suit the occasion — two chocolate layers, two vanilla, or a mix all work well.
- Use different sprinkle colors or add a white chocolate drizzle for variety, adapting the look for birthdays, holidays, or other celebrations.
- Store the finished cake in the refrigerator. Remove it for a few minutes before serving so the icing and ganache soften slightly for best texture.
Frequently Asked Questions
Can I make this cake ahead of time?
Yes. Bake and frost the cake a day ahead, then add the ice cream ball, cone, and ganache drizzle shortly before serving for the freshest appearance.
Why should the ganache set before adding the cone?
Slightly thickened ganache helps hold the cone at an angle. If the chocolate is too runny, it won’t provide enough support to keep the cone in place.
How should I store this cake?
Keep the cake refrigerated until serving. Allow it to sit at room temperature for a few minutes before slicing so the frosting and ganache soften slightly.
Lastly
This ice cream cone cake will be remembered long after the decorations come down. It’s a joyful, nostalgic design—and the fact that it can be gluten- and dairy-free makes it extra special for families with allergies.
If you make this cake, please consider leaving a comment or rating to share your experience. I love hearing how these recipes work for you and seeing photos of your creations.
Eat well, feel well and celebrate well,
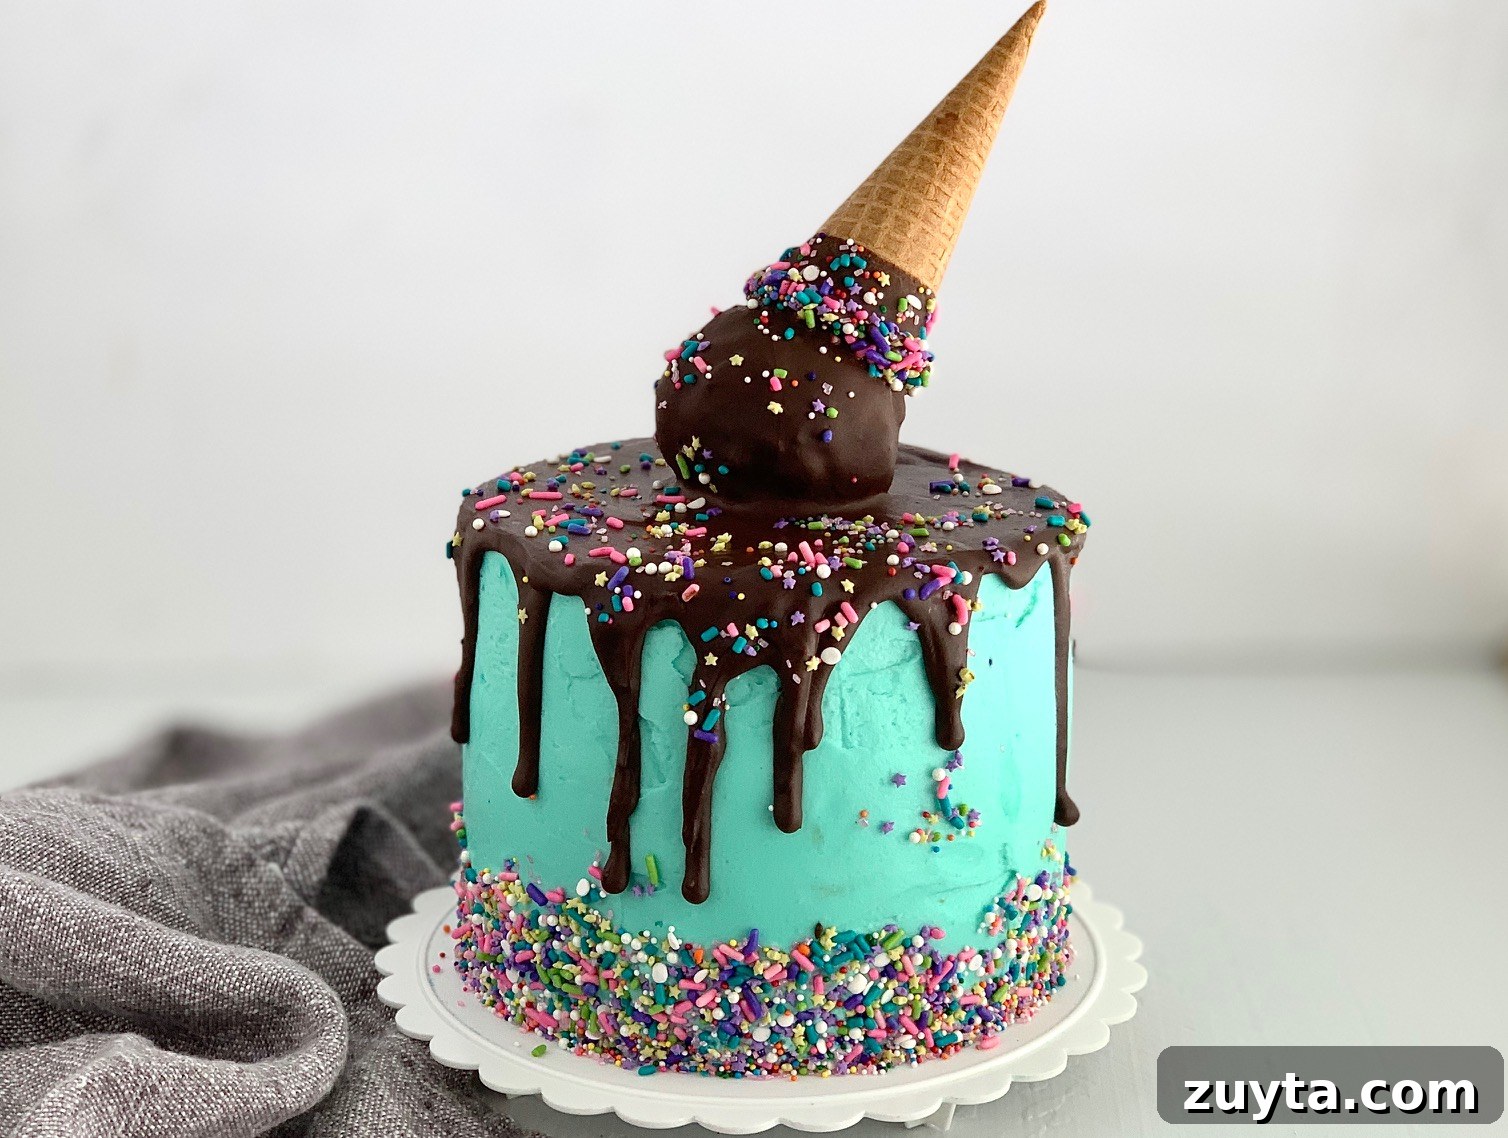
Ice Cream Cone Cake
Ingredients
- 2 gluten- and dairy-free cake mixes and the ingredients required to prepare them
- 6 cups dairy-free buttercream frosting (see buttercream recipe)
- 1 ½ cups dairy-free chocolate ganache (see ganache recipe)
- Gluten- and dairy-free sprinkles
- 1 gluten-free sugar cone
Instructions
- Bake three 6-inch cake layers and several cupcakes according to package directions. Reserve three cupcakes for the ice cream ball.
- Prepare the dairy-free buttercream and fill a piping bag fitted with a large round tip.
- Layer the cakes with frosting between each layer, smoothing with an offset spatula.
- Make the chocolate ganache and allow it to cool and thicken slightly.
- Apply a thin crumb coat to the cake, then chill briefly.
- Frost the entire cake smoothly and refrigerate for a firmer surface.
- Mash three cupcakes with a few spoonfuls of frosting to form the ice cream ball; shape by hand and set aside.
- Dip the cone tip in ganache, add sprinkles, and let the chocolate set briefly.
- Place the ice cream ball on the cake and pour ganache over it, encouraging drips down the sides.
- Insert the decorated cone at an angle into the ice cream ball and hold until the ganache firms enough to support it.
- Finish with sprinkles, chill to set if needed, then slice and serve.
Notes
The cakes and cupcakes can be baked 1–2 days ahead. For best appearance, assemble and decorate the cake on the day before or the day of serving.
Nutritional Disclaimer
These nutritional facts are estimates and may vary based on the brands you choose. This information is provided for general guidance and is not a substitute for professional nutrition advice.